

N32L40XCL-STB开发板模块之新建CAN测试工程
电子说
描述
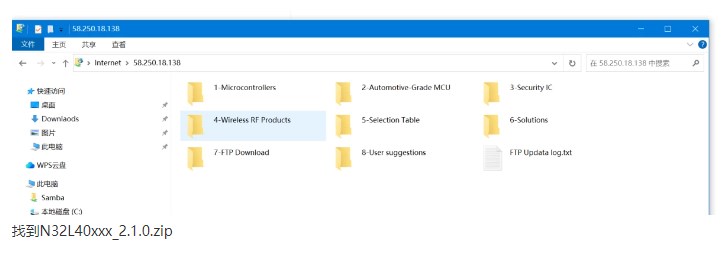
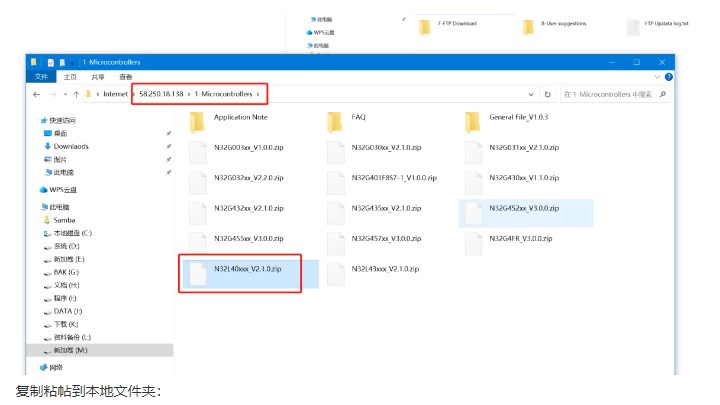
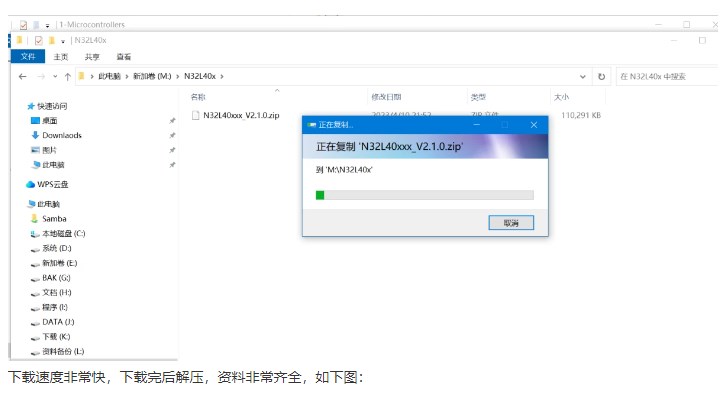
资料下载
国民技术提供了ftp://58.250.18.138网址下载。
开发工具选择
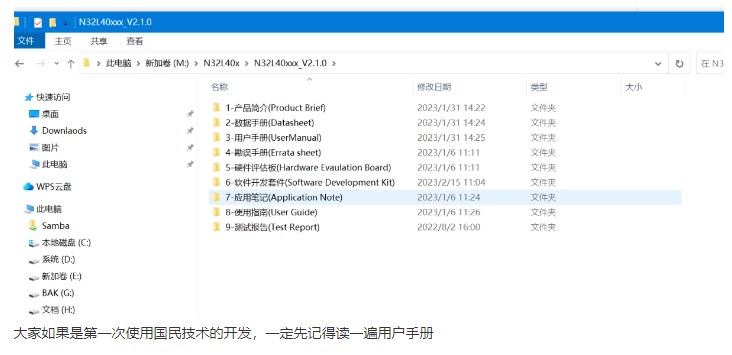
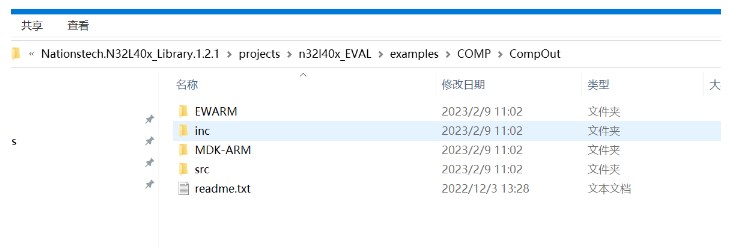
国民技术提供了MDK以及IAR的example工程示例。在N32L40xN32L40xxx_V2.1.06-软件开发套件(Software Development Kit)Nationstech.N32L40x_Library.1.2.1projectsn32l40x_EVALexamples目录下面对应为MDK-ARM与EWARM
当然也可以选择其的工具,如vscode、clion等,在目录M:N32L40xN32L40xxx_V2.1.07-应用笔记(Application Note)AN_N32G43x_N32L43x_N32L40x_GCC Development Environment Application Note_V3.0Nationstech.N32L43x_Library.1.0.1下面有vscode的基础工程包。
我这次选择的是RT-Thread Studio工具,由于我是第N次RT-Thread studio了,这里就不展示安装,
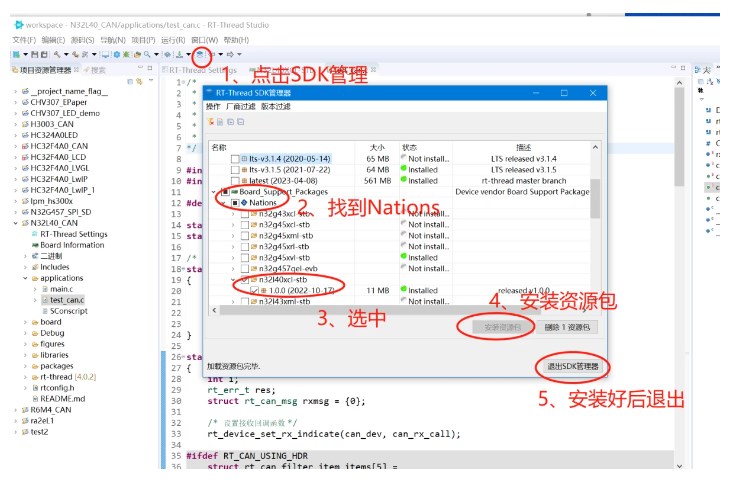
下载SDK支持包
按下图操作,下载开发板SDK支持包
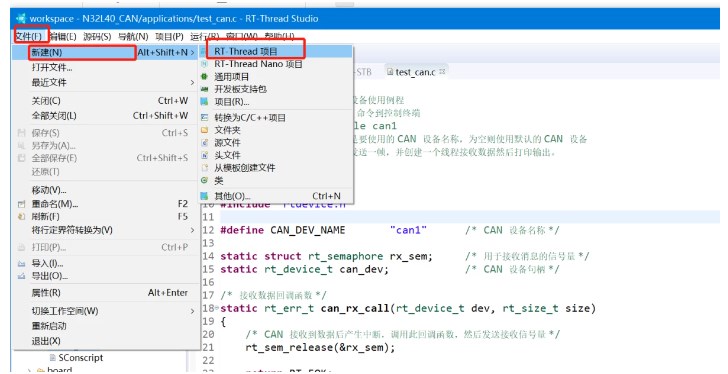
新建工程
菜单-文件-》新建-》RT-Thread项目

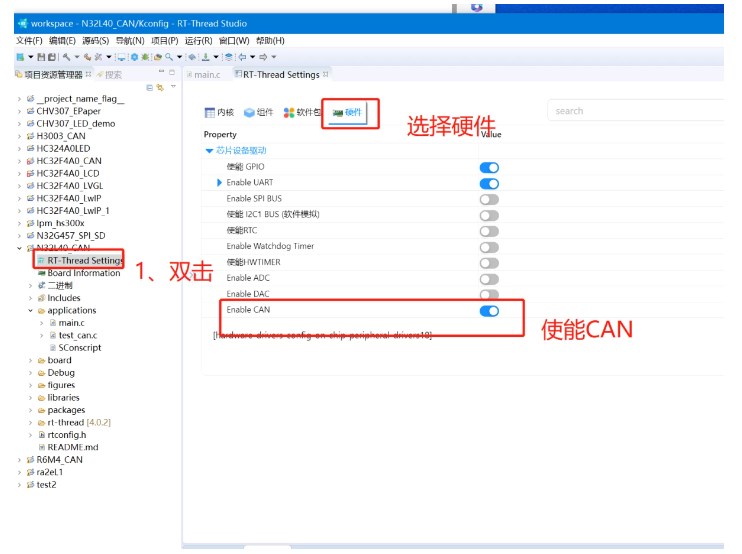
配置CAN
1、打开RT-Thread Settings,按下图指示,使能CAN:
2、保存,关闭RT-Thread stettings,等待自动生成工程:
创建CAN测试工程:
在applications目录下面添加一个test_can.c,内容如下:
/*
程序清单:这是一个 CAN 设备使用例程
例程导出了 can_sample 命令到控制终端
命令调用格式:can_sample can1
命令解释:命令第二个参数是要使用的 CAN 设备名称,为空则使用默认的 CAN 设备
程序功能:通过 CAN 设备发送一帧,并创建一个线程接收数据然后打印输出。
/
#include
#include "rtdevice.h"
#define CAN_DEV_NAME "can1" / CAN 设备名称 /
static struct rt_semaphore rx_sem; / 用于接收消息的信号量 /
static rt_device_t can_dev; / CAN 设备句柄 /
/ 接收数据回调函数 /
static rt_err_t can_rx_call(rt_device_t dev, rt_size_t size)
{
/ CAN 接收到数据后产生中断,调用此回调函数,然后发送接收信号量 */
rt_sem_release(&rx_sem);
return RT_EOK;
}
static void can_rx_thread(void parameter)
{
int i;
rt_err_t res;
struct rt_can_msg rxmsg = {0};
/ 设置接收回调函数 /
rt_device_set_rx_indicate(can_dev, can_rx_call);
#ifdef RT_CAN_USING_HDR
struct rt_can_filter_item items[5] =
{
RT_CAN_FILTER_ITEM_INIT(0x100, 0, 0, 0, 0x700, RT_NULL, RT_NULL), / std,match ID:0x1000x1ff,hdr 为 - 1,设置默认过滤表 /0x3ff,hdr 为 - 1 /
RT_CAN_FILTER_ITEM_INIT(0x300, 0, 0, 0, 0x700, RT_NULL, RT_NULL), / std,match ID:0x300
RT_CAN_FILTER_ITEM_INIT(0x211, 0, 0, 0, 0x7ff, RT_NULL, RT_NULL), / std,match ID:0x211,hdr 为 - 1 /
RT_CAN_FILTER_STD_INIT(0x486, RT_NULL, RT_NULL), / std,match ID:0x486,hdr 为 - 1 /
{0x555, 0, 0, 0, 0x7ff, 7,} / std,match ID:0x555,hdr 为 7,指定设置 7 号过滤表 /
};
struct rt_can_filter_config cfg = {5, 1, items}; / 一共有 5 个过滤表 /
/ 设置硬件过滤表 /
res = rt_device_control(can_dev, RT_CAN_CMD_SET_FILTER, &cfg);
RT_ASSERT(res == RT_EOK);
#endif
while (1)
{
/ hdr 值为 - 1,表示直接从 uselist 链表读取数据 /
rxmsg.hdr = -1;
/ 阻塞等待接收信号量 /
rt_sem_take(&rx_sem, RT_WAITING_FOREVER);
/ 从 CAN 读取一帧数据 /
rt_device_read(can_dev, 0, &rxmsg, sizeof(rxmsg));
/ 打印数据 ID 及内容 /
rt_kprintf("ID:%x", rxmsg.id);
for (i = 0; i < 8; i++)
{
rt_kprintf("%2x", rxmsg.data[i]);
}
rt_kprintf("n");
}
}
int can_sample(int argc, char argv[])
{
struct rt_can_msg msg = {0};
rt_err_t res;
rt_size_t size;
rt_thread_t thread;
char can_name[RT_NAME_MAX];
if (argc == 2)
{
rt_strncpy(can_name, argv[1], RT_NAME_MAX);
}
else
{
rt_strncpy(can_name, CAN_DEV_NAME, RT_NAME_MAX);
}
/ 查找 CAN 设备 /
can_dev = rt_device_find(can_name);
if (!can_dev)
{
rt_kprintf("find %s failed!n", can_name);
return RT_ERROR;
}
/ 初始化 CAN 接收信号量 /
rt_sem_init(&rx_sem, "rx_sem", 0, RT_IPC_FLAG_FIFO);
/ 以中断接收及发送方式打开 CAN 设备 /
res = rt_device_open(can_dev, RT_DEVICE_FLAG_INT_TX | RT_DEVICE_FLAG_INT_RX);
RT_ASSERT(res == RT_EOK);
/ 设置 CAN 通信的波特率为 500kbit/s /
res = rt_device_control(can_dev, RT_CAN_CMD_SET_BAUD, (void )CAN500kBaud);
/ 创建数据接收线程 /
thread = rt_thread_create("can_rx", can_rx_thread, RT_NULL, 1024, 25, 10);
if (thread != RT_NULL)
{
rt_thread_startup(thread);
}
else
{
rt_kprintf("create can_rx thread failed!n");
}
msg.id = 0x78; / ID 为 0x78 /
msg.ide = RT_CAN_STDID; / 标准格式 /
msg.rtr = RT_CAN_DTR; / 数据帧 /
msg.len = 8; / 数据长度为 8 /
/ 待发送的 8 字节数据 /
msg.data[0] = 0x00;
msg.data[1] = 0x11;
msg.data[2] = 0x22;
msg.data[3] = 0x33;
msg.data[4] = 0x44;
msg.data[5] = 0x55;
msg.data[6] = 0x66;
msg.data[7] = 0x77;
/ 发送一帧 CAN 数据 /
size = rt_device_write(can_dev, 0, &msg, sizeof(msg));
if (size == 0)
{
rt_kprintf("can dev write data failed!n");
}
return res;
}
/ 导出到 msh 命令列表中 */
MSH_CMD_EXPORT(can_sample, can device sample);
然后编译工程:
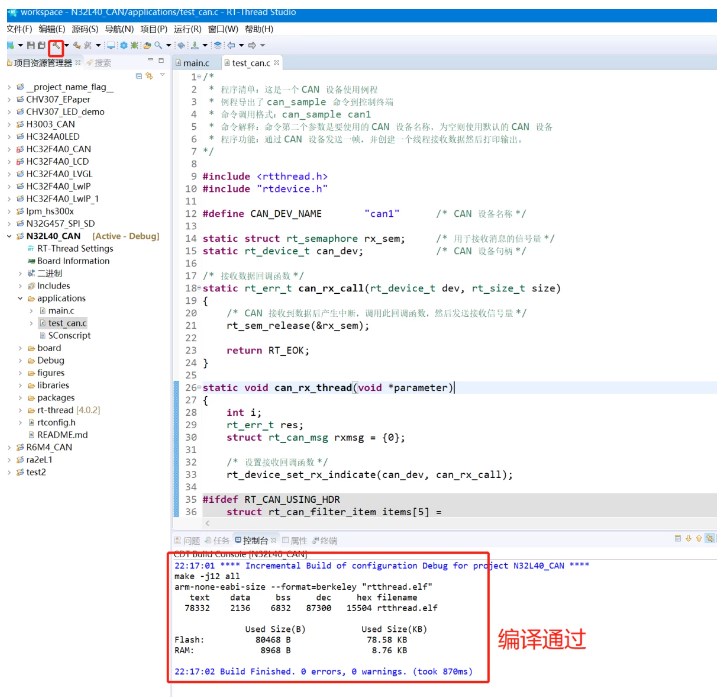
【小结】到此,基于CAN测试的工程就建好了,等开发板到位,就可以用CAN分析仪来验证了。
-
N32L40XRQ-STB开发板硬件使用指南2022-11-01 0
-
N32L40XRL-STB开发板硬件使用指南2022-11-01 0
-
N32L40XML-STB开发板硬件使用指南2022-11-01 0
-
N32L40XKQ-STB开发板硬件使用指南2022-11-01 0
-
N32L40XCQ-STB开发板硬件使用指南2022-11-01 0
-
N32G43XCL-STB开发板硬件使用手册2022-11-02 0
-
N32L43XCL-STB开发板硬件使用手册2022-11-02 0
-
N32L40XCL-STB开发板硬件使用手册2022-11-02 0
-
N32G43XCL-STB (LQFP48) 开发板2022-11-10 193
-
N32L43XCL-STB (LQFP48) 开发板2022-11-10 187
-
N32L40XCL-STB (LQFP48) 开发板2022-11-10 168
-
N32L40XCL-STB开发板模块评测任务大挑战之UART2023-08-09 540
-
N32L40XCL-STB的I2C测试步骤2023-09-18 965
全部0条评论

快来发表一下你的评论吧 !
