

自动灌溉播种机的制作
电子说
描述
步骤1:将湿度传感器连接到Arduino

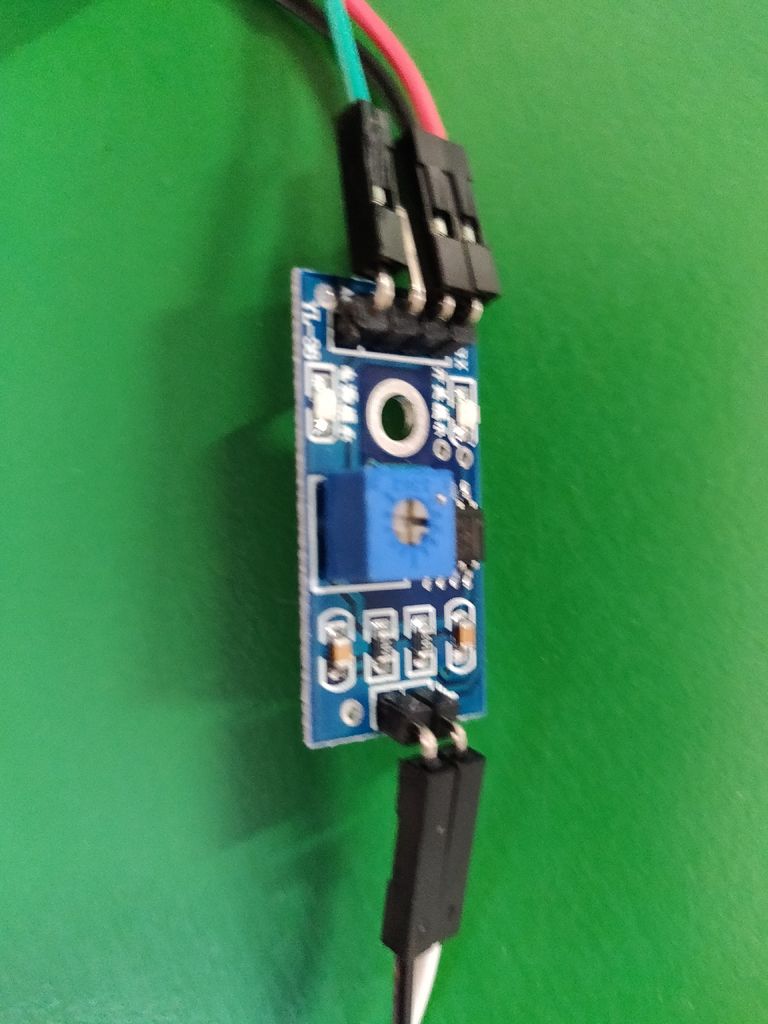
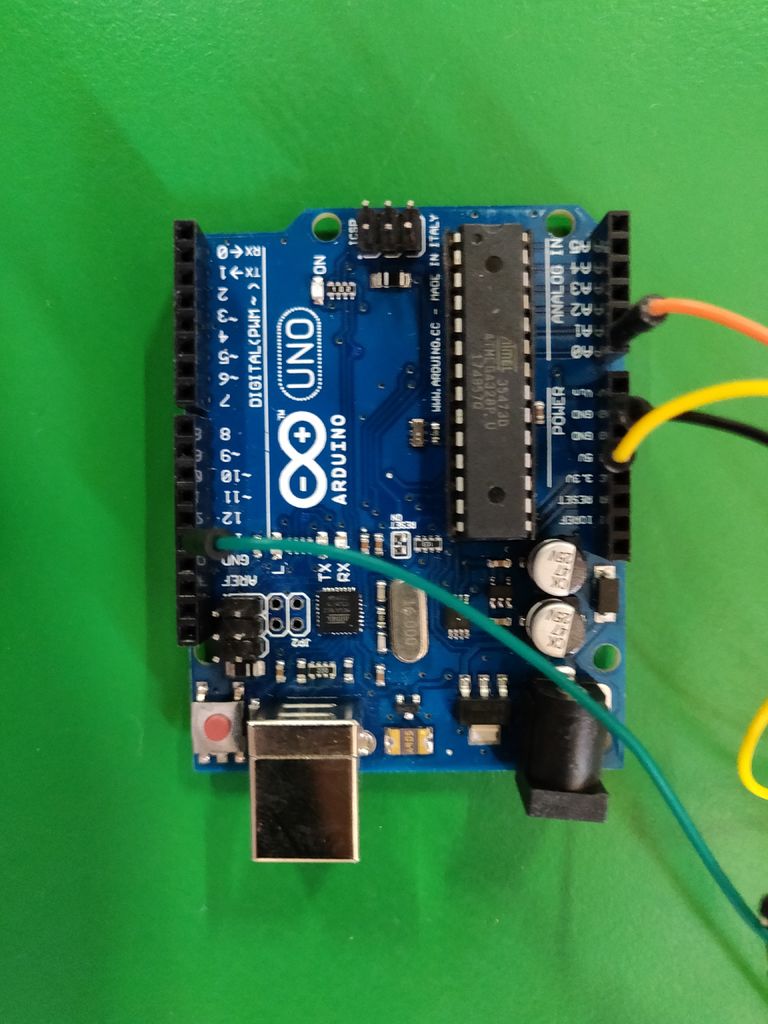
要根据照片连接电缆,首先连接湿度传感器的两个引脚放大器中的两个引脚。接下来,将放大器上的模拟引脚连接到arduino上的A1‘模拟输入端。将剩余的两个引脚连接到面包板上的不同行。
步骤2:将泵和电池连接到继电器
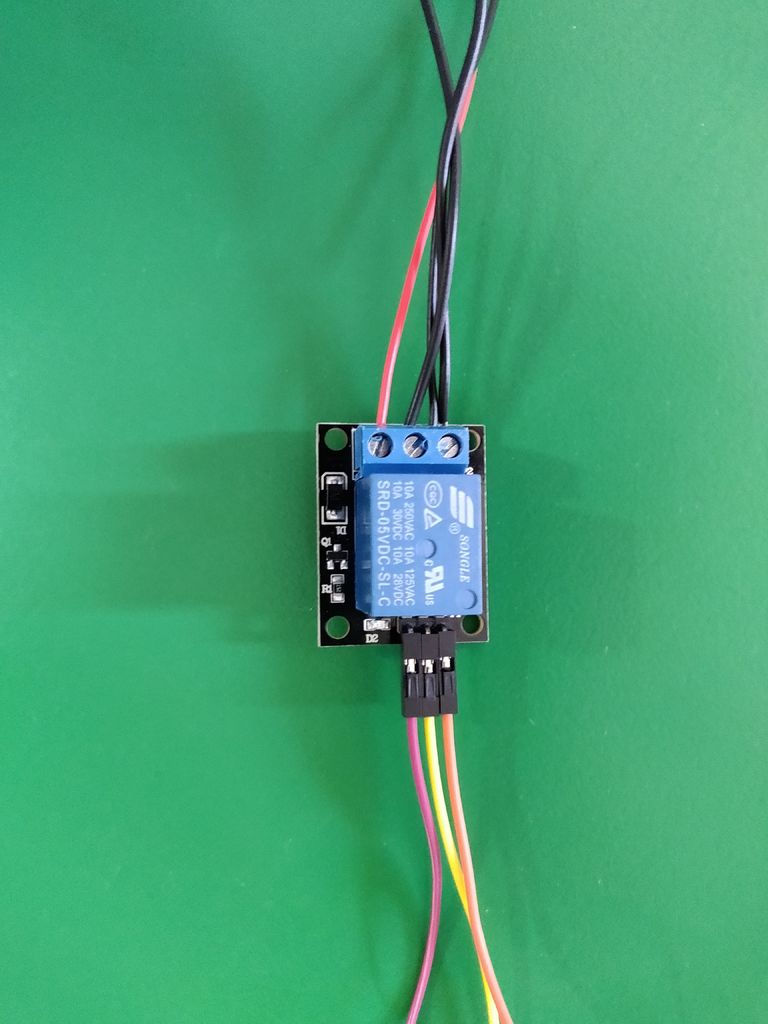
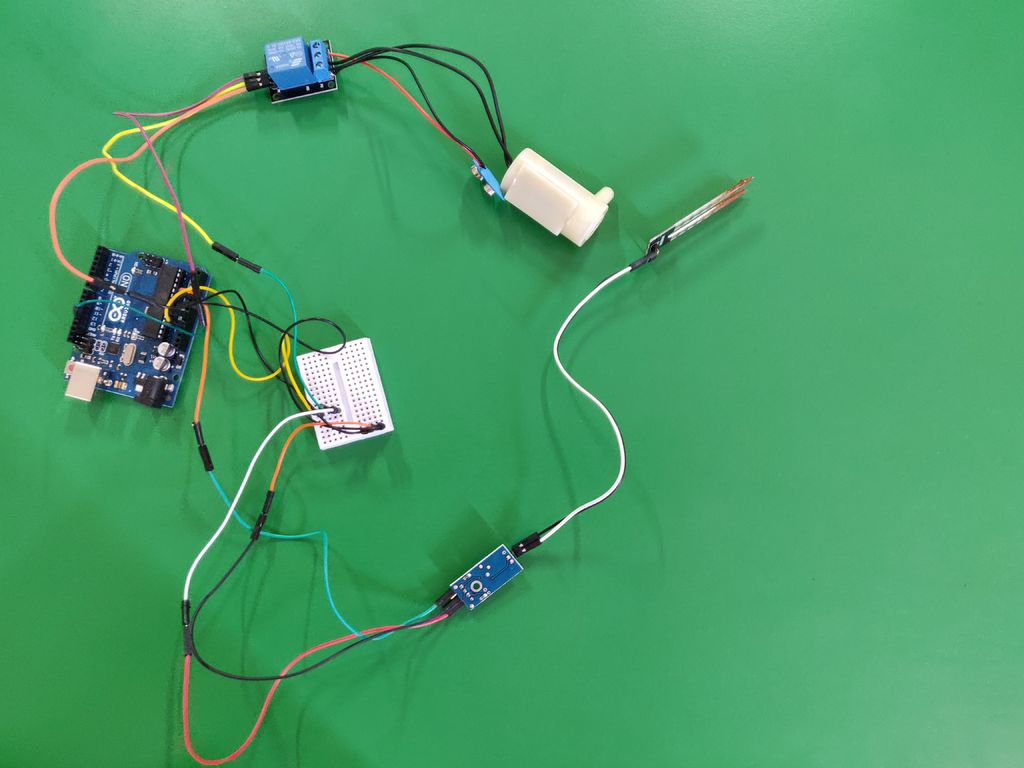
连接泵到继电器的方法与图中所示的相同。
负泵到中心。
正泵向左。
继电器右侧的负电池。
电池正极左侧。
(在图像上抓住光标查看标签)
步骤3:将继电器连接到面包板和Arduino
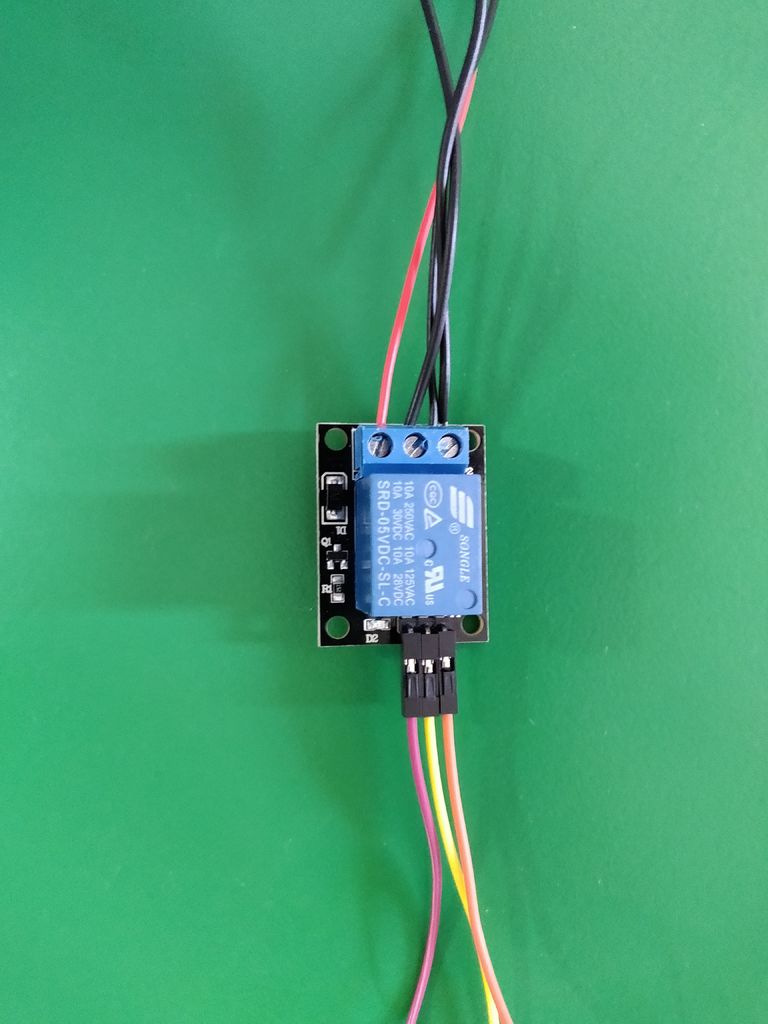
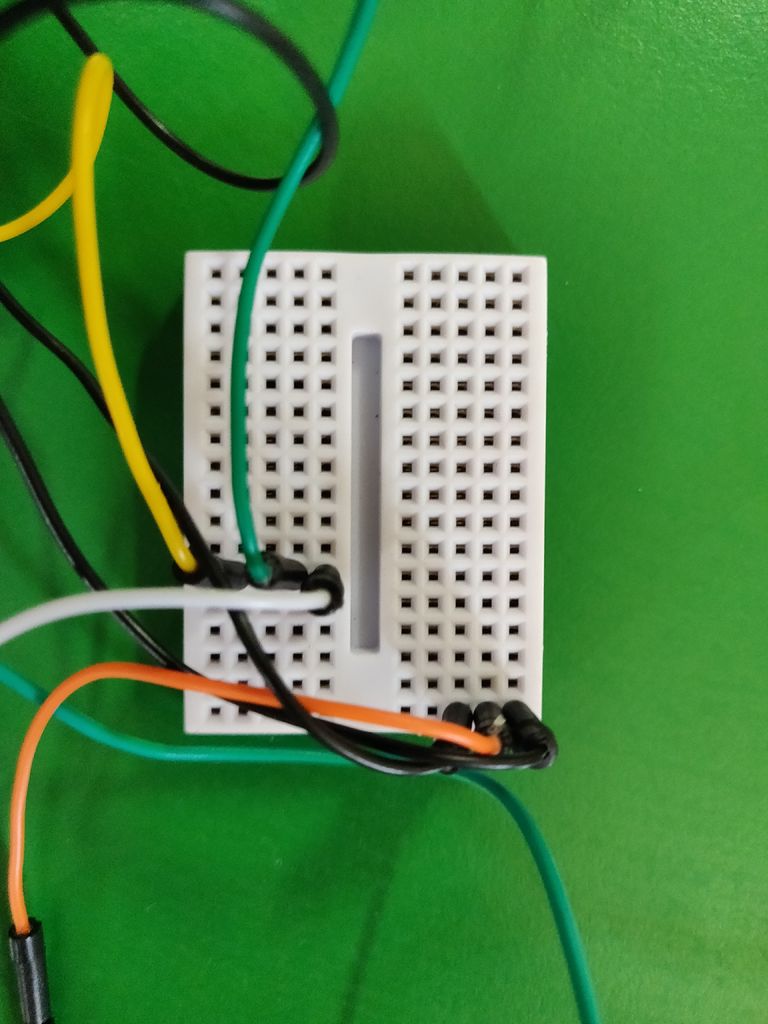
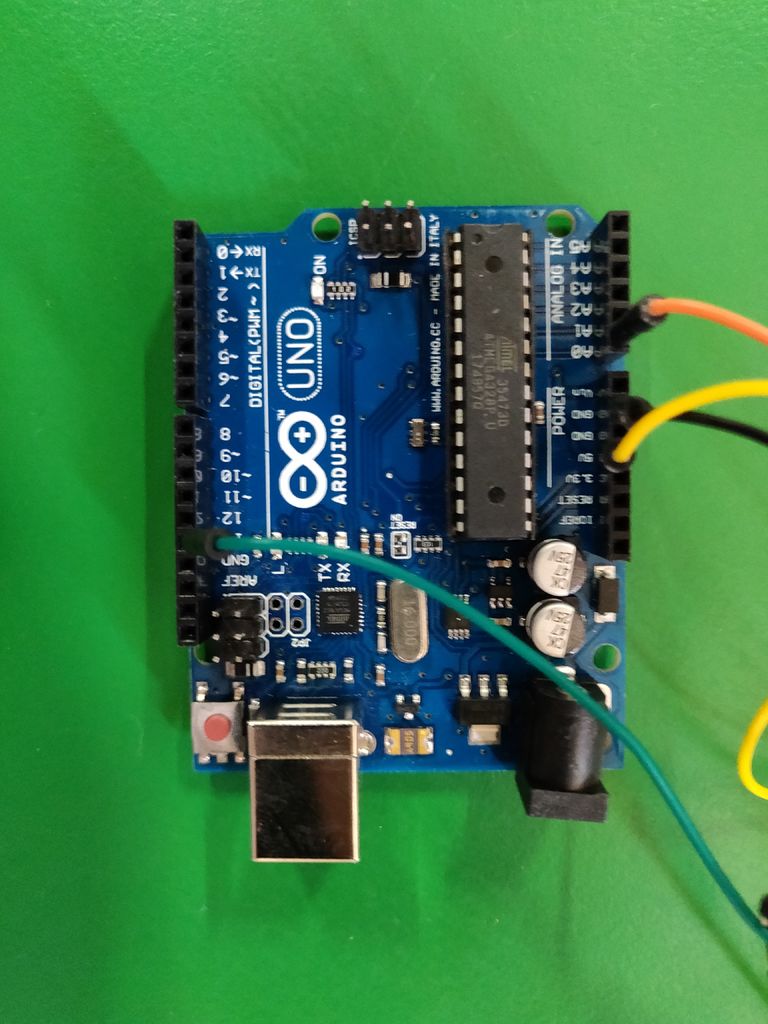
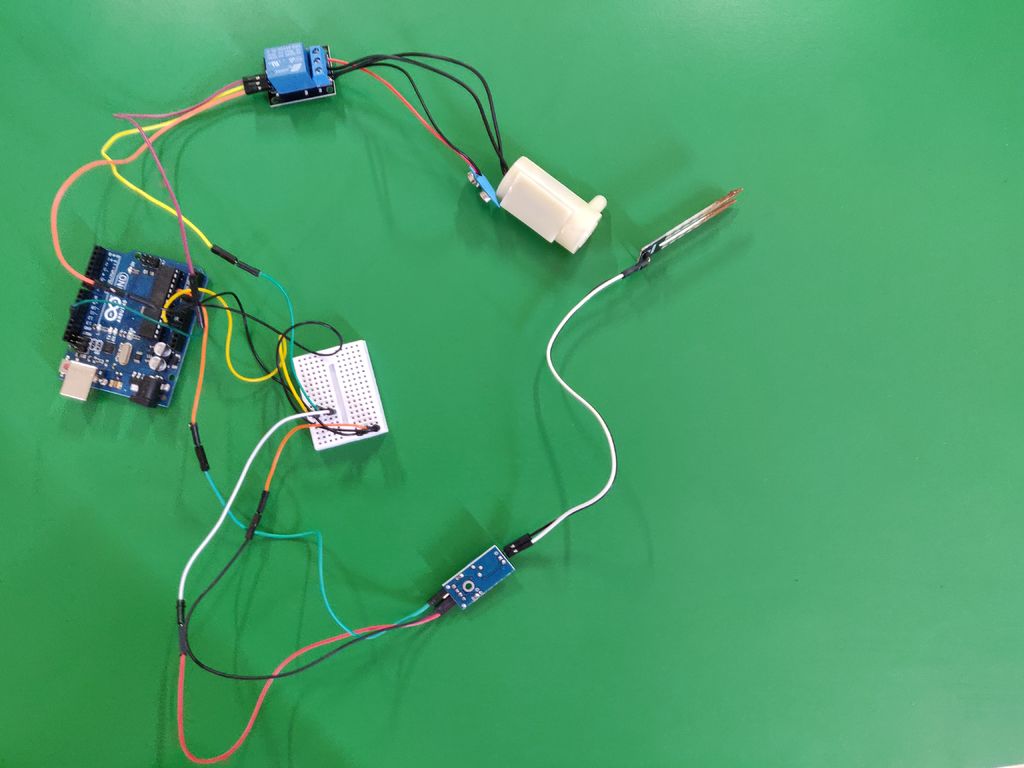
如图所示进行连接。
中心继电器引脚转到面包板的中央。
右侧继电器引脚位于面包板的右侧。
左侧继电器杜松子酒转到arduino中的数字引脚13。
现在将面包板的右侧连接到arduino上的接地引脚。
将电路板中心连接到arduino中的电源引脚。
步骤4:在Ardunio IDE上输入以下代码
const int sensor_pin = A0; /* Soil moisture sensor O/P pin */ float moisture_percentage;
int motorPin = 13;
const int min_moisture = 50;
void setup(){
pinMode(motorPin, OUTPUT);
Serial.begin(9600); /* Define baud rate for serial communication */
}
void loop() {
int sensor_analog;
sensor_analog = analogRead(sensor_pin);
moisture_percentage = ( 100 - ( (sensor_analog/1023.00) * 100 ) );
Serial.print(“Moisture Percentage = ”);
Serial.print(moisture_percentage);
Serial.print(“% ”);
if(moisture_percentage 》 min_moisture) {
PumpWater();
}
else{ StopPump();
}
delay(1000);
}
void PumpWater(){
digitalWrite(motorPin, HIGH);
delay(1000);
}
void StopPump(){
digitalWrite(motorPin, LOW);
delay(1000);
}
步骤5:最终:组装
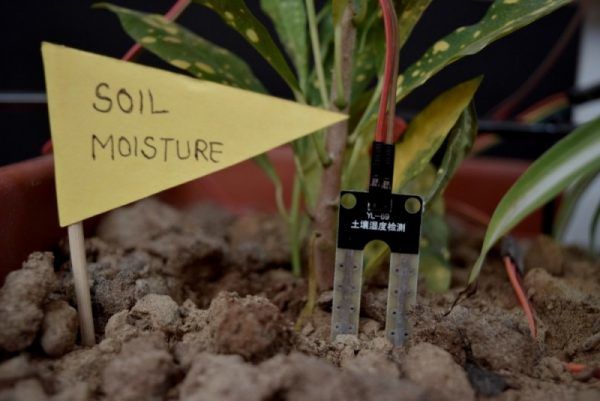
最后,将电路组装到播种机上。将湿度传感器放入土壤中。将管道连接到泵上并使另一端靠近土壤。
就是这样。湿度传感器现在应该准备就绪。
-
基于Arduino的家庭自动化项目2023-09-26 691
-
带Seeed SenseCAP K1100的物联网播种机2023-06-13 390
-
硕博电子精量播种机电控系统介绍2022-10-09 902
-
迷你ESP播种机太阳岛 2022-07-15
-
精量播种机控制器、精量播种机电控系统、农机电控系统方案2022-07-05 2703
-
如何去实现基于单片机的自动浇花灌溉系统设计2021-11-19 1722
-
室内播种机的制作2019-09-20 3985
-
使用机器视觉实现播种精度测试的论文免费下载2019-09-17 970
-
物联网播种机DIY图解2019-09-09 4562
-
智能播种机的制作教程2019-08-19 5071
-
引进新型北斗导航自动驾驶系统,实现棉花播种机无人驾驶、精准作业2019-05-20 6233
-
制作一个自动灌溉系统怎么购买硬件2019-03-20 1916
-
【斗翼】新型农田节水灌溉自动系统2014-12-31 6971
-
小麦播种机颗粒堵塞报警器电路图2008-11-06 926
全部0条评论

快来发表一下你的评论吧 !

