

开源应用:Hello程序开发体验
描述
环境搭建
Author: HonestQiao 乔帮主的docker环境适用于套件使用,具体参考网址:https://blog.51cto.com/harmonyos/5223948
VSCode连接到container中进行开发
安装remote – container插件:
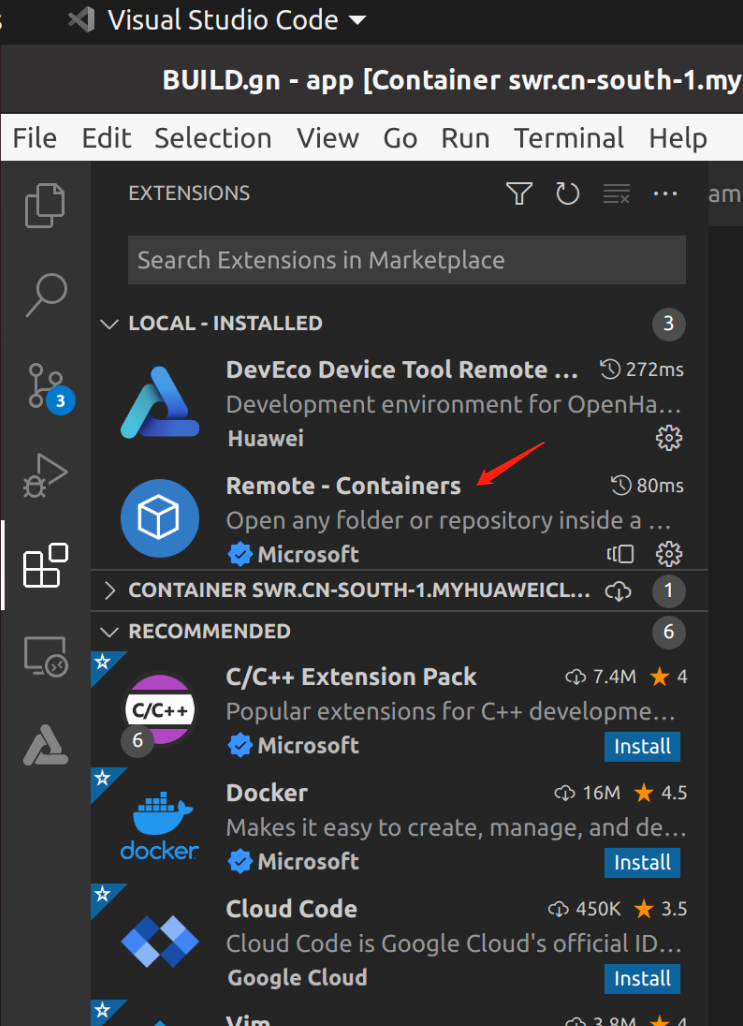
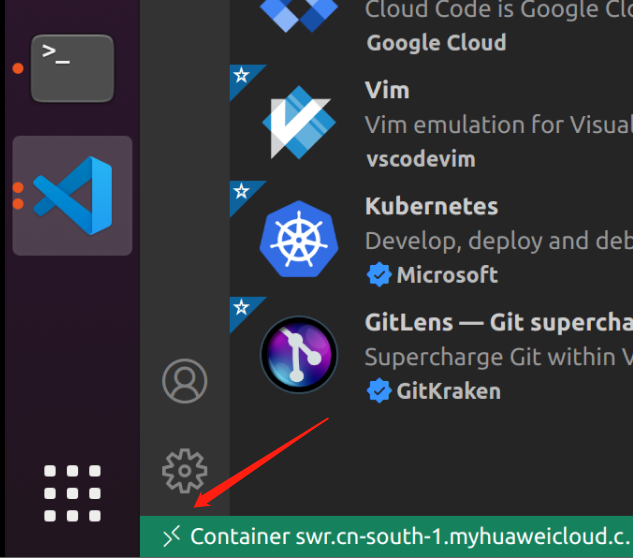
安装完成后,在VSCode的左下角出现一个绿色的按钮。
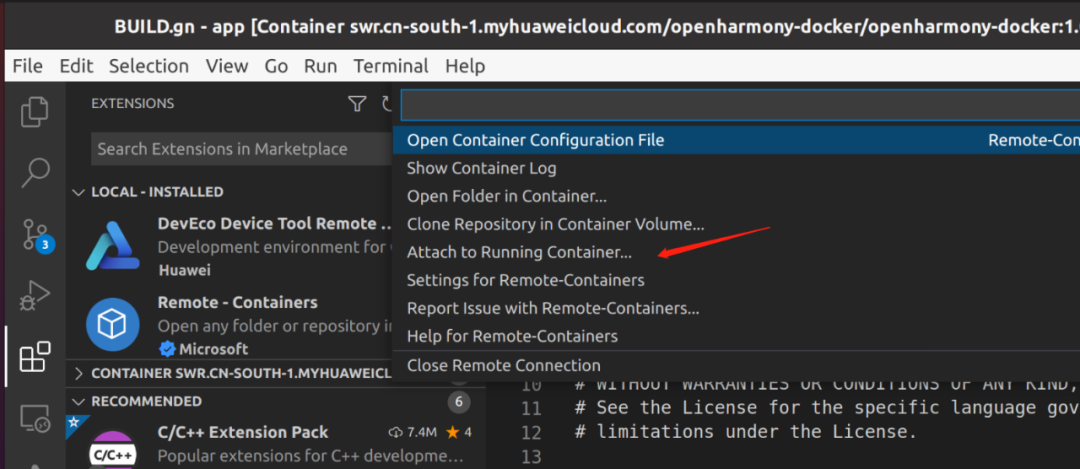
连接到container中点击attach to Running Container…
Attach到container以后,可以看到内部的文件系统:
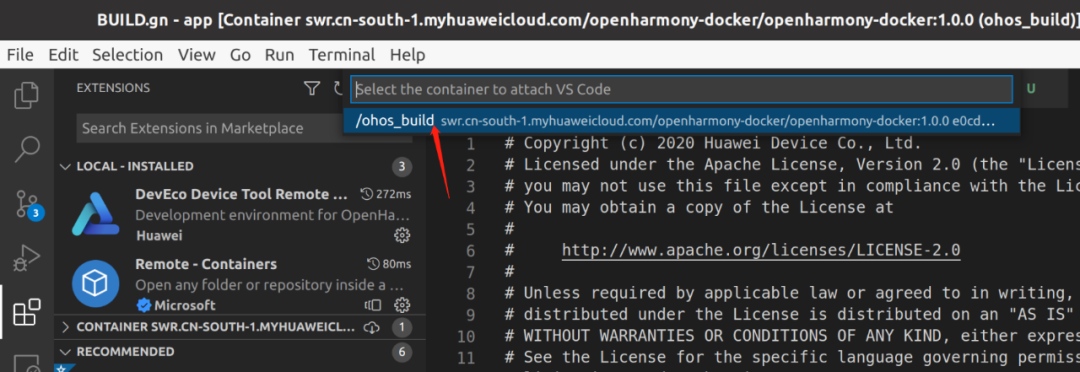
这样就能正常开发了
创建HelloWorld
用VScoder打开路径:
/home/dist/OpenHarmony-v3.1-Release/applications/sample/wifi-iot/app
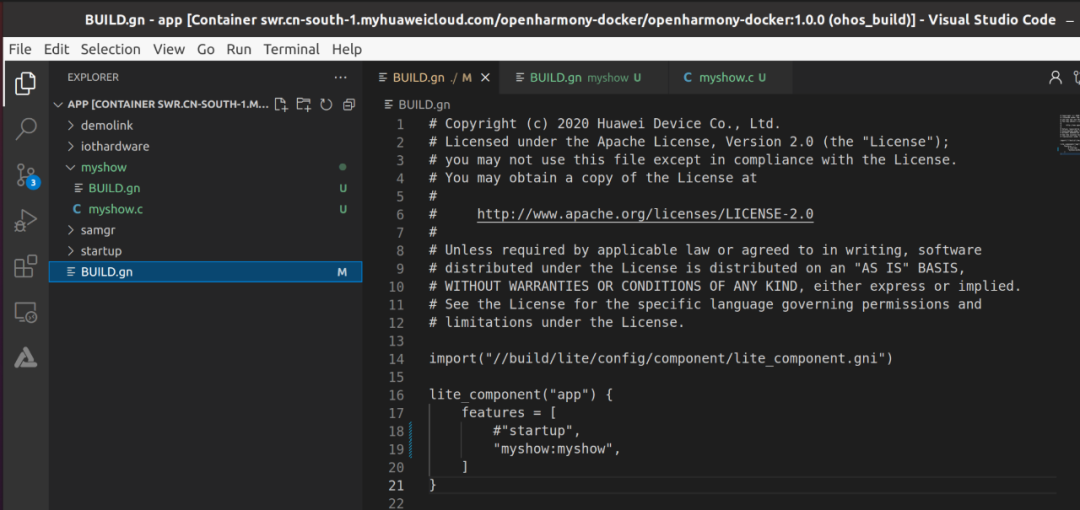
/app/BUILD.gn
import("//build/lite/config/component/lite_component.gni")lite_component("app") {features = [#"startup","myshow:myshow",]}
./app创建文件夹myshow,并建两个文件BUILD.gn 和 myshow.c
BUILD.gn
static_library("myshow") {sources = ["myshow.c"]include_dirs = ["//utils/native/lite/include","//kernel/liteos_m/kal/cmsis","//base/iot_hardware/peripheral/interfaces/kits",]}
myshow.c
void mymain(void){printf("[DEMO] Hello world. ");}SYS_RUN(mymain);
使用 hb set 选择 wifiiot_hispark_pegasus
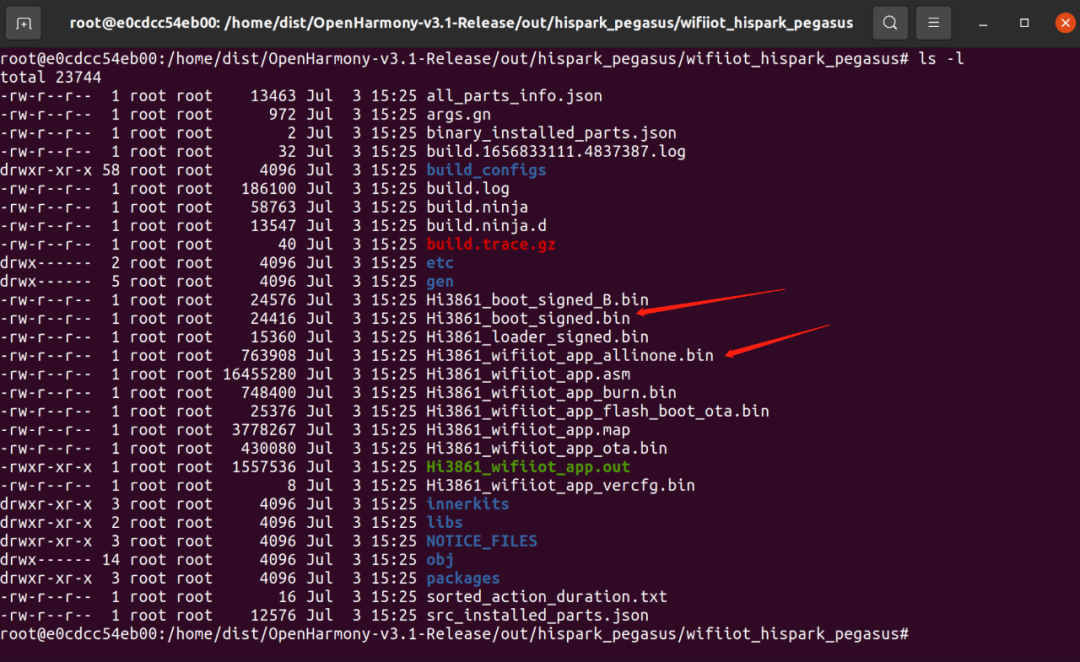
使用 hb build -f 生成bin
生成文件路径:/home/dist/OpenHarmony-v3.1-Release/out/hispark_pegasus/wifiiot_hispark_pegasus
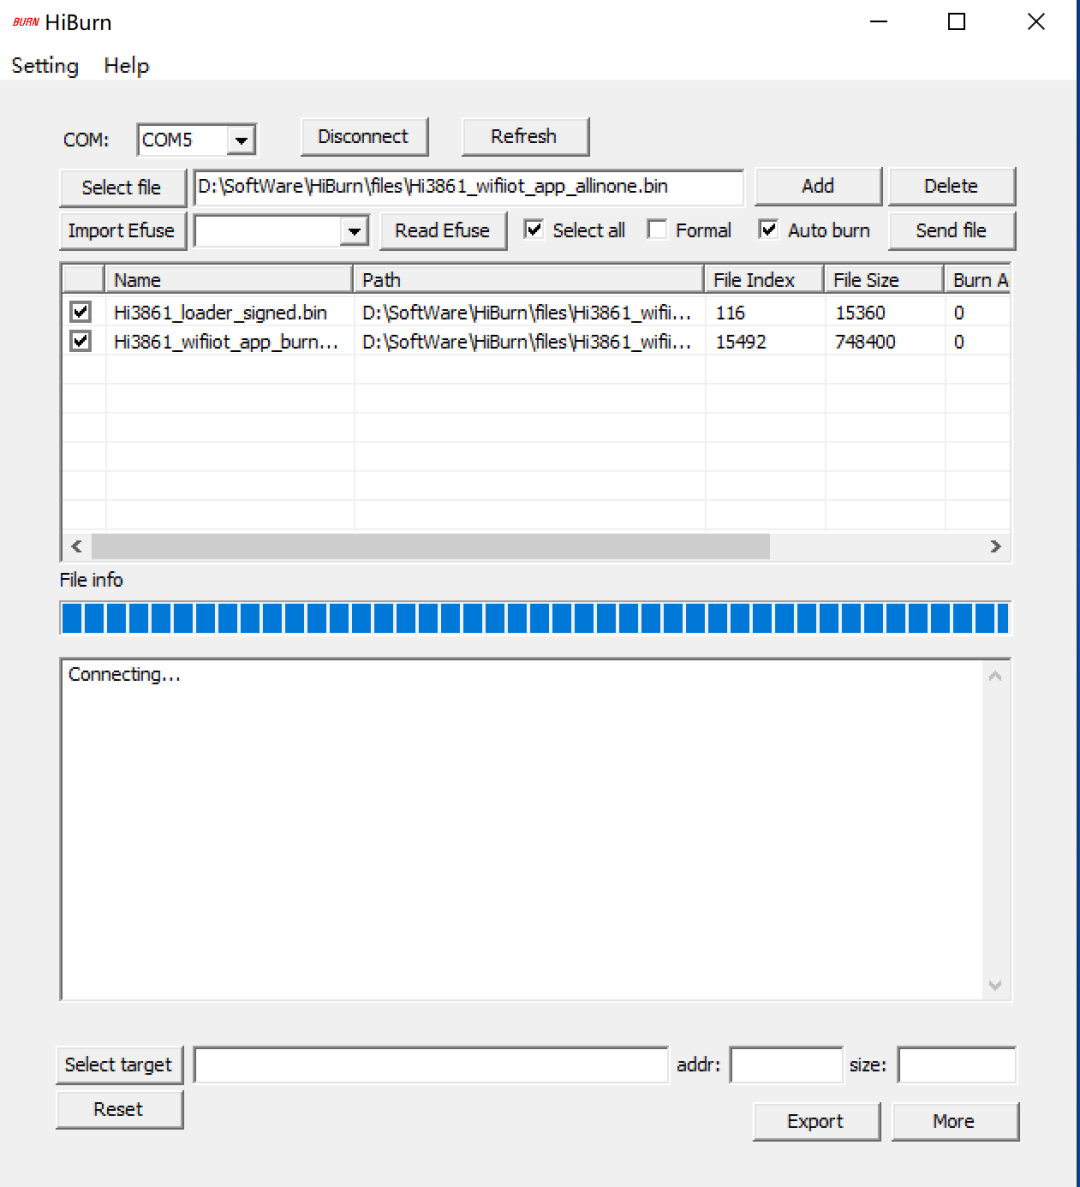
使用HiBurn.exe烧录
串口验证
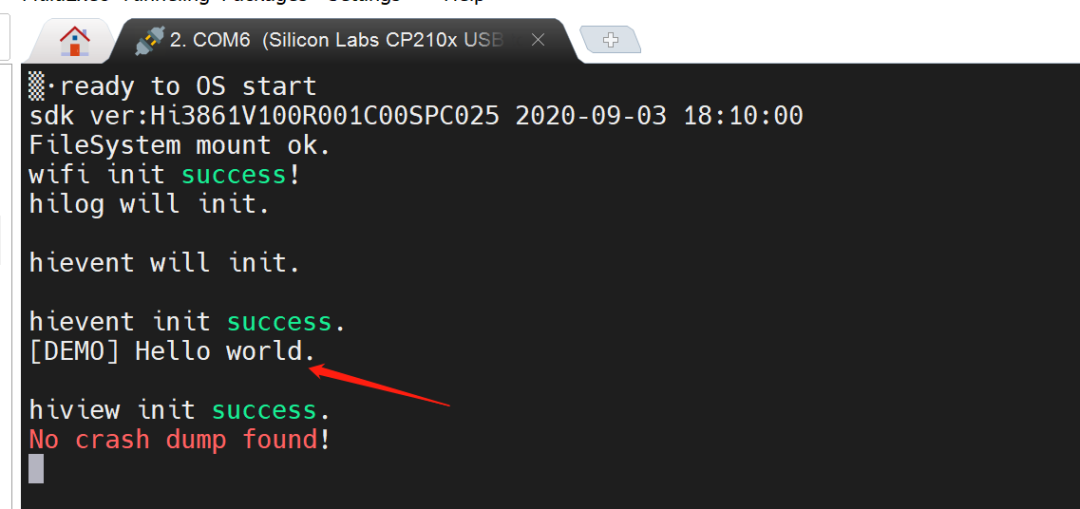
至此可以愉快的进行开发了。
审核编辑 :李倩
-
基于NIOSII处理器的“Hello LED”程序设计2010-02-08 940
-
Qt图形编程基础之使用Qt编写“Hello,World”程序实验2017-10-18 1737
-
MICROCHIP MINUTES 4 - HELLO WORLD2018-06-07 3825
-
如何用多种编程语言写“Hello,World!”程序2020-01-09 5359
-
LED动态显示HELLO的程序和工程文件免费下载2020-05-18 1082
-
STM32开发入门(二)——Hello World2021-12-07 863
-
如何编写第一个hello world程序2022-03-02 10335
-
如何在鸿蒙开发板上输出Hello World2023-01-15 2574
-
c语言hello world程序编写2023-11-26 4476
-
鸿蒙OpenHarmony【轻量系统编写“Hello World”程序】 (基于Hi3861开发板)2024-04-21 1495
-
鸿蒙OpenHarmony【小型系统编写“Hello World”程序】 (基于Hi3516开发板)2024-04-22 1221
-
鸿蒙OpenHarmony【标准系统编写“Hello World”程序】 (基于RK3568开发板)2024-04-24 2474
-
鸿蒙OpenHarmony【轻量系统 编写“Hello World”程序】 (基于Hi3861开发板)2024-05-16 1968
-
鸿蒙OpenHarmony【小型系统 编写“Hello World”程序】 (基于Hi3516开发板)2024-05-10 1688
-
鸿蒙OpenHarmony【标准系统 编写“Hello World”程序】(基于RK3568开发板)2024-05-09 2000
全部0条评论

快来发表一下你的评论吧 !
