
【开鸿智谷NiobeU4开发板免费试用体验】OpenHarmony开发环境搭建和源码编译
描述
本文来源电子发烧友社区,作者:大菠萝Alpha, 帖子地址:https://bbs.elecfans.com/jishu_2304980_1_1.html
首先感谢开鸿智谷和elecfans给与的试用机会。
一、硬件
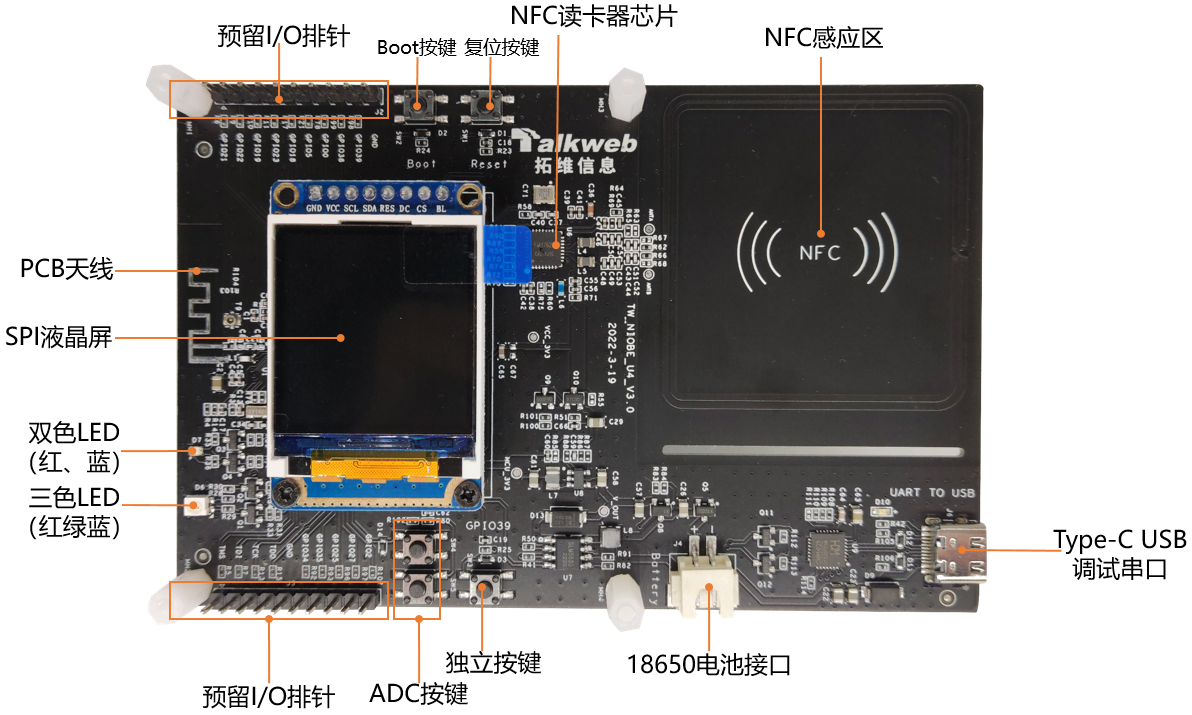
NiobeU4是基于ESP32U4WDH推出的物联网设备开发套件,集成2.4GHz Wifi和蓝牙双模,具有超高的射频性能、稳定性、通用性和可靠性,以及超低的功耗,适用于各种应用场景;NiobeU4开发套件还支持NFC非接触式通讯功能,工作频率13.56MHz,适用于低功耗、低电压和低成本要求的非接触读写器应用;NiobeU4开发套件还支持锂电池供电和充放电管理。NiobeU4开发板整板共4MB FLASH,448KB ROM以及520KB SRAM...

二、开机
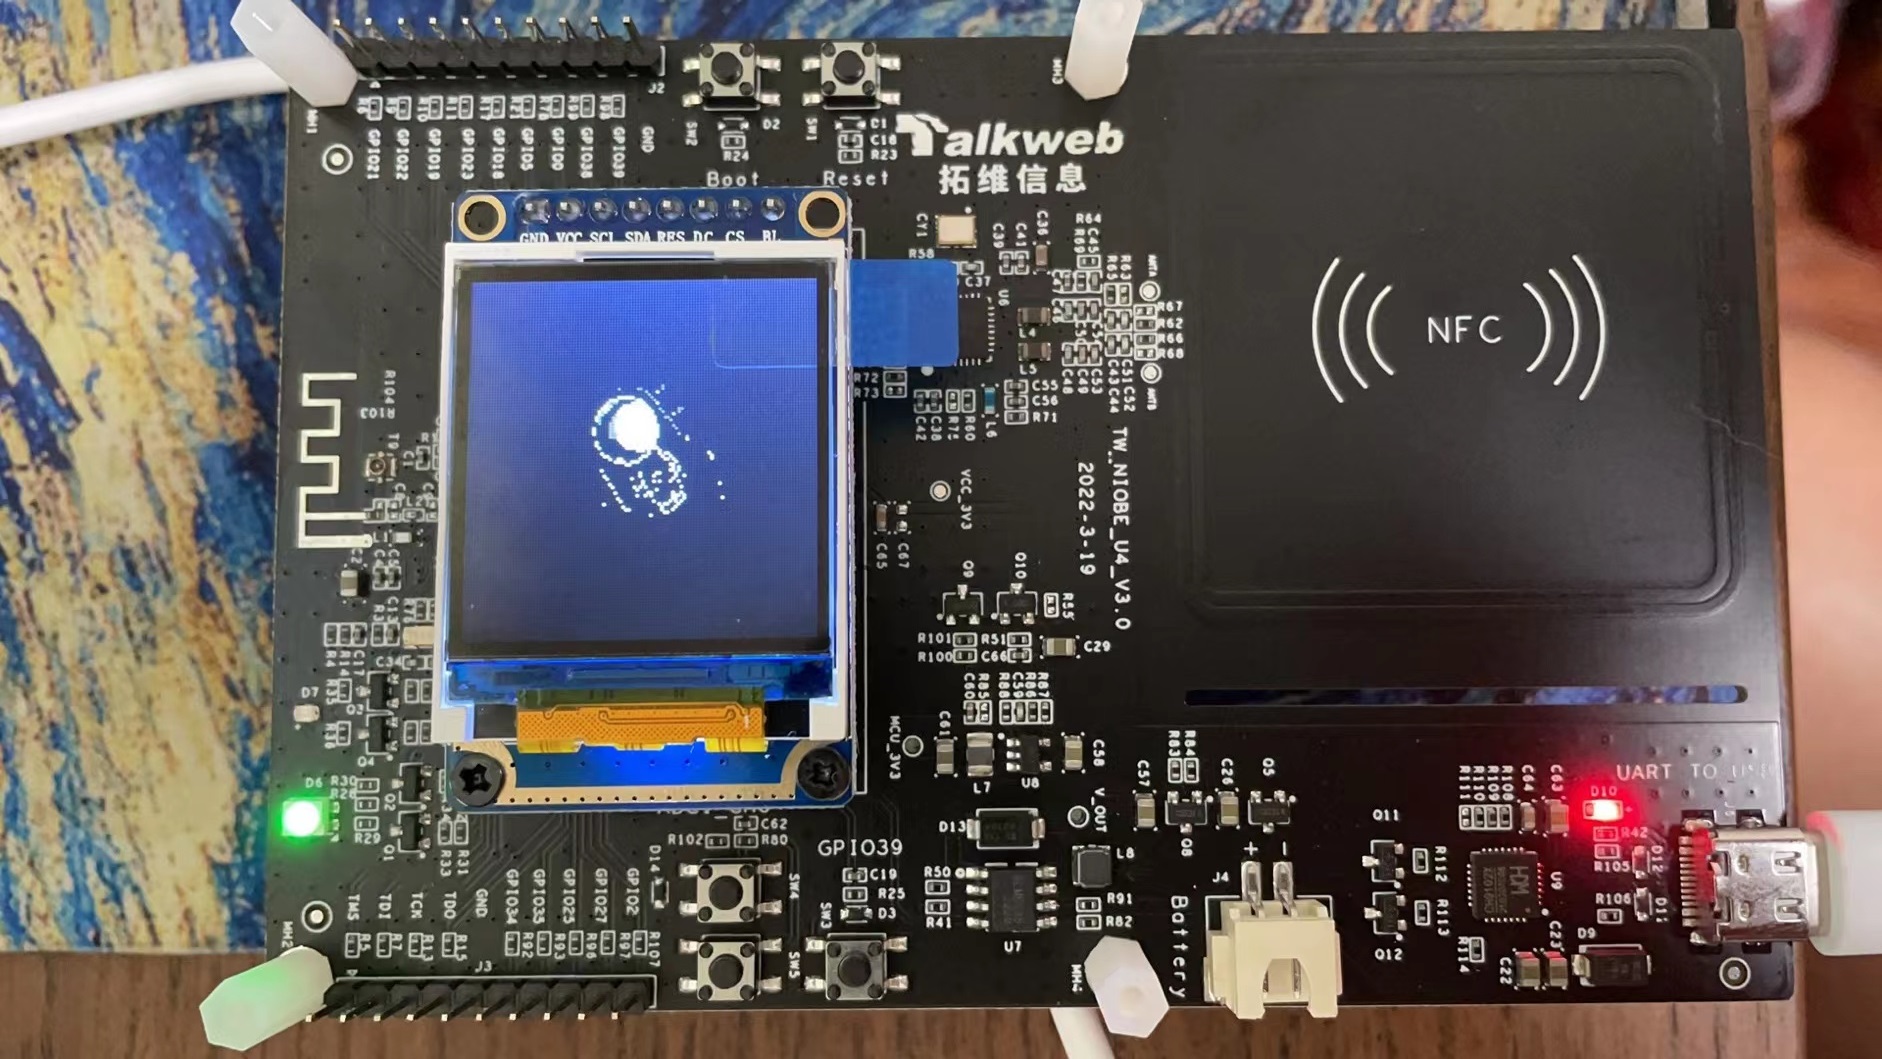
板子的出厂demo是一个动态太空人,貌似熟悉华为手表的人都知道,要好几块钱才能买到的。
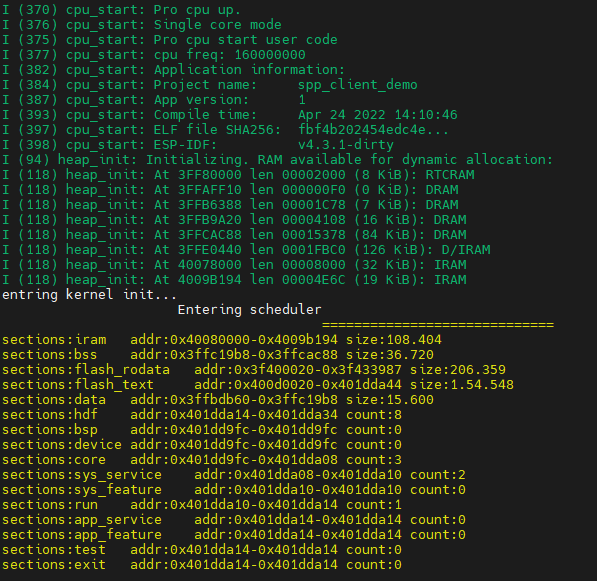
串口波特率115200连上看看log输出,开始就是熟悉的ESP环境log:
三、OpenHarmony开发环境搭建
我的环境是Ubuntu20.04,python3.8环境已经齐备。
uname -a
Linux EliteDesk 5.15.0-46-generic #49~20.04.2-Ubuntu SMP Fri Aug 12 08:03:17 UTC 2022 x86_64 x86_64 x86_64 GNU/Linux
1、安装ccahe
ccache主要用于提升编译速度,必须加上。
root@EliteDesk:/media/niobe$ sudo apt install ccache
Reading package lists... Done
Building dependency tree
Reading state information... Done
The following package was automatically installed and is no longer required:
  libfwupdplugin1
Use 'sudo apt autoremove' to remove it.
Suggested packages:
  distcc | icecc
The following NEW packages will be installed:
  ccache
0 upgraded, 1 newly installed, 0 to remove and 36 not upgraded.
Need to get 121 kB of archives.
After this operation, 369 kB of additional disk space will be used.
Get:1 http://mirrors.aliyun.com/ubuntu focal/main amd64 ccache amd64 3.7.7-1 [121 kB]
Fetched 121 kB in 1s (109 kB/s)
Selecting previously unselected package ccache.
(Reading database ... 221684 files and directories currently installed.)
Preparing to unpack .../ccache_3.7.7-1_amd64.deb ...
Unpacking ccache (3.7.7-1) ...
Setting up ccache (3.7.7-1) ...
Updating symlinks in /usr/lib/ccache ...
Processing triggers for man-db (2.9.1-1) ...
2、安装repo工具
主要用于获取系统源码。
sudo apt install curl -y
curl -s https://gitee.com/oschina/repo/raw/fork_flow/repo-py3 > repo
chmod a+x repo
sudo mv repo /usr/local/bin/
3、安装交叉编译工具
xtensa-esp32-elf-gcc交叉编译工具,用于在X6-64的环境下编译出xtensa-esp32环境中运行的程序。
wget https://dl.espressif.com/dl/xtensa-esp32-elf-gcc8_4_0-esp-2021r2-linux-amd64.tar.gz
sudo tar axvf xtensa-esp32-elf-gcc8_4_0-esp-2021r2-linux-amd64.tar.gz -C /opt/
然后修改~/.bashrc文件,增加文件交叉编译工具链的路径:
export PATH=$PATH:/opt/xtensa-esp32-elf/bin
4、源码获取
repo工具一步到位,中间有问题的话大部分是网络的问题,再次执行即可。
repo init -u https://gitee.com/fangye945a/niobeu4_trial.git -m devboard_niobeu4.xml
repo sync -c
repo forall -c 'git lfs pull'
repo start master --all
四、源码编译
熟悉OpenHarmony的小伙伴都知道。
首先,环境设置。选择选择openvalley下项目iotlink。
hb set
其次,执行编译命令。
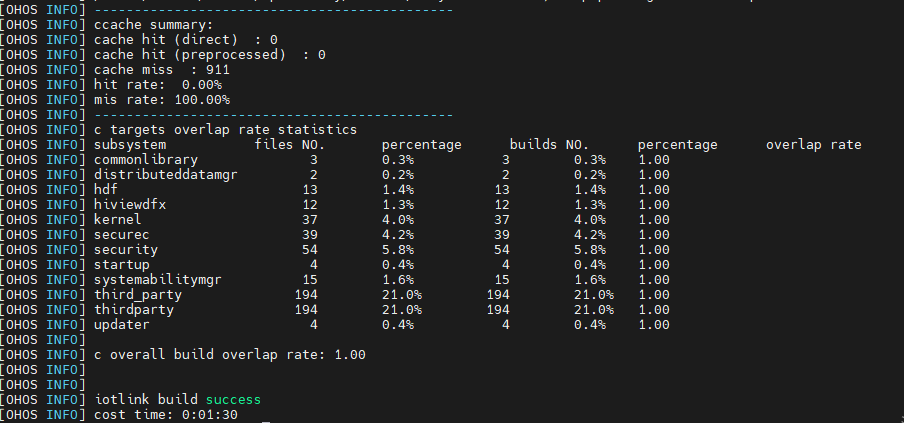
hb build -f
最终生成固件。
out目录文件如下:
root@EliteDesk:/media/niobe$ ls out/niobeu4/iotlink/
all_parts_host.json  bin                          build_configs  build.ninja.d   config.h  innerkits          libs          OHOS_Image      OHOS_Image.map         sorted_action_duration.txt  toolchain.ninja
all_parts_info.json  binary_installed_parts.json  build.log      build.trace.gz  etc       kconfig_env.txt    NOTICE_FILES  OHOS_Image.asm  OHOS_Image.sym.sorted  src_installed_parts.json    unstripped
args.gn              build.1662821125.796286.log  build.ninja    config.gni      gen       kconfig_files.txt  obj           OHOS_Image.bin  packages               src_sa_infos_tmp.json
##感谢阅读##
-
基于ESP32芯片,搭载OpenHarmony操作系统,NiobeU4开发板应用实例2023-05-11 4410
-
【社区之星】谢小龙:五年嵌入式开发工程师,做一个“博大”+“精深”的老鸟2022-10-18 106081
-
【开鸿智谷NiobeU4开发板免费试用体验】控温(1)2022-10-14 2072
-
【开鸿智谷NiobeU4开发板免费试用体验】Demo例程加载2022-10-10 3755
-
【开鸿智谷NiobeU4开发板免费试用体验】2.NiobeU4编程基础--gpio与uart联合使用示例2022-10-05 5581
-
【开鸿智谷NiobeU4开发板免费试用体验】1.Windows物理机上构建Linux开发环境2022-10-01 10078
-
【开鸿智谷NiobeU4开发板免费试用体验】 开发环境搭建并初步测试程序;2022-09-30 12273
-
【开鸿智谷NiobeU4开发板免费试用体验】基于Ubuntu22.04的NiobeU4开发环境搭建2022-09-17 5278
-
【开鸿智谷NiobeU4开发板免费试用体验】开箱体验编译环境搭建及烧录2022-09-11 6387
-
【开鸿智谷NiobeU4开发板免费试用体验】OpenHarmony开发环境搭建和源码编译2022-09-10 3429
全部0条评论

快来发表一下你的评论吧 !

