

鸿蒙开发中库的调用
描述
Codelabs 上有不少学习的案例,这次学习的是库的调用(ArkTS)案例。学习笔记拆成两部分,本文是关于社区库调用的学习笔记,以下我的学习心得,小白们也可以跟着一步步实现吖。
本次学习的案例由主页面、本地库组件页面、社区库组件页面三个页面组成,主页面由 Navigation 作为根组件实现全局标题,由 Tabs 组件实现本地库和社区库页面的切换。
效果如下:
软件要求:
DevEco Studio 版本:DevEco Studio 3.1 Beta1 及以上版本
HarmonyOS SDK 版本:API version 9 及以上版本
概念知识
Tabs:一种可以通过页签进行内容视图切换的容器组件,每个页签对应一个内容视图。
Canvas:画布组件,用于自定义绘制图形。
以上这两个组件在以往的文章也有提及过啦,于此着重学习两个新的知识点:
Navigation:一般作为 Page 页面的根容器,通过属性设置来展示页面的标题、工具栏、菜单。
https://developer.harmonyos.com/cn/docs/documentation/doc-references/ts-basic-components-navigation-0000001333800549?ha_linker=eyJ0cyI6MTY3ODM2NzAyODQ1OSwiaWQiOiI4ZDBkZTMzZjU1MzY0NDRlYjZkYTQ5MjM1MzcwMjEzZiJ9HarmonyOS npm 包:在传统的 npm 三方包的基础上,定义了 HarmonyOS npm 共享包特定的工程结构和配置文件,支持 HarmonyOS 页面组件、相关 API、资源的调用。
https://developer.harmonyos.com/cn/docs/documentation/doc-guides/creating_har_api8-0000001341502357?ha_linker=eyJ0cyI6MTY3ODM2NzA4OTk3NSwiaWQiOiI4ZDBkZTMzZjU1MzY0NDRlYjZkYTQ5MjM1MzcwMjEzZiJ9
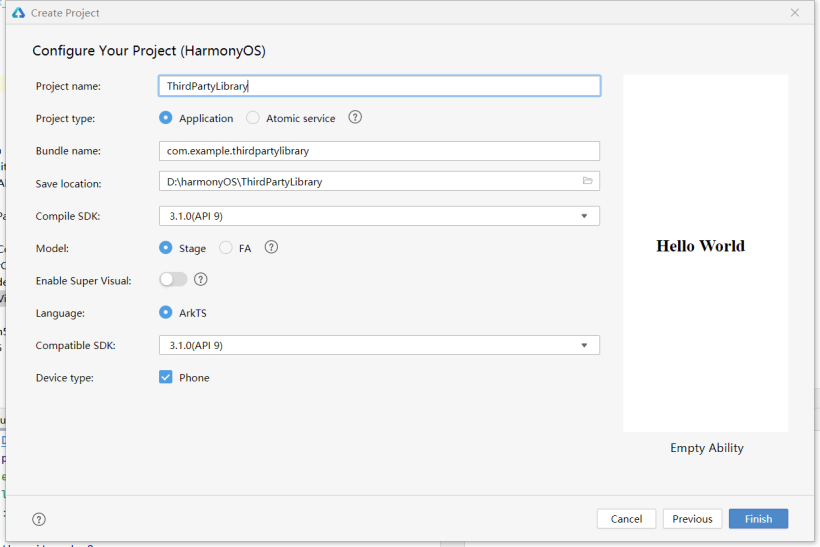
创建项目
如下图:
社区库调用
①设置依赖
社区库是指已经由贡献者上架到 npm 中心供其他开发者下载使用的库,调用这类库的步骤如下:
首先需要设置 HarmonyOS npm 三方包的仓库信息,在 DevEco Studio 的 Terminal 窗口执行如下命令进行设置:
npm config set @ohos:registry=https://repo.harmonyos.com/npm/然后通过如下两种方式设置 HarmonyOS npm 三方包依赖信息(下面步骤以 @ohos/lottieETS 三方库为例,其他库替换对应库的名字及版本号即可):
方式一:在 Terminal 窗口中,执行如下命令安装 HarmonyOS npm 三方包,DevEco Studio 会自动在工程的 package.json 中自动添加三方包依赖。
npm install @ohos/lottieETS --save
方式二:在工程的 package.json 中设置 HarmonyOS npm 三方包依赖,配置示例如下:
"dependencies": {

        "@ohos/lottieETS": "^1.0.2"

}
依赖设置完成后,需要执行 npm install 命令安装依赖包,依赖包会存储在工程的 node_modules 目录下。 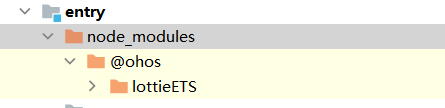
②引入配置的社区库,并实现对社区库动画的调用
首先在如图路径,创建动画的数据文件 data.json: 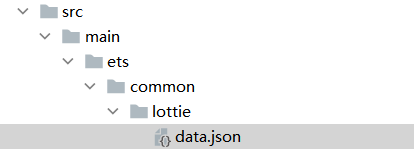 接着在 pages 目录下创建文件 Outer.ets 用于引用社区库动画,主要代码如下。
通过 import 的方式引入配置的社区库,设置画布,用于展示动画:
import lottie from '@ohos/lottieETS';

@Component
export struct Outer {
  private renderingSettings: RenderingContextSettings = new RenderingContextSettings(true);
  private renderingContext: CanvasRenderingContext2D = new CanvasRenderingContext2D(this.renderingSettings);
  private animateName: string = 'data';
  private animateItem: any = null;
  @State canvasTitle: string = '';

  aboutToDisappear(): void {
    lottie.destroy();
  }

  onPageShow(): void {
    lottie.play();
  }

  onPageHide(): void {
    lottie.pause();
  }
下图为该社区库的一些 api 接口说明截图,在 node_modules 下的 index.d.ts 文件里。 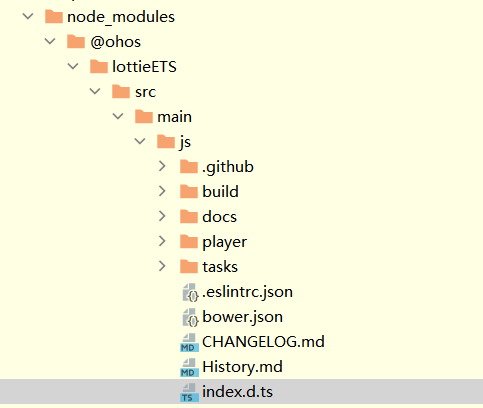
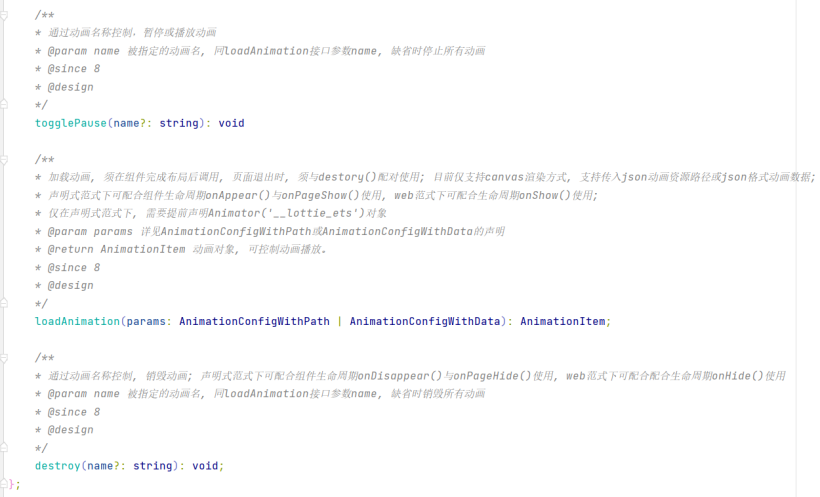
调用的主要代码:
      Column() {
        Canvas(this.renderingContext)
          .width('100%')
          .aspectRatio(1.76)
          .backgroundImage($r('app.media.canvasBg'))
          .backgroundImageSize(ImageSize.Cover)
          .onDisAppear(() => {
            lottie.destroy(this.animateName);
          })

      Column({ space: 12}) {
        Button() {
          Text('加载动画')
            .fontSize('16fp')
            .fontColor("#007DFF")
            .fontWeight(FontWeight.Bold)
        }
        .width('100%')
        .height('40vp')
        .backgroundColor("#dedbdb")
        .onClick(() => {
          this.canvasTitle = "加载动画";
          this.animateItem = lottie.loadAnimation({
            container: this.renderingContext,
            renderer: 'canvas',
            loop: 10,
            autoplay: true,
            name: this.animateName,
            path: 'common/lottie/data.json'
          });
        })
最后在主页面通过 navigation 组件,引用 Outer 组件,代码如下:
import { Outer } from './Outer';
@Entry
@Component
struct Index {
  private controller: TabsController = new TabsController();
  @State currentIndex: number = 0;

  @Builder NavigationTitle() {
    Column() {
      Text("库的调用")
        .fontColor(Color.Black)
        .lineHeight("33vp")
        .fontSize('24fp')
        .fontWeight(FontWeight.Bold)
    }
    .height('56vp')
    .justifyContent(FlexAlign.Center)
  }

  @Builder TabBuilder(index: number) {
    Column() {
      Column() {
        Text(index === 0 ?"本地调用" : "社区调用")
          .fontColor(this.currentIndex === index ? "#007dff" : "#182431")
          .fontSize('16fp')
      }
      .height('100%')
      .justifyContent(FlexAlign.Center)
      .border(this.currentIndex === index
        ? {width: { bottom:'1vp' }, color:"#007DFF" }
        : {}
      )
    }
    .height('56vp')
    .padding({ top:'10vp', bottom: '10vp'})
    .justifyContent(FlexAlign.Center)
  }

  build() {
    Column() {
      Navigation() {
        Tabs({ barPosition: BarPosition.Start, controller: this.controller }) {
          TabContent() {
//            Inner()
          }.tabBar(this.TabBuilder(0))

          TabContent() {
            Outer()
          }.tabBar(this.TabBuilder(1))
        }
        .barWidth('80%')
        .barHeight('56vp')
        .onChange((index: number) => {
          this.currentIndex = index;
        })
      }
      .title(this.NavigationTitle)
      .hideBackButton(true)
      .titleMode(NavigationTitleMode.Mini)
    }
    .backgroundColor("#F1F3F5")
  }
}
- 相关推荐
- 热点推荐
- 鸿蒙
- OpenHarmony
-
供开发鸿蒙开发者使用的日期选择器2022-03-28 1098
-
供鸿蒙应用开发者使用的计数动画文本视图2022-03-29 774
-
供开发鸿蒙开发者使用的自定义滚轮类控件2022-03-30 880
-
供鸿蒙开发者使用的计数动画文本视图2022-04-02 1674
-
鸿蒙OS开发学习:【第三方库调用】2024-04-14 2023
-
AKI跨语言调用库神助攻C/C++代码迁移至HarmonyOS NEXT2025-01-02 241
-
Arduino库直接调用没有原库复杂调用有用的数据2020-03-04 1083
-
鸿蒙的数据库知识点学习2021-09-06 4434
-
鸿蒙开发中怎么引入第三方库2021-10-11 5625
-
供开发鸿蒙应用使用的ButtonProgressBar下载按钮进度条2022-03-18 719
-
将底层接口调用实现成鸿蒙接口的循环音乐进度条2022-03-24 773
-
供鸿蒙开发者使用的多卡菜单安装方式2022-03-25 652
-
供鸿蒙应用开发者使用的精美图表库控件2022-04-01 1049
-
java上位机开发(c库调用)2023-05-09 533
-
鸿蒙实战开发:【相机和媒体库】2024-03-20 1970
全部0条评论

快来发表一下你的评论吧 !
