资料下载

如何使用Arduino MKR GSM 1400的蜂窝定位
描述
注意:本教程可能已过时,请到此处获取更新版本。
该项目的目的是展示如何使用 Arduino MKR GSM 1400 的蜂窝定位。为此,我们实现了一个简单的应用程序,允许您在收到带有安全检查的 SMS 时重试 MKR GSM 的纬度和经度收到信。从收到的 SMS 中恢复发件人号码,并使用适当的 Google 地图链接创建回复,该链接由 u-blox 模块提供的位置服务给出的坐标完成。
你需要什么
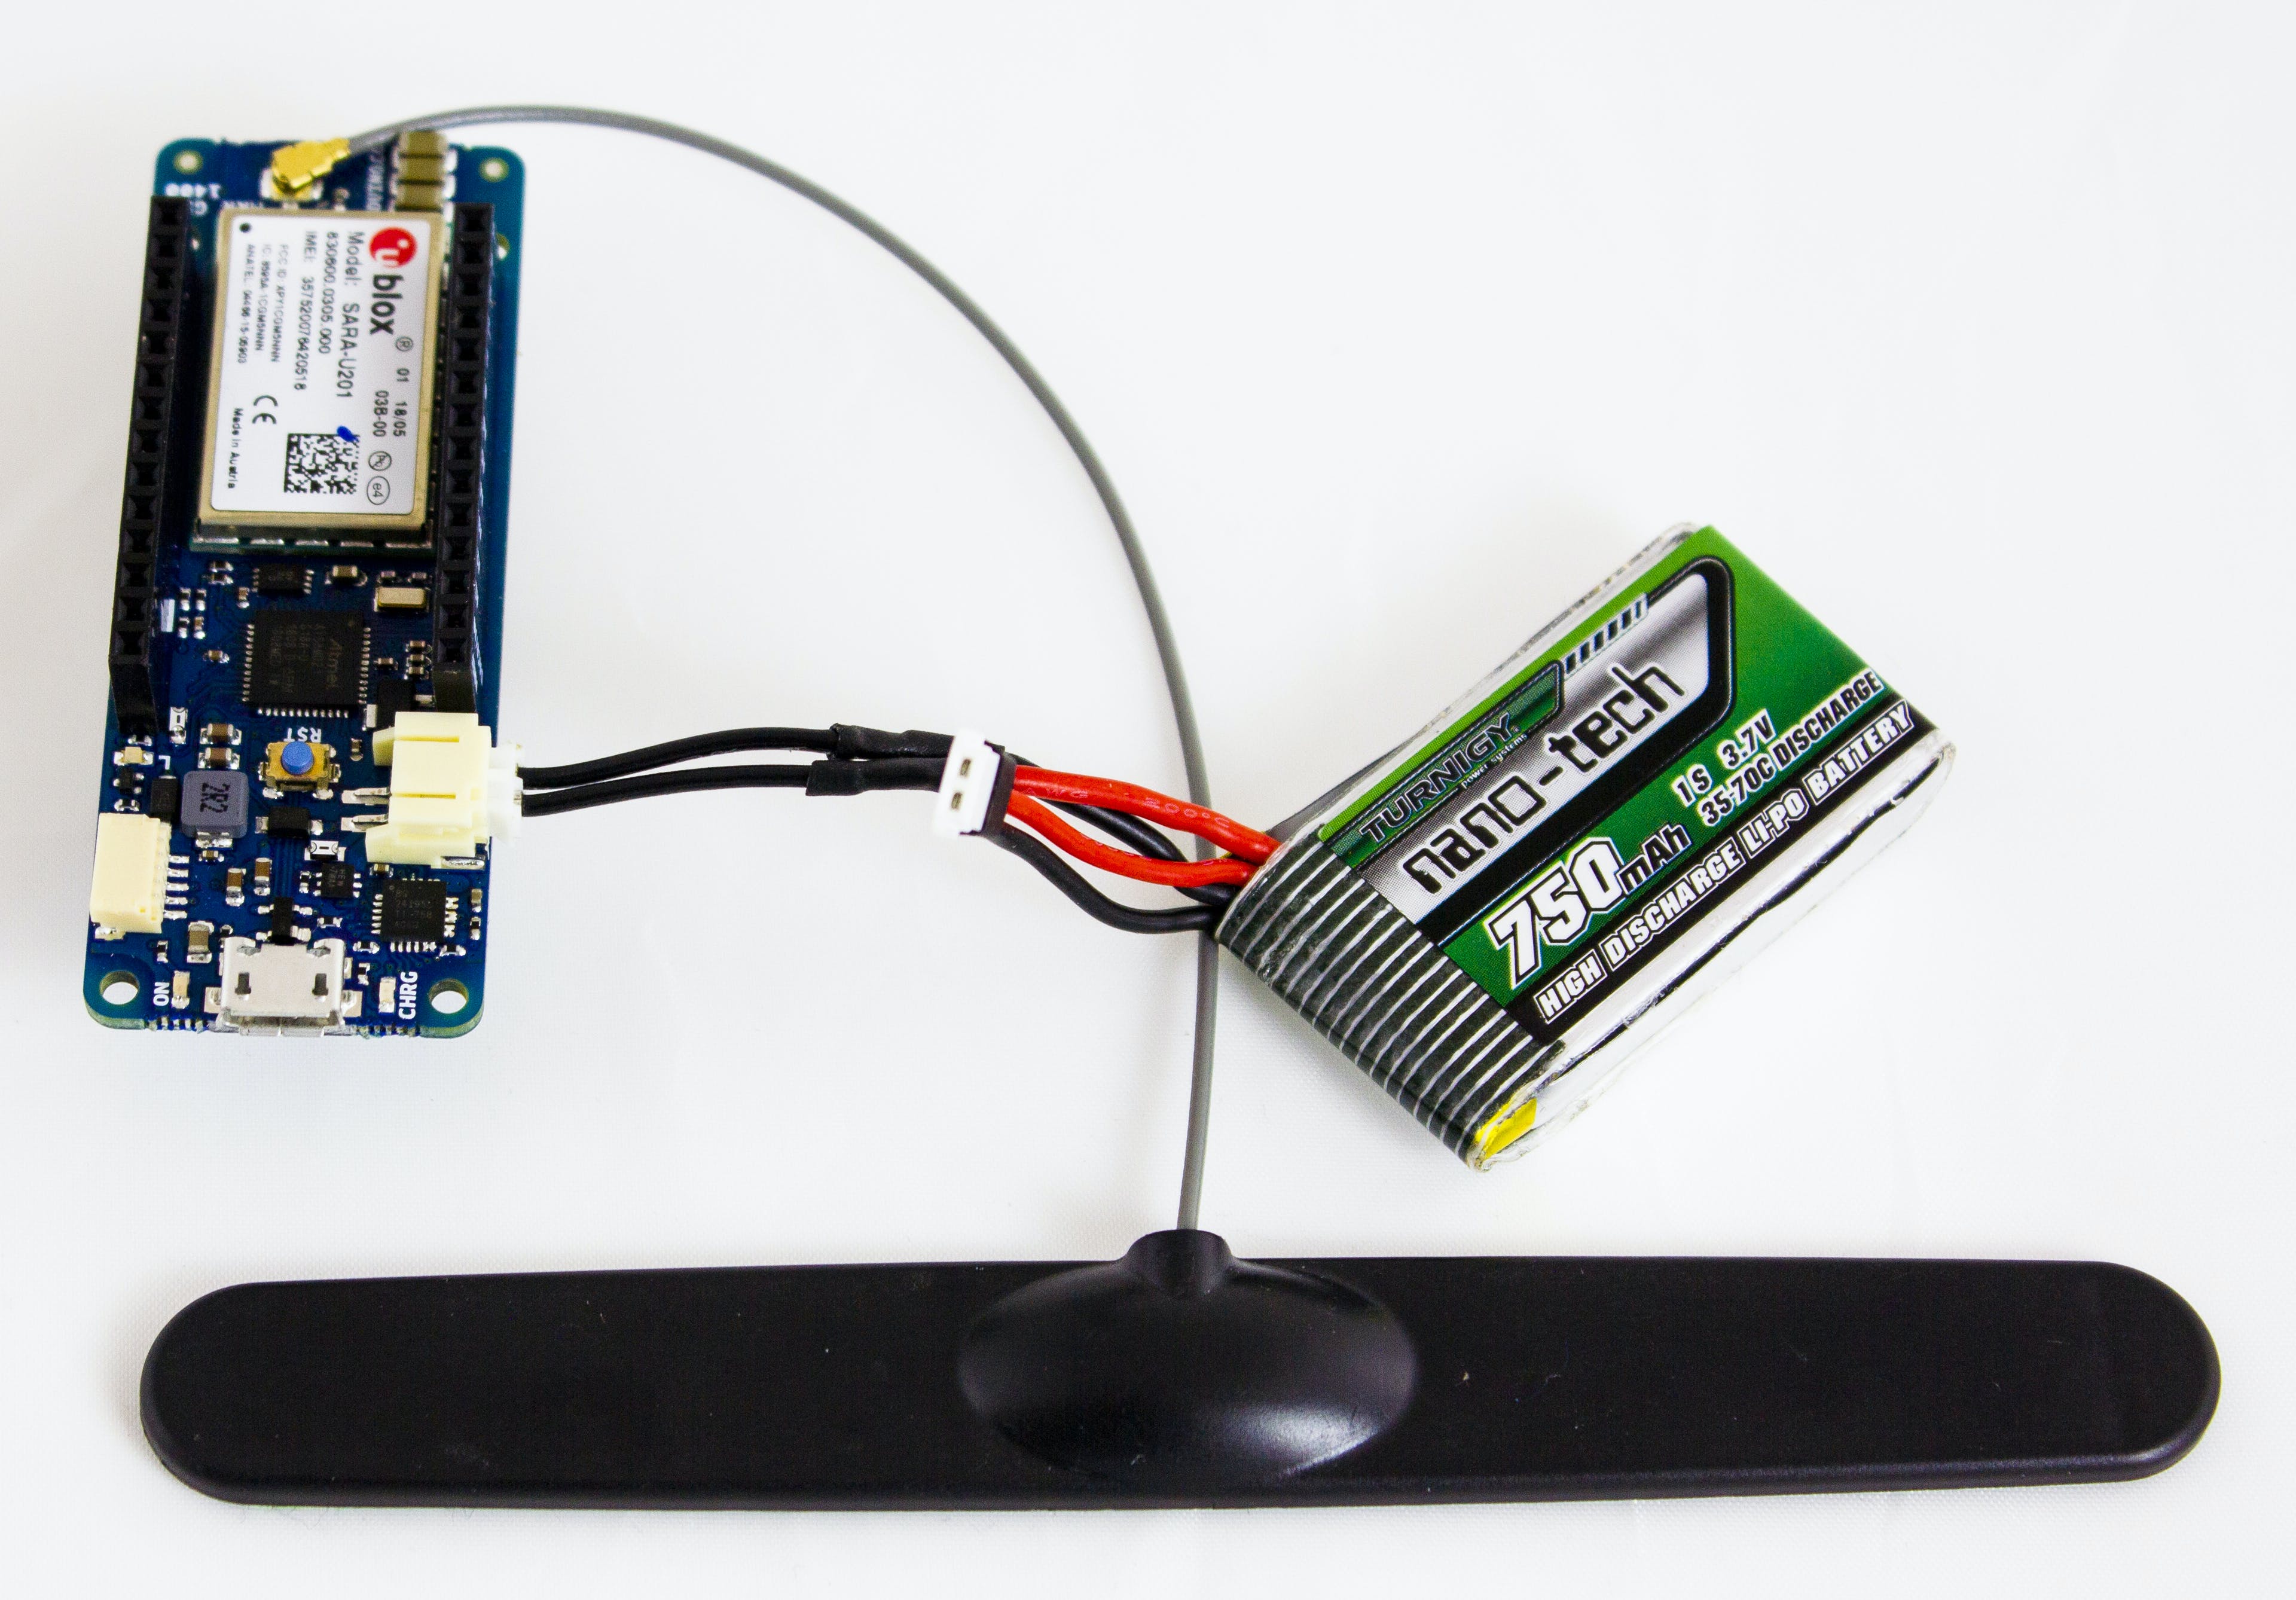
该项目基于 Arduino MKR GSM 1400、天线、LiPo 电池组、智能手机和一张数据 SIM 卡。
- Arduino MKR GSM 1400 执行草图并支持允许我们项目所需的本地化功能的 GSM 连接;
- 天线和电池组分别用于连接到信号良好的蜂窝数据网络,并在其他电源不可用时为设备供电;
- 需要智能手机向MKR GSM 1400发送短信并请求GPRS本地化;
- 需要 SIM 卡才能访问数据网络并允许网络操作;
- 需要 PIN、APN 和访问凭证才能连接到数据网络。
硬件设置
这个项目不需要任何特别的东西。将天线连接到板上,插入 SIM 卡并将 LiPo 电池连接到 JST 连接器。
LiPo 电池是可选的,但它可以应对 GSM 模块可能需要的电流峰值,尤其是在覆盖范围较差的情况下。

这个怎么运作
该项目使用 MKRGSM 库来管理 SMS 消息和基于单元的地理定位。
收到 SMS 时,检查内容以查明它是否包含字母“L”。只有在这种情况下,草图才会进行本地化和 SMS 传输。使用这种解决方案,任何号码都可以请求系统的位置,但只有知道密码(“密信”)的人才能得到答复。这是执行检查的行,if (c != 76)76 是“L”的 ASCII 码。您可以更改值以更改识别的字母。
GSM 模块没有 GPS 接收器,但制造商有一个关于 GSM 网络中每个小区位置的数据库,因此它为所提供的每个小区 ID 提供坐标。该系统在城市地区非常准确,每个小区覆盖一个小区域。在农村地区,每个小区的覆盖范围要大得多,所提供的位置也比较粗略。
要为 Google 地图创建链接,我们使用标准 URL,我们只需在末尾连接正确的 Long 和 Lat 值。此 URL 类似于“https://www.google.com/maps/place/, ”。地图上显示的位置将是细胞基于物理的位置;我们的棋盘在牢房覆盖的范围内。
草图
以下是草图的详细描述;第一个代码段用于包含应用程序所需的库。
MKRGSM包括所有 GSM 连接、本地化和 SMS 管理功能,这可通过对象GSMClient、GPRS、GSM和GSMLocation 获得,SMS 管理 API 可通过对象GSM_SMS 获得,标头ArduinoLowPower导入允许低功耗管理的 API董事会的模块。
如果您从 Web 编辑器下载代码,您会发现一个 arduino_secrets.h文件,其中包含PIN、APN、用户和密码等敏感数据。在 Web 编辑器上,您必须在 Secrets 选项卡中填写敏感数据。
// include the GSM library
#include
#include "ArduinoLowPower.h"
char PINNUMBER [] = SECRET_PINNUMBER;
char GPRS_APN[] = SECRET_GPRS_APN;
char GPRS_LOGIN [] =SECRET_GPRS_LOGIN;
char GPRS_PASSWORD[] =SECRET_GPRS_PASSWORD;
// initialize the library instances
GPRS gprs;
GSM gsmAccess;
GSM_SMS sms;
GSMLocation location;
measureLocation ()查询模块以通过蜂窝网络重试坐标,如果新坐标可用,则将其分配给全局变量,否则再次询问 45 秒,如果没有尊重精度约束的可用测量,则返回最后一个好的测量
//global variable used for location management
String GSMlatitude = "0.000000";
String GSMlongitude = "0.000000";
// This function use the location's APIs to get the device coordinates and update the globa variable if all the requirement are satisfied
void measureLocation() {
unsigned long timeout = millis();
while (millis() - timeout < 45000) {
if (location.available() && location.accuracy() < 300 && location.accuracy() != 0) {
GSMlatitude = String(location.latitude(), 6);
GSMlongitude = String(location.longitude(), 6);
break;
}
}
}
connectNetwork()函数使用 API smAccess.begin和gprs.attachGPRS将板子连接到数据网络;使用由 arduino_secrets.h 中的声明分配的凭证数据pin 、apn 、user和pass 。
// The connectNetwork() function is used for the board data connection
void connectNetwork()
{
bool status = false;
//set global AT command timeout this allow to recover from uart communication
// freeze between samd module and ublox module.
gprs.setTimeout(100000);
gsmAccess.setTimeout(100000);
// Start GSM connection
while (status == false) {
if ((gsmAccess.begin(PINNUMBER) == GSM_READY) &
(gprs.attachGPRS(GPRS_APN, GPRS_LOGIN, GPRS_PASSWORD) == GPRS_READY)) {
status = true;
} else {
delay(1000);
}
}
}
The setup section allow to initialize all the object used by the sketch, is called the connectionNetwork() function to establish the data connection and the localization structure beginning.
//code section used to initialize data connection and localization object
void setup() {
connectNetwork();
location.begin();
}
最后一个代码部分是实现 SMS 管理和位置测量的循环功能,每次有新的 SMS 可用时,板都会向发送者发送带有板坐标的 SMS 响应,以减少板的消耗关闭模块和进入深度睡眠 60 秒。
void loop() {
 int c;
 String response;
 String messager = "";
 measureLocation();
 unsigned long timeout = millis();
 while (millis() - timeout < 5000) {
if (sms.available()) { //check for SMS available
char senderNumber[20] = {"0"};
sms.remoteNumber(senderNumber, 20); //Get remote number
int c = sms.read();
if (c != 76) {
sms.flush();
break;
}
//concatenate the string message to be sended to the remote number
String txtMsg = "https://www.google.com/maps/place/" + GSMlatitude + "," + GSMlongitude;
// send the message
sms.beginSMS(senderNumber);
sms.print(txtMsg);
sms.endSMS();
break;
}
 }
 //Turn off the GSM module to gain the lowest power consumption from the board while are sleeping
 gsmAccess.shutdown();
 LowPower.sleep(60000); //enable the low power for 60 seconds and after retry the board
 connectNetwork(); //turn on the module and reconect to data network
}
如何使用它
如上所述设置硬件,使用您的访问凭据个性化草图,将草图加载到板上,然后等待与 GSM 网络建立连接。这可能需要 30 秒。
建立连接后,只需向 MKRGSM SIM 号码发送一条带有“L”文本的短信:这将启动本地化过程,并且董事会将回复一条短信,其中包含带有请求位置的谷歌地图链接。
声明:本文内容及配图由入驻作者撰写或者入驻合作网站授权转载。文章观点仅代表作者本人,不代表电子发烧友网立场。文章及其配图仅供工程师学习之用,如有内容侵权或者其他违规问题,请联系本站处理。 举报投诉
- 相关下载
- 相关文章


