

 移植RT-Thread nano到CW32L083
描述
因为工程的需要用到操作系统,这里可以选择freeRtos或者RT-Thread。我这里选用了RT-Thread。下面就如何用移植,分享如下:
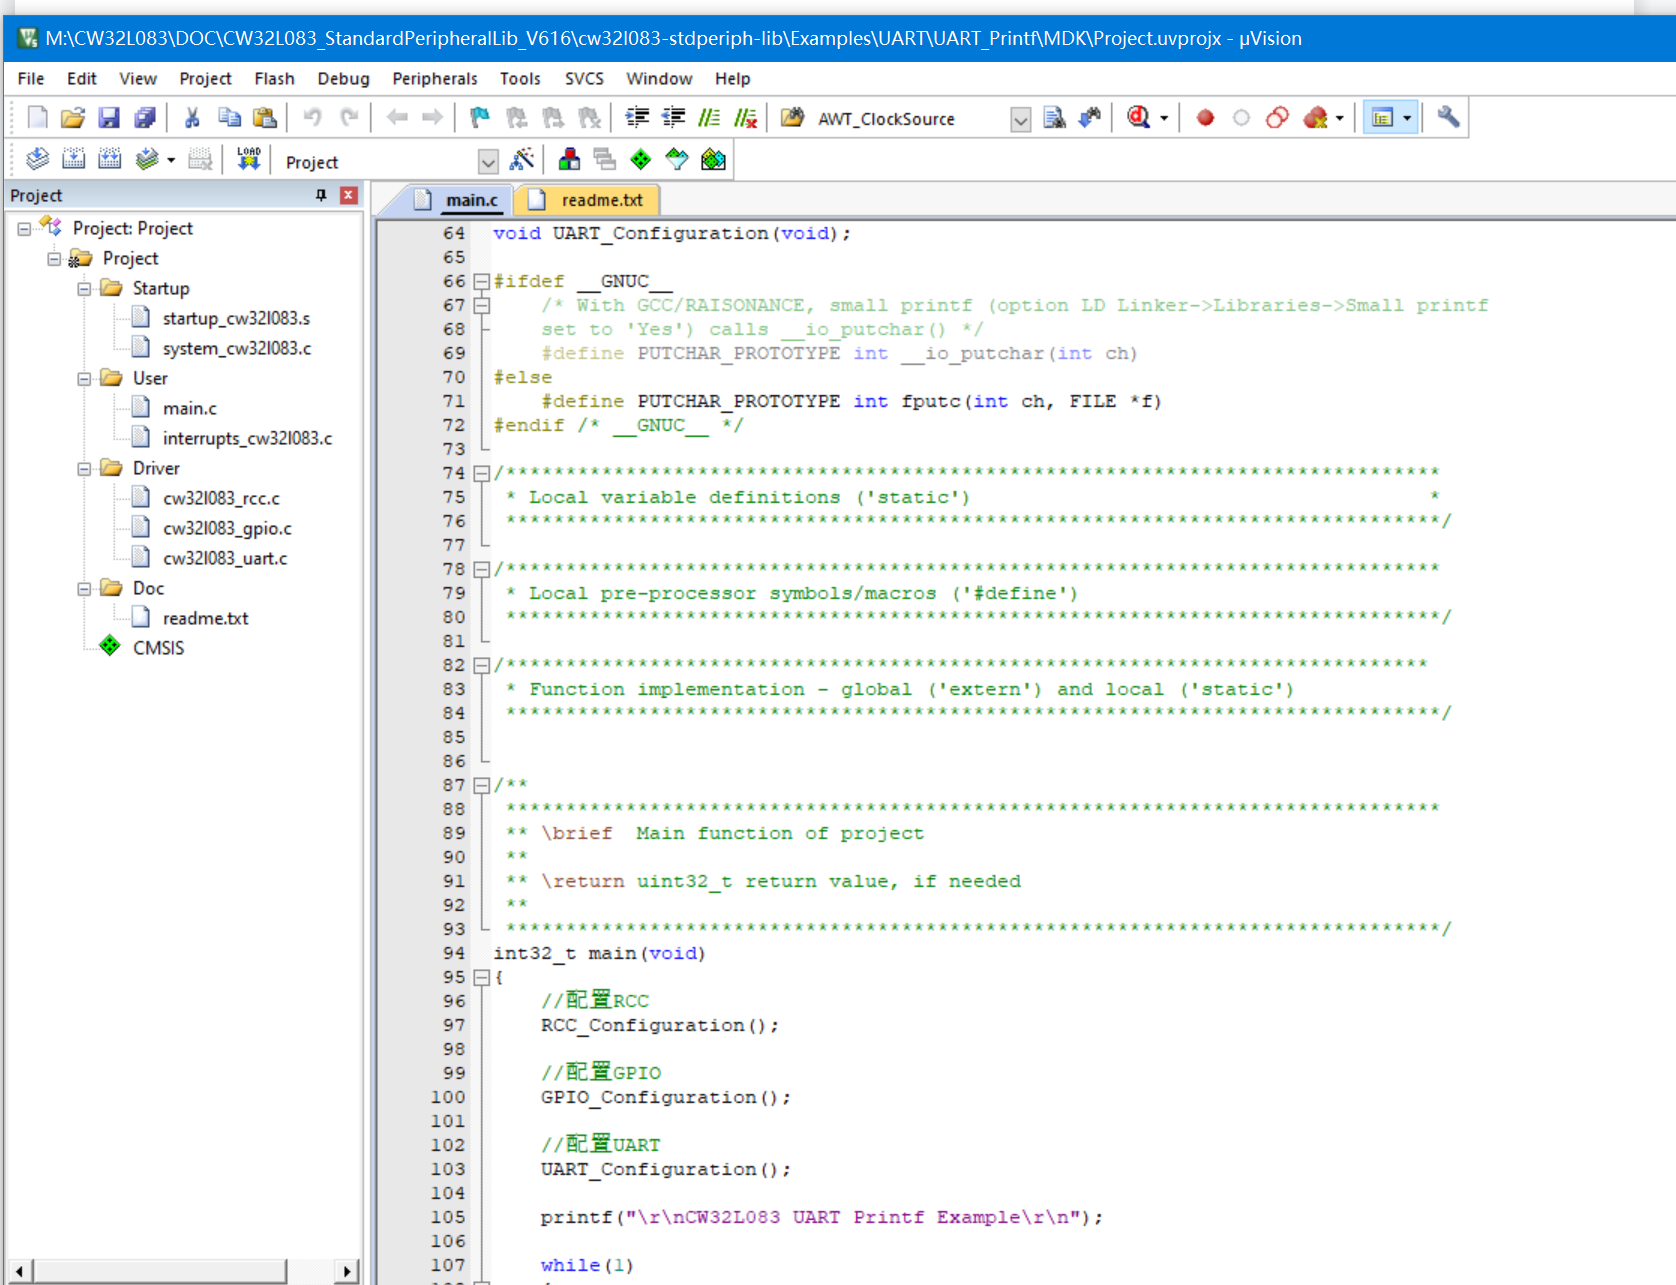
1、打开一个cw32l083的blink工程。
2、打开manage Run-Time Environment工具,选择RT-Thread,我们这里只选择kenel。

3、打开RTOS目录下的board.c文件,添加main.h头文件的引用、添加系统心路中断函数、添加systick初始化。

4、打开rtthconfig.h中内存管理的选项:

5、注释掉interrupts_cw32l083.c中HardFault_Handler、PendSV_Handler两个函数,避免出现得新定义的错误

6、编译后零错误零警告:

8、在main.c中添加rtthreah.h的头文件引用,再添回两个任务函数,并在主程序中启动:
struct rt_thread thread1;
struct rt_thread thread2;

char thread1_stack[512];
char thread2_stack[512];

void thread1_entry(void*param)
{

while (1)
{
	printf("thread1 is runningrn");
	rt_thread_mdelay(200);
}

}

void thread2_entry(void*param)
{

while (1)
{
	printf("thread2is runningrn");
	rt_thread_mdelay(400);
}

}

void thread1_init(void)
{

	rt_err_t fd=rt_thread_init(&thread1,"thread1",&thread1_entry,0,&thread1_stack[0],sizeof(thread1_stack),10,10);
	if(fd < 0)
	{
	printf("thread1 init is fail rn");
	}
	else
	{
	printf("thread1init is success rn");
	}
	rt_thread_startup(&thread1);
}
void thread2_init(void)
{

	rt_err_t fd=rt_thread_init(&thread2,"thread2",&thread2_entry,0,&thread2_stack[0],sizeof(thread2_stack),10,10);
	if(fd < 0)
	{
	printf("thread2 init is fail rn");
	}
	else
	{
	printf("thread2init is success rn");
	}
	rt_thread_startup(&thread2);
}

int32_t main(void)
{
    //配置RCC
    RCC_Configuration();

    //配置GPIO
    GPIO_Configuration();

    //配置UART
    UART_Configuration();

    printf("
CW32L083 UART Printf Example
");
		thread1_init();
		thread2_init();
    while(1)
    {

    }
}
【实验效果】
编译后下载到开发板,打开串口综端,就可以看到两个任打印出相应的信息。

【总结】
移植RT-Threadg nano到cw32l083的主要的就是需要添加systick定时器的中断函数,以及systick的配置。
审核编辑:汤梓红
声明:本文内容及配图由入驻作者撰写或者入驻合作网站授权转载。文章观点仅代表作者本人,不代表电子发烧友网立场。文章及其配图仅供工程师学习之用,如有内容侵权或者其他违规问题,请联系本站处理。
举报投诉
-
i.MX RT1170:VGLite移植RT-Thread Nano过程讲解(上)2023-11-09 4692
-
CW32L083如何实现AUTOTRIM时钟校准?2023-11-07 1734
-
基于CW32L083的线控器方案设计2023-06-25 503725
-
CW32L083 RTC初始化设置2023-06-24 3553
-
CW32L083实现SHT30驱动2023-06-22 5495
-
基于CW32L083的空调遥控器方案设计2023-06-21 2814
-
RT-Thread文档_RT-Thread SMP 介绍与移植2023-02-22 1833
-
如何创建RT-Thread Nano工程2022-03-19 6264
-
STM32 RT-Thread Nano(1)基于 Keil MDK 移植2021-12-02 1086
-
【国产MCU系列】在 HK32F030 上移植 RT-Thread Nano2021-11-21 1225
-
【国产MCU移植】HC32F460基于Keil MDK 移植 RT-Thread Nano2021-11-18 1535
-
基于 Keil MDK 移植 RT-Thread Nano2021-03-29 1956
全部0条评论

快来发表一下你的评论吧 !
