

 OpenHarmony开发实例:【电话簿联系人Contacts】
电子说
描述
样例简介
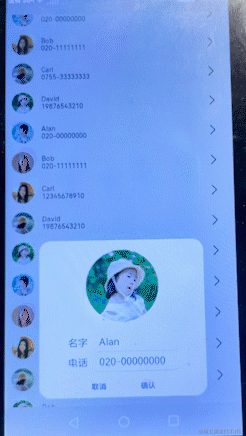
Contacts应用是基于OpenHarmony SDK开发的安装在润和HiSpark Taurus AI Camera(Hi3516d)开发板标准系统上的应用;应用主要功能是展示联系人列表,并点击某一列弹出联系人详细信息;
运行效果
样例原理
样例主要有一个list组件和dialog组件组成,初始化加载数据展示列表,点击某一列弹出对话框信息;如下图:

工程版本
- 系统版本/API版本:OpenHarmony SDK API 8
- IDE版本:DevEco Studio 3.0 Beta3
快速上手
准备硬件环境
[搭建标准系统环境]
准备开发环境
- 安装最新版[DevEco Studio]。
- 请参考[配置OpenHarmony SDK],完成DevEco Studio的安装和开发环境配置。
HarmonyOS与OpenHarmony鸿蒙文档籽料:mau123789是v直接拿
准备工程
配置git
- 提前注册准备码云gitee账号。
- git工具下载安装
sudo apt install git sudo apt install git-lfs - 配置git用户信息
git config --global user.name "yourname"
git config --global user.email "your-email-address"
git config --global credential.helper store
git下载
git clone https://gitee.com/openharmony-sig/knowledge_demo_smart_home.git --depth=1
工程导入
- DevEco Studio导入本工程;
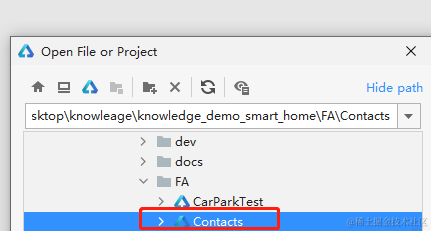
打开DevEco Studio,点击File->Open->下载路径/FA/Contacts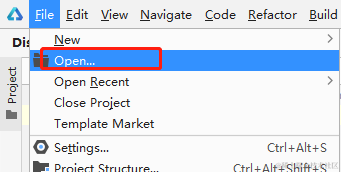


编译
- 点击File > Project Structure > Project > Signing Configs界面勾选“ Automatically generate signing ”,等待自动签名完成即可,点击“ OK ”。如下图所示:

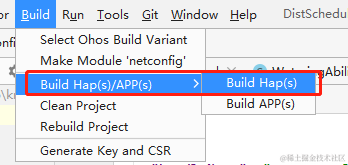
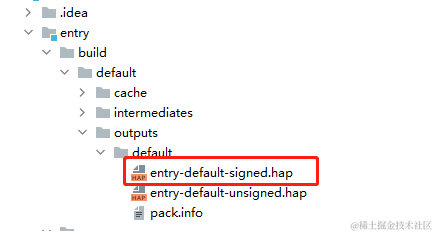
- 点击Build->Build Hap/APPs 编译,编译成功生成entry-default-signed.hap

烧录/安装
- 将搭载OpenHarmony标准系统的开发板与电脑连接。
- 识别到设备后点击
 ,或使用默认快捷键Shift+F10(macOS为Control+R)运行应用。
 ,或使用默认快捷键Shift+F10(macOS为Control+R)运行应用。
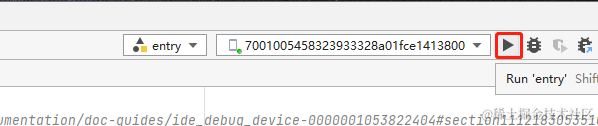
[安装应用]如果IDE没有识别到设备就需要通过命令安装,如下
打开OpenHarmony SDK路径 toolchains 文件夹下,执行如下hdc_std命令,其中path为hap包所在绝对路径。hdc_std install -r pathentry-default-signed.hap//安装的hap包需为xxx-signed.hap,即安装携带签名信息的hap包。PS环境准备,源码下载,编译,烧录设备,应用部署的完整步骤请参考[这里]
代码分析
鸿蒙开发指导文档:[gitee.com/li-shizhen-skin/harmony-os/blob/master/README.md]
完整的项目结构目录如下
├─entrysrcmain
│          │  config.json  //应用配置文件
│          │
│          ├─js
│          │  └─MainAbility
│          │      │  app.js  // 应用程序入口
│          │      │
│          │      ├─common   // 公共资源
│          │      │  │  checkbutton.png
│          │      │  │  delete.png
│          │      │  │  done.png
│          │      │  │  head0.png
│          │      │  │  head1.png
│          │      │  │  head2.png
│          │      │  │  head3.png
│          │      │  │  head4.png
│          │      │  │  right.png
│          │      │  │
│          │      │  └─images
│          │      │          bg-tv.jpg
│          │      │          Wallpaper.png
│          │      │
│          │      ├─i18n   // 多语言文件
│          │      │      en-US.json
│          │      │      zh-CN.json
│          │      │
│          │      └─pages
│          │          └─index
│          │                  index.css  //页面样式
│          │                  index.hml  //首页展示
│          │                  index.js   //页面逻辑
│          │
│          └─resources
│              ├─base
│              │  ├─element
│              │  │      string.json
│              │  │
│              │  └─media
│              │          icon.png
│              │
│              └─rawfile
开发步骤
1. 新建OpenHarmony ETS项目
在DevEco Studio中点击File -> New Project ->[Standard]Empty Ability->Next,Language 选择JS语言,最后点击Finish即创建成功。 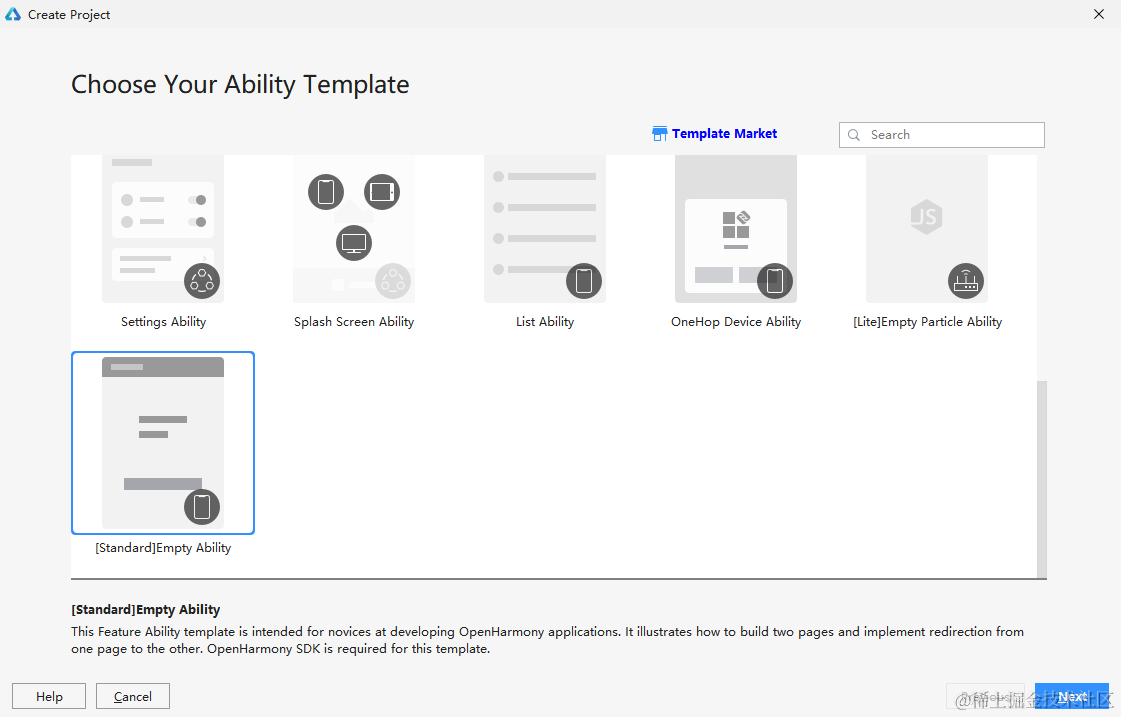
2. 编写主页面

2.1页面展示
1)最外层是[div]容器;
2)再通过[list]包裹[list-item]并设置点击事件[onclick]);
3)list_item 包括头像[image]和包括姓名和电话号码的div 按行布局容器,以及右尖括号图标;
4)[dialog]对话框容器包裹div容器和以及[button]组件,且div容器里面也是两个[label]和输入框的[input]
< div class="container" >
    < list class="list" >
        < list-item for="{{ contactList }}" class="list-item" onfocus="listFocus({{ $idx }})"
                   onclick="clickItem({{ $idx }})" >
            < image src="{{ $item.imageSrc }}" class="list-image" >< /image >
            < div class="content" >
                < text class="list-text" >
                    {{ $item.name }}
                < /text >
                < text class="list-text" focusable="true" >
                    {{ $item.phone }}
                < /text >
            < /div >
            < image class="right-image" src="/common/right.png" >
            < /image >
        < /list-item >
    < /list >

    < dialog id="detailDialog" class="dialog-main" @cancel="dialogCancel" >
        < div class="dialog-div" >
            < image src="{{ imageSrc }}" class="avatar" >< /image >
            < div class="input-box" >
                < div class="flex-row" >
                    < label class="label" target="name" >名字< /label >
                    < input id="name" class="input" type="text" value="{{ name }}" @change="changeName" >
                    < /input >
                < /div >
                < div class="flex-row" >
                    < label class="label" target="phone" >电话< /label >
                    < input id="phone" class="input" type="text" value="{{ phone }}" @change="changePhone" >
                    < /input >
                < /div >
            < /div >
            < div class="inner-btn" >
                < button class="btn" type="text" onclick="cancel" >取消< /button >
                < button class="btn" type="text" onclick="confirm" >确认< /button >
            < /div >
        < /div >
    < /dialog >
< /div >
2.2点击事件
点击某一行后,并根据当前行的id 弹出dialog对话框,展示对应的头像和名字和电话
clickItem(idx) {
        this.imageSrc = this.contactList[idx].imageSrc;
        this.name = this.contactList[idx].name;
        this.phone = this.contactList[idx].phone;
        this.showDialog();
        this.index = idx;
    },
2.3对话框姓名和电话修改
点击对话框名字框/电话框,会弹出软键盘,输入完成后会修改对应内容
// 更新input Name值
    changeName(e) {
        let changeValue = e.text
        this.name = changeValue;
    },
    // 更新input Phone值
    changePhone(e) {
        let changeValue = e.text;
        this.phone = changeValue;
    },
2.4对话框确定按钮
点击对话框确定按钮后,会将修改的姓名和电话号码存储到联系人列表
confirm() {
        //修改对应行后保存到列表中
        this.contactList[this.index].name = this.name;
        this.contactList[this.index].phone = this.phone;
        this.$element('detailDialog').close();
    },
操作体验

审核编辑 黄宇
- 相关推荐
- 热点推荐
- HarmonyOS
- OpenHarmony
- 鸿蒙OS
-
openharmony第三方组件适配移植的联系人列表组件教程2022-03-30 701
-
基于openharmony移植实现类似用户联系人通讯录展示功能2022-03-23 554
-
【OpenHarmony开发样例】基于BearPi套件开发的智能儿童手表系统2022-03-08 3150
-
谷歌通讯录应用允许用户备份和同步设备上的联系人2020-02-29 3230
-
三星手机出现奇怪bug:随机给联系人发照片2018-06-30 3982
-
iPhone6/plus和iPhone7/plus误删联系人,秒召回的办法,百试不爽!2017-05-19 3480
-
雅虎邮箱增导入Facebook联系人功能2010-03-06 2022
-
手机的电话簿项目2009-12-31 1061
-
手机电话簿项目2009-12-19 604
-
HC8218 阿拉伯电话本来电显示电话芯片2009-01-15 1446
全部0条评论

快来发表一下你的评论吧 !
