

AWTK-WEB 快速入门(3) - C 语言 Http 应用程序
描述
导读
XMLHttpRequest改变了Web应用与服务器交换数据的方式,fetch是XMLHttpRequest继任者,具有更简洁的语法。本文介绍一下如何使用C语言开发AWTK-WEB应用程序,并用fetch访问远程数据。
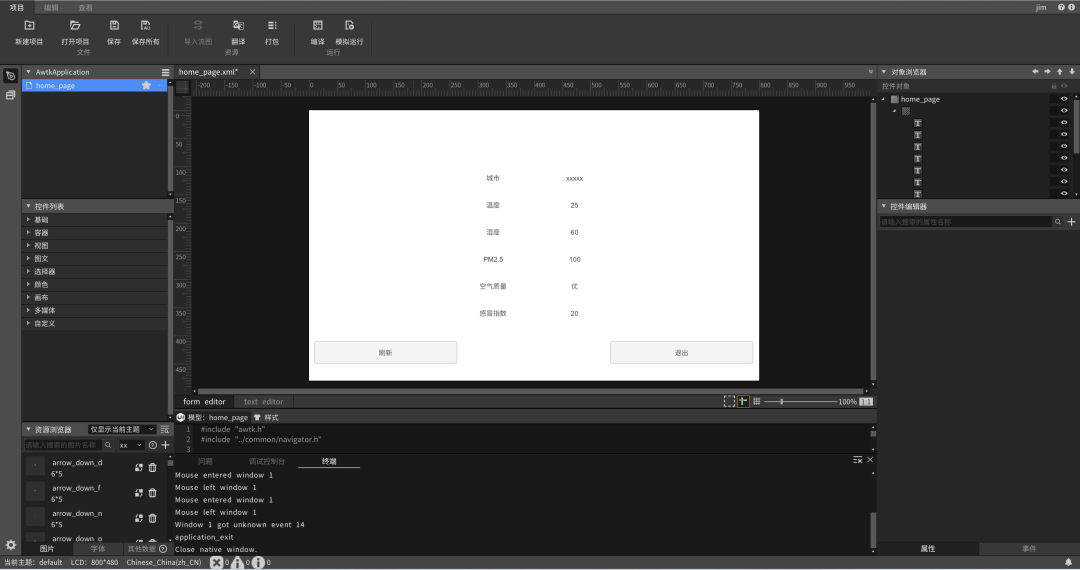
用 AWTK Designer 新建一个应用程序
先安装 AWTK Designer
1. 新建应用程序
这里假设应用程序的名称为 AwtkApplicationCHttp,后面会用到,如果使用其它名称,后面要做相应修改。
2. 编写代码
2.1 用VSCode打开目录AwtkApplicationCHttp,并打开文件src/pages/home_page.c。
使用其它文本编辑器或 IDE 也可以,推荐使用 VSCode,并开启 Copilot,将大幅提升开发效率。
2.2 添加事件处理函数。可以参考下面的代码:
// C 函数,用于处理接收到的数据void home_page_on_fetch_data(void* ctx, const char* data, uint32_t data_size) { widget_t* win = WIDGET(ctx);
conf_doc_t* doc = conf_doc_load_json(data, data_size); if (doc != NULL) { const char* city = conf_doc_get_str(doc, "cityInfo.city", "unknown"); const char* shidu = conf_doc_get_str(doc, "data.shidu", "unknown"); const char* wendu = conf_doc_get_str(doc, "data.wendu", "unknown"); const char* quality = conf_doc_get_str(doc, "data.quality", "unknown"); const char* ganmao = conf_doc_get_str(doc, "data.ganmao", "unknown"); double pm25 = conf_doc_get_float(doc, "data.pm25", 0);
widget_set_child_text_utf8(win, "city", city); widget_set_child_text_utf8(win, "shidu", shidu); widget_set_child_text_utf8(win, "wendu", wendu); widget_set_child_text_utf8(win, "quality", quality); widget_set_child_text_utf8(win, "ganmao", ganmao); widget_set_child_text_with_double(win, "pm25", "%.0f", pm25);
conf_doc_destroy(doc); }
printf("Received data (%d bytes): %s\n", data_size, data);}
// C 函数,用于处理错误void home_page_on_fetch_error(void* ctx, const char* error_message) { printf("Error: %s\n", error_message);}
static ret_t on_update(void* ctx, event_t* e) { widget_t* win = WIDGET(ctx); const char* url = "http://localhost:8080/AwtkApplicationCHttp/res/assets/default/raw/data/weather.json"; return_value_if_fail(win != NULL, RET_BAD_PARAMS);
fetch_data(win, "GET", url, home_page_on_fetch_data, home_page_on_fetch_error, NULL);
return RET_OK;}
/** * 初始化窗口 */ret_t home_page_init(widget_t* win, void* ctx) { (void)ctx; return_value_if_fail(win != NULL, RET_BAD_PARAMS);
widget_child_on(win, "update", EVT_CLICK, on_update, win);
return RET_OK;}
注意:控件的名称一定要和 home_page.xml 保持一致。
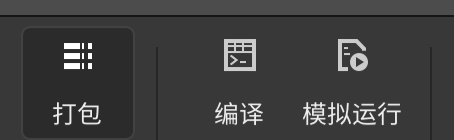
3. 在 AWTK Designer 中,执行“打包” “编译” “模拟运行”
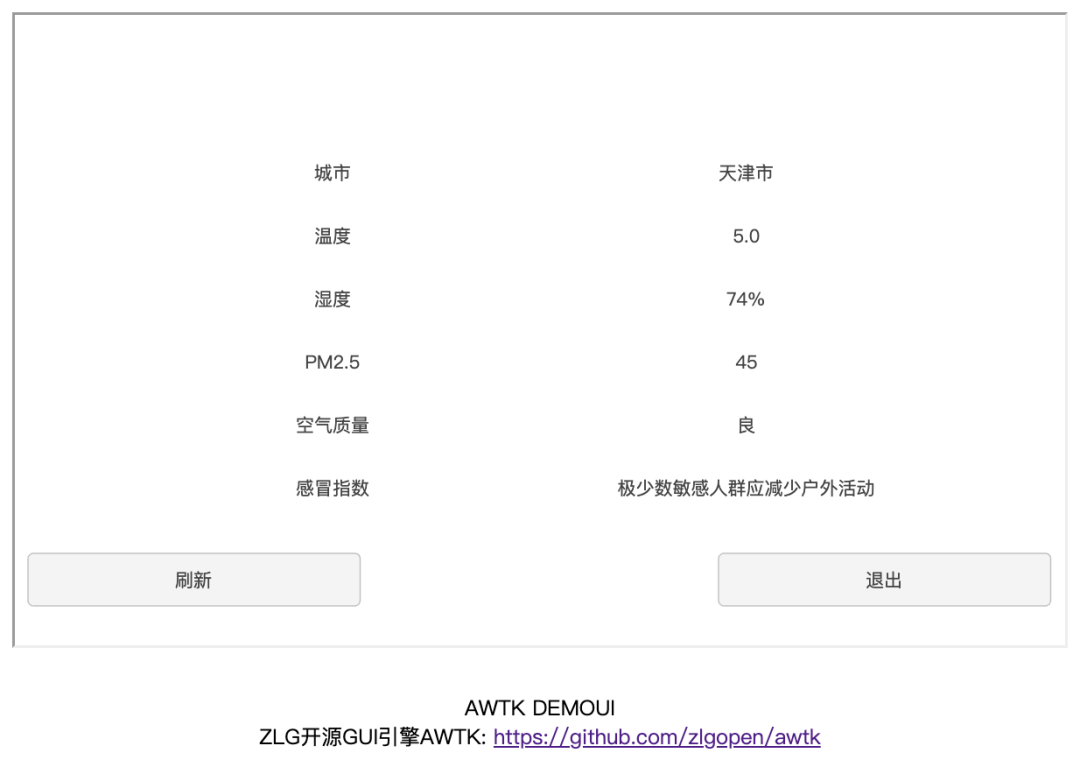
正常情况下可以看到如下界面:
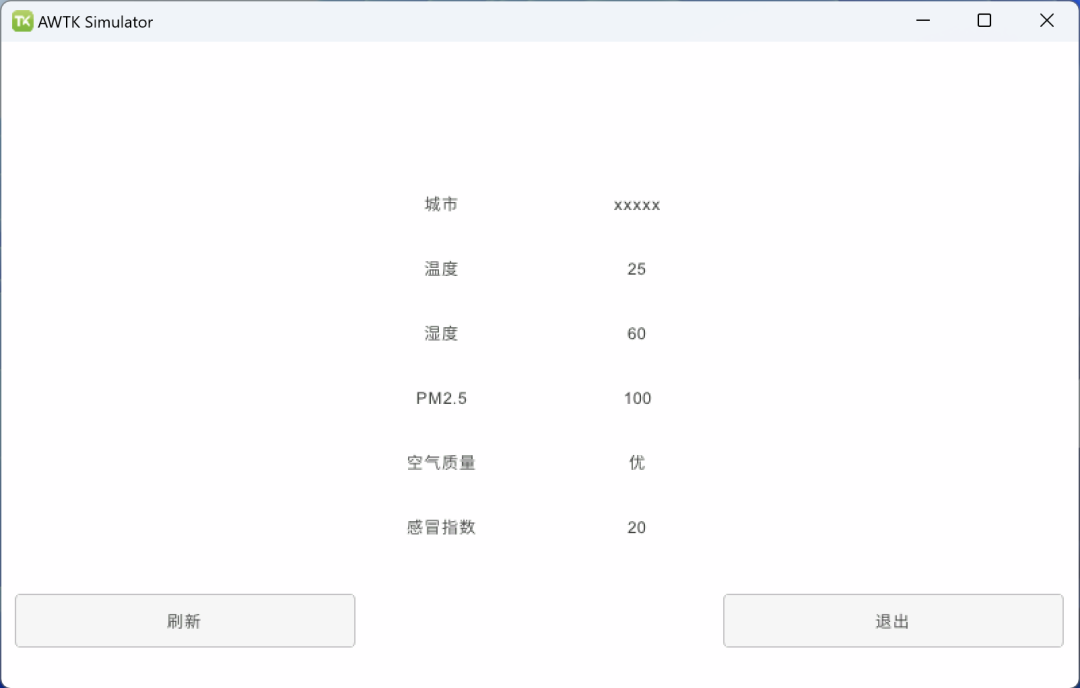
点击“关闭”按钮,退出应用程序。
编写配置文件
具体格式请参考,特殊平台编译配置
这里给出一个例子,可以在此基础上进行修改,该文件位于:
examples/AwtkApplicationCHttp/build.json
{ "name": "AwtkApplicationCHttp", "version": "1.0", "assets": "res/assets", "vendor": "zlgopen", "app_name": "org.zlgopen.AwtkApplicationCHttp", "copyright": "Guangzhou ZHIYUAN Electronics Co.,Ltd.", "themes":["default"], "sources": [ "src/*.c", "src/common/*.c", "src/pages/*.c", "src/*.h", "src/common/*.h", "src/pages/*.h" ], "web": { "app_type": "c", "assets": "design", "config": { "fontScale": "0.8", "defaultFont": "sans" } }
编译 WEB 应用程序
进入 awtk-web 目录,不同平台使用不同的脚本编译:
- Windows 平台
./build_win32.sh examples/AwtkApplicationCHttp/build.json release
- Linux 平台
./build_linux.sh examples/AwtkApplicationCHttp/build.json release
- MacOS 平台
./build_mac.sh examples/AwtkApplicationCHttp/build.json release
请根据应用程序所在目录,修改配置文件的路径。
运行
1. 正常启动
./start_web.sh
2. 调试启动
start_web_debug.sh
3. 用浏览器打开 URL:http://localhost:8080/AwtkApplicationCHttp
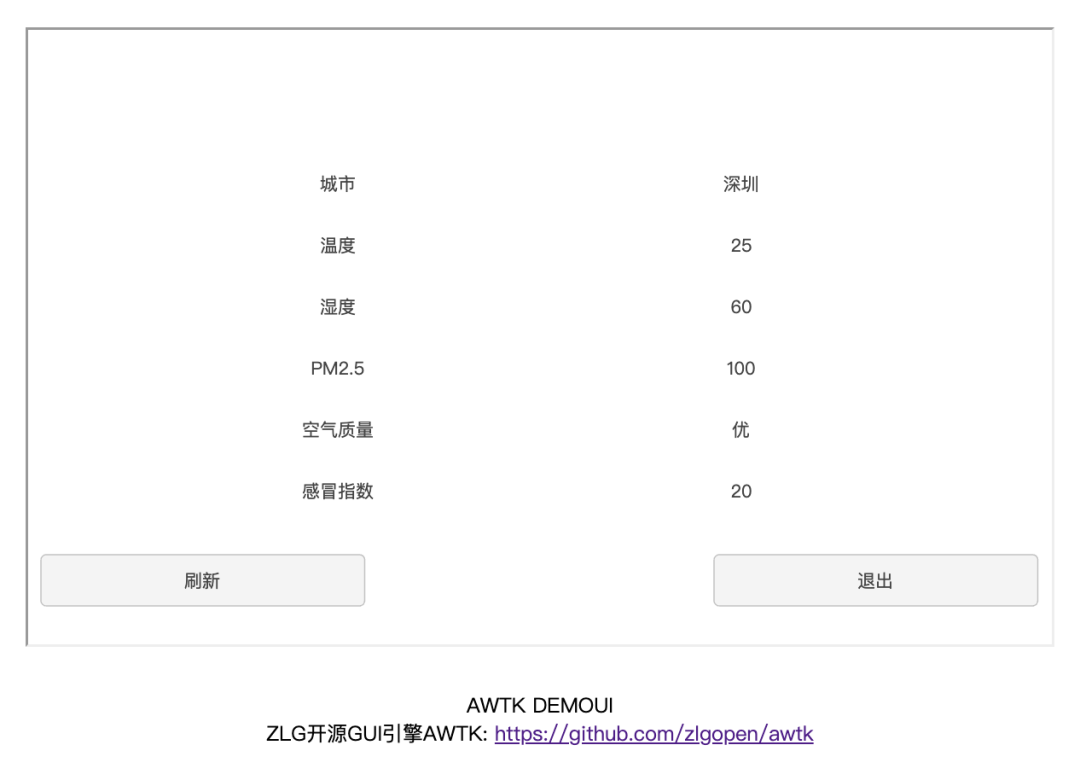
点击 “更新” 按钮,可以看到数据更新。
图像显示应用芯片ZMP110X
硬件高集成化
丰富的多媒体特性
广泛的应用场景
-
AWTK-WEB 快速入门(6) - JS WebSocket 应用程序2025-02-26 1082
-
AWTK-WEB 快速入门(5) - C 语言 WebSocket 应用程序2025-02-19 1426
-
AWTK-WEB 快速入门(4) - JS Http 应用程序2025-01-22 1105
-
AWTK-WEB 快速入门(2) - JS 应用程序2024-12-05 1274
-
AWTK-WEB 快速入门(1) - C 语言应用程序2024-11-27 1964
-
【从0开始创建AWTK应用程序】编译应用到RTOS平台2024-03-21 1839
-
【从0开始创建AWTK应用程序】创建应用程序并在模拟器运行2023-12-01 1941
-
【从0开始创建AWTK应用程序】开发及调试环境搭建2023-11-11 2060
-
【产品应用】用 AWTK 和 AWPLC 快速开发嵌入式应用程序 (2)-走马灯2023-05-31 1422
-
【产品应用】用 AWTK 和 AWPLC 快速开发嵌入式应用程序 (3)- 定时器2022-11-02 1947
-
【Z站推荐】用 AWTK 和 AWPLC 快速开发嵌入式应用程序 (2)-走马灯2022-10-13 1750
-
用AWTK和AWPLC快速开发嵌入式应用程序 (1)-温度控制器2022-09-28 1788
-
如何用AWTK和AWPLC快速开发嵌入式应用程序2022-09-26 2482
-
C语言-Web应用程序2018-04-23 1040
全部0条评论

快来发表一下你的评论吧 !
