

基于RV1126开发板的安全帽检测算法开发
电子说
描述
1. 安全帽检测简介
安全帽佩戴检测是工地、生产安全、安防的重中之重,但人为主观检测的方式时效性差且不能全程监控。AI技术的日渐成熟催生了安全帽佩戴检测方案,成为了监督佩戴安全帽的利器。本安全帽检测算法是一种基于深度学习的对人进行检测定位的目标检测,能有效用于产品落地。
本人脸检测算法在数据集表现如下所示:
| 安全帽检测算法 | mAP@0.5 |
| 测试数据集 | 0.93 |
基于EASY-EAI-Nano硬件主板的运行效率:
| 算法种类 | 运行效率 |
| helmet_detect | 115ms |
2. 快速上手
2.1 开发环境准备
如果您初次阅读此文档,请阅读《入门指南/开发环境准备/Easy-Eai编译环境准备与更新》,并按照其相关的操作,进行编译环境的部署。
在PC端Ubuntu系统中执行run脚本,进入EASY-EAI编译环境,具体如下所示。
cd ~/develop_environment
./run.sh
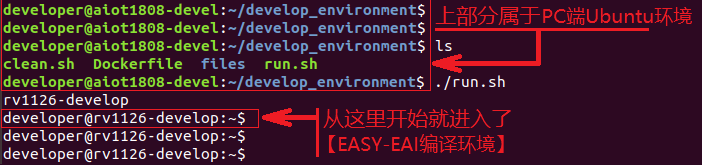
2.2 源码下载以及例程编译
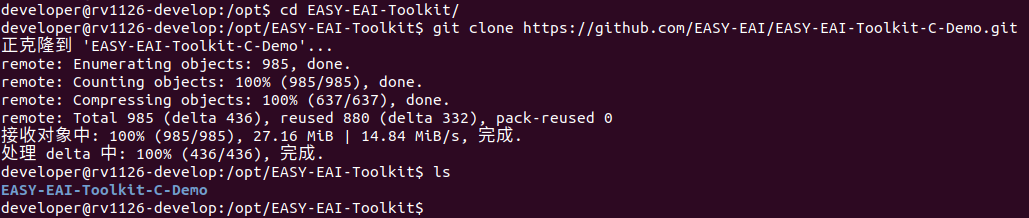
在EASY-EAI编译环境下创建存放源码仓库的管理目录:
cd /opt
mkdir EASY-EAI-Toolkit
cd EASY-EAI-Toolkit
通过git工具,在管理目录内克隆远程仓库
git clone https://github.com/EASY-EAI/EASY-EAI-Toolkit-C-Demo.git
注:
* 此处可能会因网络原因造成卡顿,请耐心等待。
* 如果实在要在gitHub网页上下载,也要把整个仓库下载下来,不能单独下载本实例对应的目录。
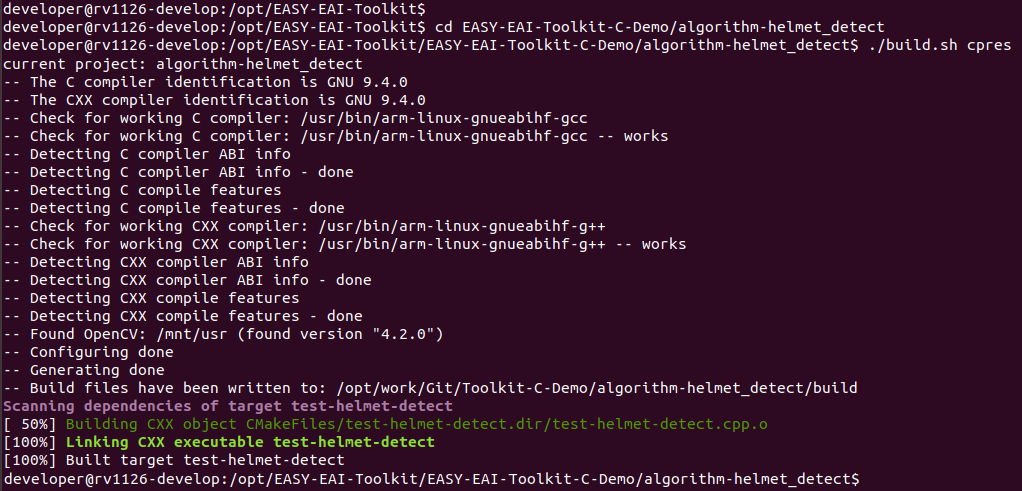
进入到对应的例程目录执行编译操作,具体命令如下所示:
cd EASY-EAI-Toolkit-C-Demo/algorithm-helmet_detect/
./build.sh cpres
注:
* 若build.sh脚本带有cpres参数,则会把Release/目录下的所有资源都拷贝到开发板上。
* 若build.sh脚本不带任何参数,则仅会拷贝demo编译出来的可执行文件。
* 由于依赖库部署在板卡上,因此交叉编译过程中必须保持adb连接。
2.3 模型部署
要完成算法Demo的执行,需要先下载安全帽检测算法模型。
百度网盘链接为:https://pan.baidu.com/s/1-trJP_WSWGdUzxQVOxbndg (提取码:y8uc )。
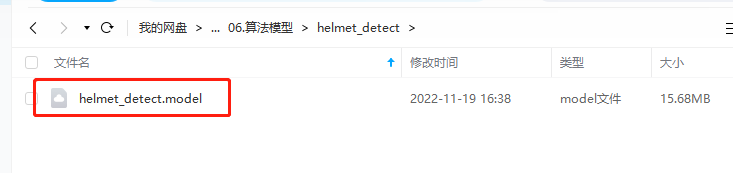
同时需要把下载的安全帽检测算法模型复制粘贴到Release/目录下:
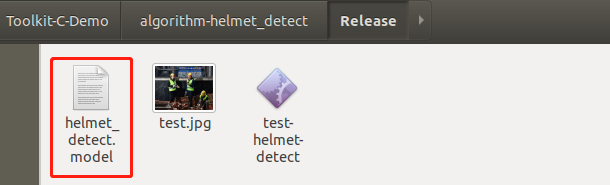
再通过下方命令将模型署到板卡中,如下所示。
cp ./Release/*.model /mnt/userdata/Demo
2.4 例程运行
通过按键Ctrl+Shift+T创建一个新窗口,执行adb shell命令,进入板卡运行环境。
adb shell
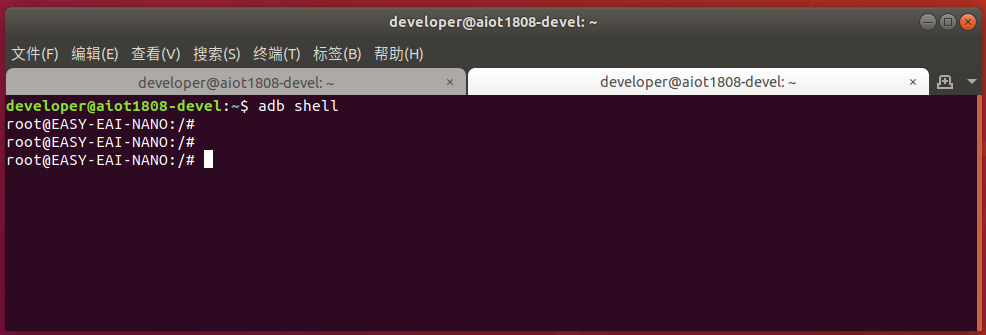
进入板卡后,定位到例程上传的位置,如下所示:
cd /userdata/Demo
运行例程命令如下所示:
./test-helmet-detect
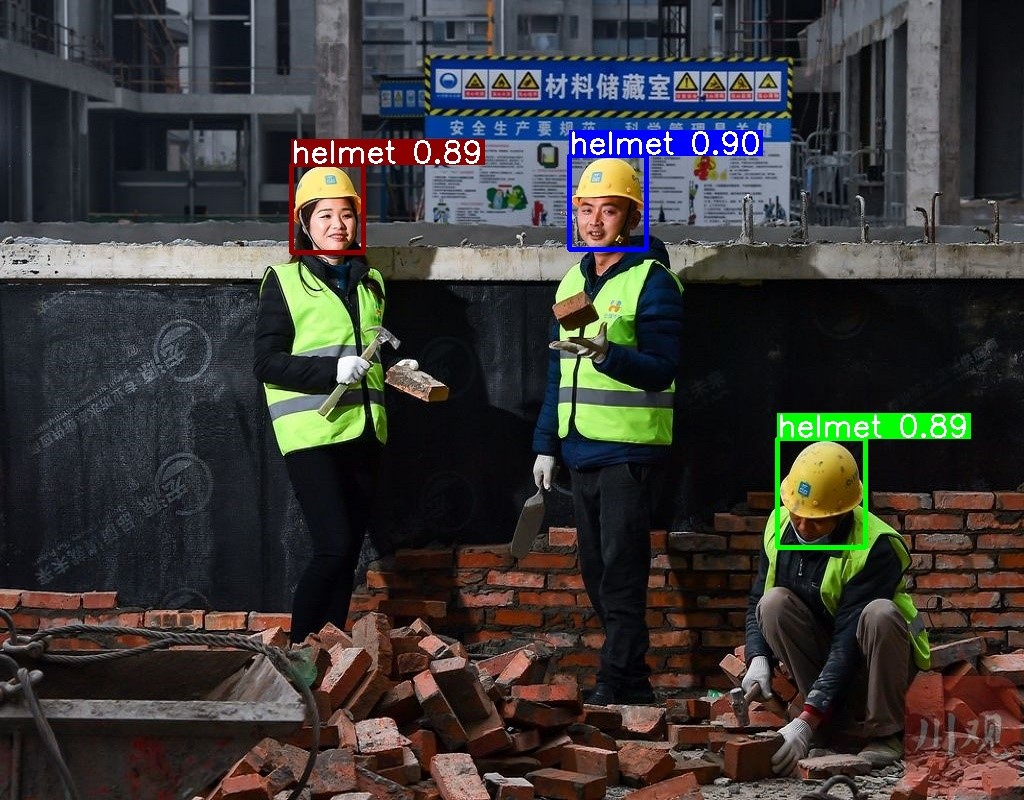
2.5 运行效果
helmet-detect的Demo执行效果如下所示:

再开一个窗口,在PC端Ubuntu环境通过以下命令可以把图片拉回来:
adb pull /userdata/Demo/result.jpg .
结果图片如下所示:
API的详细说明,以及API的调用(本例程源码),详细信息见下方说明。
3. 安全帽检测API说明
3.1 引用方式
为方便客户在本地工程中直接调用我们的EASY EAI api库,此处列出工程中需要链接的库以及头文件等,方便用户直接添加。
| 选项 | 描述 |
| 头文件目录 | easyeai-api/algorithm_api/helmet_detect |
| 库文件目录 | easyeai-api/algorithm_api/helmet_detect |
| 库链接参数 | -lpthread -lhelmet_detect -lrknn_api |
3.2 安全帽检测初始化函数
设置安全帽检测初始化函数原型如下所示。
int helmet_detect_init(rknn_context *ctx, const char * path)
具体介绍如下所示。
| 函数名:helmet_detect_init() | |
| 头文件 | helmet_detect.h |
| 输入参数 | ctx:rknn_context句柄 |
| path:算法模型的路径 | |
| 返回值 | 成功返回:0 |
| 失败返回:-1 | |
| 注意事项 | 无 |
3.3 安全帽检测运行函数
设helmet_detect_run原型如下所示。
int helmet_detect_run(rknn_context ctx, cv::Mat input_image, helmet_detect_result_group_t *detect_result_group)
具体介绍如下所示。
| 函数名: helmet_detect_run() | |
| 头文件 | helmet_detect.h |
|
输入参数 |
ctx: rknn_context句柄 |
| input_image:图像数据输入(cv::Mat是Opencv的类型) | |
| output_dets:目标检测框输出 | |
| 返回值 | 成功返回:0 |
| 失败返回:-1 | |
| 注意事项 | 无 |
3.4 安全帽检测释放函数
人脸检测释放函数原型如下所示。
int helmet_detect_release(rknn_context ctx)
具体介绍如下所示。
| 函数名:helmet_detect_release () | |
| 头文件 | helmet_detect.h |
| 输入参数 | ctx: rknn_context句柄 |
| 返回值 | 成功返回:0 |
| 失败返回:-1 | |
| 注意事项 | 无 |
4. 安全帽检测算法例程
例程目录为Toolkit-C-Demo/algorithm-helmet_detect/test-helmet-detect.cpp,操作流程如下。
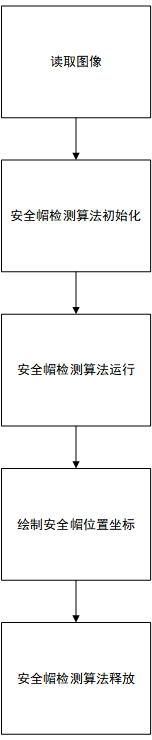
参考例程如下所示。
#include < opencv2/opencv.hpp >
#include < stdio.h >
#include < sys/time.h >
#include"helmet_detect.h"

using namespace cv;
using namespace std;

static Scalar colorArray[10]={
    Scalar(255, 0, 0, 255),
    Scalar(0, 255, 0, 255),
    Scalar(0,0,139,255),
    Scalar(0,100,0,255),
    Scalar(139,139,0,255),
    Scalar(209,206,0,255),
    Scalar(0,127,255,255),
    Scalar(139,61,72,255),
    Scalar(0,255,0,255),
    Scalar(255,0,0,255),
};

int plot_one_box(Mat src, int x1, int x2, int y1, int y2, char *label, char colour)
{
    int tl = round(0.002 * (src.rows + src.cols) / 2) + 1;
    rectangle(src, cv::Point(x1, y1), cv::Point(x2, y2), colorArray[(unsigned char)colour], 3);

    int tf = max(tl -1, 1);

    int base_line = 0;
    cv::Size t_size = getTextSize(label, FONT_HERSHEY_SIMPLEX, (float)tl/3, tf, &base_line);
    int x3 = x1 + t_size.width;
    int y3 = y1 - t_size.height - 3;

    rectangle(src, cv::Point(x1, y1), cv::Point(x3, y3), colorArray[(unsigned char)colour], -1);
    putText(src, label, cv::Point(x1, y1 - 2), FONT_HERSHEY_SIMPLEX, (float)tl/3, cv::Scalar(255, 255, 255, 255), tf, 8);
    return 0;
}

int main(int argc, char **argv)
{
	/* 参数初始化 */
	helmet_detect_result_group_t detect_result_group;

	/* 算法模型初始化 */
	rknn_context ctx;
	helmet_detect_init(&ctx, "./helmet_detect.model");

	/* 算法运行 */
	cv::Mat src;
	src = cv::imread("test.jpg", 1);

	struct timeval start;
	struct timeval end;
	float time_use=0;

	gettimeofday(&start,NULL);
	helmet_detect_run(ctx, src, &detect_result_group);

	gettimeofday(&end,NULL);
	time_use=(end.tv_sec-start.tv_sec)*1000000+(end.tv_usec-start.tv_usec);//微秒
	printf("time_use is %fn",time_use/1000);

	/* 算法结果在图像中画出并保存 */
	for (int i = 0; i < detect_result_group.count; i++)
	{
		helmet_detect_result_t *det_result = &(detect_result_group.results[i]);


		if( det_result- >prop < 0.5 )
		{
			continue;
		}


		printf("%s @ (%d %d %d %d) %fn",
			   det_result- >name,
			   det_result- >box.left, det_result- >box.top, det_result- >box.right, det_result- >box.bottom,
			   det_result- >prop);
		int x1 = det_result- >box.left;
		int y1 = det_result- >box.top;
		int x2 = det_result- >box.right;
		int y2 = det_result- >box.bottom;

		char label_text[50];
		memset(label_text, 0 , sizeof(label_text));
		sprintf(label_text, "%s %0.2f",det_result- >name, det_result- >prop);
		plot_one_box(src, x1, x2, y1, y2, label_text, i%10);
	}

	cv::imwrite("result.jpg", src);


	/* 算法模型空间释放 */
	helmet_detect_release(ctx);

	return 0;
}

审核编辑 黄宇
-
瑞芯微RV1126B开发板(EASY-EAI-PI2) 安全帽检测2026-07-03 790
-
瑞芯微(EASY EAI)RV1126B 安全帽检测2026-01-15 8714
-
基于RK3576开发板的安全帽检测算法2025-05-08 2336
-
基于RV1126开发板实现安全帽检测方案2025-04-21 1292
-
基于RV1126开发板实现人员检测方案2025-04-18 220
-
基于RV1126开发板的按键测试方法与例程2025-04-15 1405
-
RV1126 实现人脸检测方案2025-04-14 1240
-
安全帽佩戴检测算法2024-06-26 1464
-
RV1126开发板数据手册2022-08-28 2499
全部0条评论

快来发表一下你的评论吧 !
