


quickpcb源码
华秋PCB(https://www.hqpcb.com/zhuoluyex7?zt-499)四层板板材费降至499元/㎡,狂降16.83%;多层板全面大幅度降价,交期再提速
更多
以下是一个简化版的 QuickPCB 电路板设计软件的 Python 实现源码。该程序使用 pygame 库实现了基本的 PCB 绘制功能,包括放置元件、绘制导线、保存/加载设计等功能:
import pygame
import pickle
import os

# 初始化pygame
pygame.init()
WIDTH, HEIGHT = 800, 600
screen = pygame.display.set_mode((WIDTH, HEIGHT))
pygame.display.set_caption("QuickPCB v1.0")

# 颜色定义
BACKGROUND = (40, 44, 52)
GRID_COLOR = (60, 64, 72)
COMPONENT_COLOR = (86, 182, 194)
WIRE_COLOR = (152, 195, 121)
HIGHLIGHT = (255, 184, 108)
TEXT_COLOR = (220, 220, 220)
UI_BG = (30, 34, 42)

# PCB元件类
class Component:
    def __init__(self, x, y, type="IC"):
        self.x = x
        self.y = y
        self.type = type
        self.pins = []
        self.size = 40 if type == "IC" else 30
        self.create_pins()

    def create_pins(self):
        if self.type == "IC":
            # 创建IC的引脚 (两侧)
            for i in range(8):
                self.pins.append((self.x - 20, self.y - 15 + i * 10))
                self.pins.append((self.x + 20, self.y - 15 + i * 10))
        else:  # 电阻
            self.pins = [(self.x - 15, self.y), (self.x + 15, self.y)]

    def draw(self, surface):
        color = HIGHLIGHT if self == selected_component else COMPONENT_COLOR
        if self.type == "IC":
            pygame.draw.rect(surface, color, (self.x-20, self.y-20, 40, 40), 2)
            # 绘制引脚
            for pin in self.pins:
                pygame.draw.circle(surface, COMPONENT_COLOR, pin, 3)
        else:  # 电阻
            pygame.draw.rect(surface, color, (self.x-15, self.y-8, 30, 16), 2)
            pygame.draw.line(surface, color, (self.x-25, self.y), (self.x-15, self.y), 2)
            pygame.draw.line(surface, color, (self.x+15, self.y), (self.x+25, self.y), 2)

# PCB板类
class PCB:
    def __init__(self):
        self.components = []
        self.wires = []
        self.grid_size = 20

    def add_component(self, x, y, type):
        # 对齐到网格
        x = (x // self.grid_size) * self.grid_size
        y = (y // self.grid_size) * self.grid_size
        self.components.append(Component(x, y, type))

    def draw(self, surface):
        # 绘制网格
        for x in range(0, WIDTH, self.grid_size):
            pygame.draw.line(surface, GRID_COLOR, (x, 0), (x, HEIGHT), 1)
        for y in range(0, HEIGHT, self.grid_size):
            pygame.draw.line(surface, GRID_COLOR, (0, y), (WIDTH, y), 1)

        # 绘制导线
        for wire in self.wires:
            pygame.draw.line(surface, WIRE_COLOR, wire[0], wire[1], 3)

        # 绘制元件
        for comp in self.components:
            comp.draw(surface)

    def save_design(self, filename):
        with open(filename, 'wb') as f:
            pickle.dump((self.components, self.wires), f)

    def load_design(self, filename):
        if os.path.exists(filename):
            with open(filename, 'rb') as f:
                self.components, self.wires = pickle.load(f)

# 创建PCB实例
pcb = PCB()
selected_component = None
current_tool = "COMPONENT"  # COMPONENT, WIRE
current_component_type = "IC"
drawing_wire = False
wire_start = None

# 按钮类
class Button:
    def __init__(self, x, y, width, height, text):
        self.rect = pygame.Rect(x, y, width, height)
        self.text = text

    def draw(self, surface):
        pygame.draw.rect(surface, UI_BG, self.rect)
        pygame.draw.rect(surface, TEXT_COLOR, self.rect, 2)
        font = pygame.font.SysFont(None, 24)
        text_surf = font.render(self.text, True, TEXT_COLOR)
        surface.blit(text_surf, (self.rect.centerx - text_surf.get_width()//2,
                               self.rect.centery - text_surf.get_height()//2))

    def is_clicked(self, pos):
        return self.rect.collidepoint(pos)

# 创建UI按钮
buttons = [
    Button(10, 10, 120, 40, "IC芯片"),
    Button(140, 10, 120, 40, "电阻"),
    Button(270, 10, 120, 40, "导线模式"),
    Button(400, 10, 120, 40, "保存"),
    Button(530, 10, 120, 40, "加载")
]

# 主循环
running = True
clock = pygame.time.Clock()

while running:
    mouse_pos = pygame.mouse.get_pos()

    for event in pygame.event.get():
        if event.type == pygame.QUIT:
            running = False

        elif event.type == pygame.MOUSEBUTTONDOWN:
            # 检查按钮点击
            for i, button in enumerate(buttons):
                if button.is_clicked(mouse_pos):
                    if i == 0:  # IC芯片
                        current_tool = "COMPONENT"
                        current_component_type = "IC"
                    elif i == 1:  # 电阻
                        current_tool = "COMPONENT"
                        current_component_type = "RESISTOR"
                    elif i == 2:  # 导线模式
                        current_tool = "WIRE"
                    elif i == 3:  # 保存
                        pcb.save_design("design.pcb")
                    elif i == 4:  # 加载
                        pcb.load_design("design.pcb")

            # 放置元件或开始画线
            if mouse_pos[1] > 60:  # 避免点击到UI区域
                if current_tool == "COMPONENT":
                    pcb.add_component(mouse_pos[0], mouse_pos[1], current_component_type)
                elif current_tool == "WIRE":
                    drawing_wire = True
                    wire_start = mouse_pos

        elif event.type == pygame.MOUSEBUTTONUP and drawing_wire:
            drawing_wire = False
            if wire_start and mouse_pos != wire_start:
                pcb.wires.append((wire_start, mouse_pos))

    # 渲染
    screen.fill(BACKGROUND)
    pcb.draw(screen)

    # 绘制按钮
    for button in buttons:
        button.draw(screen)

    # 显示当前工具
    font = pygame.font.SysFont(None, 28)
    tool_text = font.render(f"当前工具: {'元件模式' if current_tool == 'COMPONENT' else '导线模式'}", True, HIGHLIGHT)
    screen.blit(tool_text, (10, HEIGHT - 40))

    # 绘制实时导线
    if drawing_wire and wire_start:
        pygame.draw.line(screen, WIRE_COLOR, wire_start, mouse_pos, 3)

    pygame.display.flip()
    clock.tick(60)

pygame.quit()
功能说明:
-
基本布局:
- 顶部工具栏包含操作按钮
- 主区域为PCB设计区(带网格)
- 底部显示当前工具状态
-
核心功能:
- 放置元件(IC芯片、电阻)
- 绘制导线(点击拖拽)
- 设计保存/加载(使用pickle序列化)
- 网格对齐系统
-
交互方式:
- 点击顶部按钮切换工具
- 在设计区点击放置元件
- 在导线模式下点击拖拽绘制连线
- 自动保存/加载 design.pcb 文件
运行要求:
- 安装Python和Pygame库:
pip install pygame - 运行程序:
python quickpcb.py
扩展建议:
- 添加更多元件类型(电容、连接器等)
- 实现元件移动/删除功能
- 添加设计规则检查(DRC)
- 支持Gerber文件导出
- 添加撤销/重做功能
这个实现包含了PCB设计的基本元素,可以作为更复杂EDA工具的起点。实际商业PCB软件(如KiCad、Altium)包含更复杂的布局布线算法和制造文件生成功能。


AOSP Android11系统源码和内核源码简析
AOSP源码中并不包括内核源码,需要单独下载,内核源码有很多版本,比如common是通用的Linux内核,msm是用于使用高通MSM芯片的And
2023-01-29 09:25:19
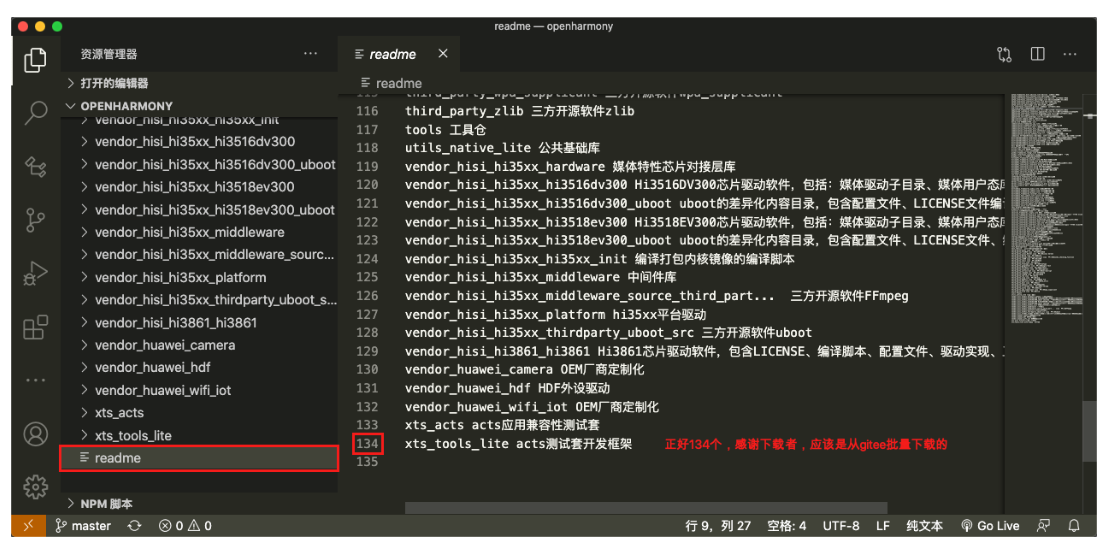
openharmony源码解读
如何获取OpenHarmony源码并说明OpenHarmony的源码目录结构。OpenHarmony的代码以组件的形式开放,开发者可以通过如下其中一种方式获取:
2021-06-24 09:29:22
基于EAIDK的人脸算法应用-源码解读(2)
上一期介绍了基于EAIDK的人脸算法应用,本期从应用角度,解读一下该案例源码。本期案例源码解读,主要从源码目录结构、配置文件、模型目...
2020-12-10 21:14:20
7天热门专题
 换一换
换一换
换一换
- 如何分清usb-c和type-c的区别
- 中国芯片现状怎样?芯片发展分析
- vga接口接线图及vga接口定义
- 芯片的工作原理是什么?
- 华为harmonyos是什么意思,看懂鸿蒙OS系统!
- 什么是蓝牙?它的主要作用是什么?
- ssd是什么意思
- 汽车电子包含哪些领域?
- TWS蓝牙耳机是什么意思?你真的了解吗
- 什么是单片机?有什么用?
- 升压电路图汇总解析
- plc的工作原理是什么?
- 再次免费公开一肖一吗
- 充电桩一般是如何收费的?有哪些收费标准?
- ADC是什么?高精度ADC是什么意思?
- dtmb信号覆盖城市查询
- EDA是什么?有什么作用?
- 苹果手机哪几个支持无线充电的?
- type-c四根线接法图解
- 华为芯片为什么受制于美国?
- 怎样挑选路由器?
- 元宇宙概念股龙头一览
- 锂电池和铅酸电池哪个好?
- 什么是场效应管?它的作用是什么?
- 如何进行编码器的正确接线?接线方法介绍
- 虚短与虚断的概念介绍及区别
- 晶振的作用是什么?
- 大疆无人机的价格贵吗?大约在什么价位?
- 苹果nfc功能怎么复制门禁卡
- amoled屏幕和oled区别
- 单片机和嵌入式的区别是什么
- 复位电路的原理及作用
- BLDC电机技术分析
- dsp是什么意思?有什么作用?
- 苹果无线充电器怎么使用?
- iphone13promax电池容量是多少毫安
- 芯片的组成材料有什么
- 特斯拉充电桩充电是如何收费的?收费标准是什么?
- 直流电机驱动电路及原理图
- 传感器常见类型有哪些?
- 自举电路图
- 通讯隔离作用
- 苹果笔记本macbookpro18款与19款区别
- 新斯的指纹芯片供哪些客户
- 伺服电机是如何进行工作的?它的原理是什么?
- 无人机价钱多少?为什么说无人机烧钱?
- 以太网VPN技术概述
- 手机nfc功能打开好还是关闭好
- 十大公认音质好的无线蓝牙耳机
- 元宇宙概念龙头股一览

湘ICP备2023036445号-105