
资料下载


基于Cordova移动IDE可使用HTML5和JS编写应用程序
刘秀英
分享资料个
描述
介绍
大约一年前,我们买了一个 Echo,开始用 Wemo 开关和插头来装备我们的房子。能够告诉 Alexa 从温暖的床上关掉灯真是太好了。这就是我们 3 岁的女儿出现的地方。太短了,无法到达电灯开关,并且缺乏指导 Alexa 的白话,但有足够的决心继续尝试。那时我意识到,让我们的生活变得像成年人一样方便的相同技术可以让我们的孩子使用相同的设备。同时,我们可以建立一个与他们一起成长的伙伴。一个可以每周用不同的游戏进行编程的玩具,也可以演变成学习伙伴。最终,她有一天会成为一位朋友,自己学习编程,不仅可以弥合儿童和智能家居之间的鸿沟,
这是Seeed Grove 入门套件的理想选择。它配备了大量有趣的 I/O 设备,并有可能添加更多设备。更换新的东西(如距离传感器)就像插入电缆一样简单。
为了驱动盾牌,我正在使用新的Arduino 101 (加拿大和欧洲的 Genuino)。很像 Uno,但显着增加了陀螺仪、加速度计和蓝牙。
最后,为了从 Arduino 控制 Wemo,我正在使用旧的 Android 手机(S4 Active),使用Evothings Studio ,这是一个基于 Cordova 的移动 IDE,可让您使用 HTML5 和 JS 编写应用程序。这将通过蓝牙与 101 配对,并通过Maker IFTTT通道控制 Wemo。
材料清单
硬件
- 安装了Evothings Viewer应用程序的支持BLE 的移动设备
- 缝纫机/织物(或使用现有玩具)
软件
指示
阿杜诺/格罗夫
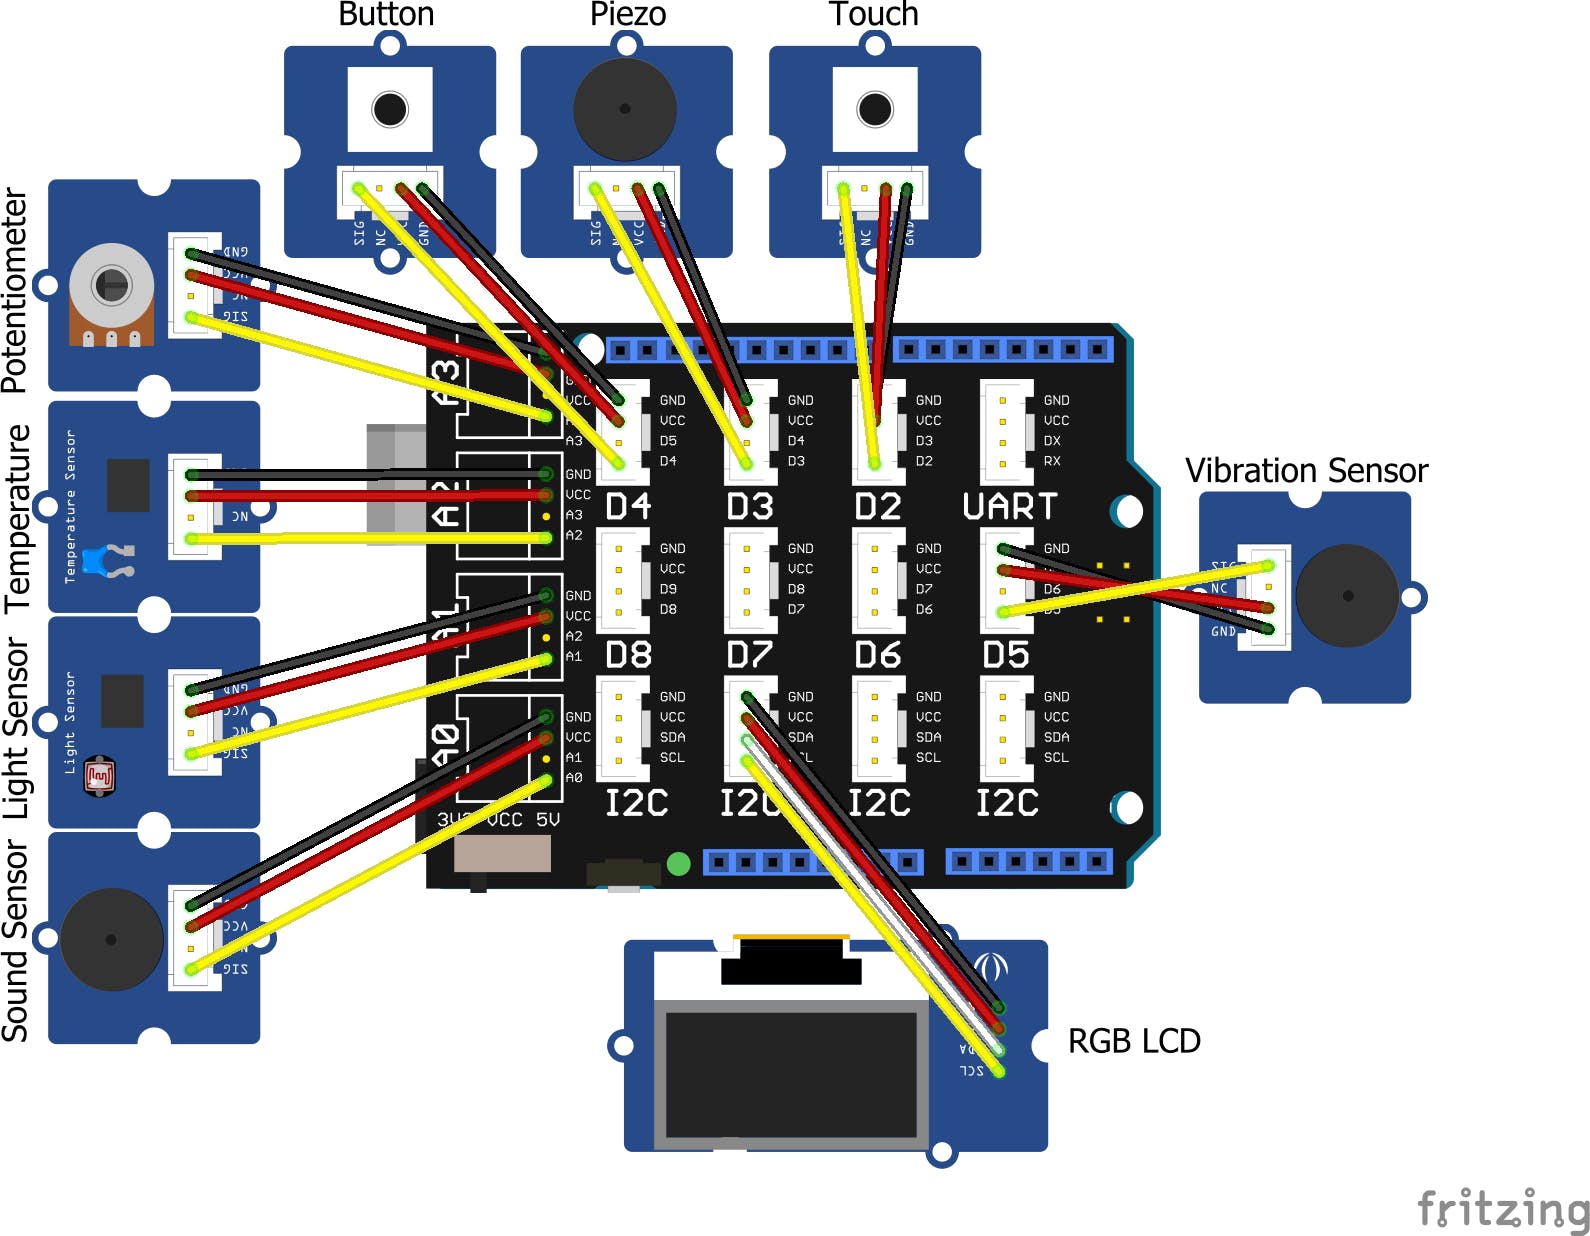
将 Grove Base Shield 放在 Arduino 上,然后连接随附的传感器和输出以匹配下图。
根据在线说明安装 Arduino IDE。使用 USB 电缆将软件运行插入 Arduino 101 板。在 IDE 中,转到 Tools>Board 并选择“Arduino/Genuino 101”。然后在工具>端口下选择您的板列出的端口,例如。COM3(Arduino/Genuino 101)。
从GitHub克隆、下载或复制代码并打开/arduino/Tedduino/Tedduino.ino
/*
* Tedduino.ino
* @author : Justin Revelstoke
* @date : 3/25/2017
* @description : Arduino code for BLE connection and Grove Shield I/O.
*                Displays a menu over RGB LCD offering sensor data and
*                an example game.
*/
#include
#include
#include "CurieIMU.h"
#include "config.h"
BLEPeripheral blePeripheral;
BLEService bleService(serviceUUID);
BLECharacteristic bleCharacteristic(characteristicUUID, BLERead | BLENotify, 2);
#include "rgb_lcd.h"
rgb_lcd lcd;
const int B = 3975;
const int pinTouch = 2;
const int pinBuzzer = 3;
const int pinButton = 4;
const int pinVibe = 5;
const int pinLED = 13;
const int pinSound = A0;
const int pinLight = A1;
const int pinTemp = A2;
const int pinPot = A3;
int menu = 0;
int previousButtonState = 0;
int length = 15; // the number of notes
char notes[] = "ccggaagffeeddc "; // a space represents a rest
int beats[] = { 1, 1, 1, 1, 1, 1, 2, 1, 1, 1, 1, 1, 1, 2, 4 };
int tempo = 300;
float aix, aiy, aiz;   // accelerometer values
float gix, giy, giz;   // gyroscope values
void setup() {
 Serial.begin(9600);
 lcd.begin(16, 2);
 lcd.setCursor(0, 0);
 pinMode(pinLED, OUTPUT);
 pinMode(pinPot, INPUT);
 pinMode(pinTouch, INPUT);
 pinMode(pinButton, INPUT);
 blePeripheral.setLocalName(bleServiceName);
 blePeripheral.setAdvertisedServiceUuid(bleService.uuid());
 blePeripheral.addAttribute(bleService);
 blePeripheral.addAttribute(bleCharacteristic);
 const unsigned char bleCharArray[2] = { 0, (char)1 };
 bleCharacteristic.setValue(bleCharArray, 2);
 blePeripheral.begin();
 CurieIMU.begin();
 CurieIMU.setGyroRate(25);
 CurieIMU.setAccelerometerRate(25);
 CurieIMU.setAccelerometerRange(2);
 CurieIMU.setGyroRange(250);
}
void loop() {
 printGyroAccel();
 digitalWrite(pinLED, LOW);
 breath(REG_RED);
 breath(REG_GREEN);
 breath(REG_BLUE);
 BLECentral central = blePeripheral.central();
 if (central) {
   Serial.print("Connected to central: ");
   Serial.println(central.address());
   while (central.connected()) {
     displayMenu();
     delay(100);
   }
 }
 delay(100);
}
void nextMenu() {
 if (menu == 5) {
   menu = 0;
 }
 else {
   menu++;
 }
}
void displayMenu() {
 resetLCD();
 int buttonState = digitalRead(pinButton);
 int touchState = digitalRead(pinTouch);
 buttonState = buttonState | touchState;
 if (previousButtonState != buttonState) {
   if (buttonState == 1) {
     const unsigned char bleCharArray[2] = { 0, (char)1 };
     bleCharacteristic.setValue(bleCharArray, 2);
     nextMenu();
     delay(1000);
   }
   else {
     const unsigned char bleCharArray[2] = { 0, (char)0 };
     bleCharacteristic.setValue(bleCharArray, 2);
   }
 }
 delay(100);
 previousButtonState = buttonState;
 if (menu == 0) {
   printSound();
 }
 else if (menu == 1) {
   printLight();
 }
 else if (menu == 2) {
   printTemp();
 }
 else if (menu == 3) {
   printVibe();
 }
 else if (menu == 4) {
   printPot();
 }
 else if (menu == 5) {
   nightMode();
 }
 else if (menu == 6) {
   printGyroAccel();
 }
 else {
   lcd.print("Error");
 }
}
void resetLCD() {
 lcd.clear();
 lcd.setCursor(0, 0);
}
void printGyroAccel() {
 CurieIMU.readAccelerometerScaled(aix, aiy, aiz);
 CurieIMU.readGyroScaled(gix, giy, giz);
 //CurieIMU.readMotionSensor(aix, aiy, aiz, gix, giy, giz);
 lcd.print(aix);
 lcd.print(' ');
 lcd.print(aiy);
 lcd.print(' ');
 lcd.print(aiz);
 lcd.setCursor(0, 1);
 lcd.print(gix);
 lcd.print(' ');
 lcd.print(giy);
 lcd.print(' ');
 lcd.print(giz);
 delay(100);
 resetLCD();
}
int getSound() {
 int sensorValue = analogRead(pinSound);
 return sensorValue;
}
void printSound() {
 int sensorValue = getSound();
 lcd.print("Sound:");
 if (sensorValue > 0) {
   for (int i = 0; i < round(sensorValue/100); i++) {
     lcd.print(">");
   }
 }
}
int getLight() {
 int sensorValue = analogRead(pinLight);
 return sensorValue;
}
void printLight() {
 // range 0 - 1023
 int sensorValue = getLight();
 lcd.print("Light:");
 if (sensorValue > 0) {
   for (int i = 0; i < round(sensorValue/100); i++) {
     lcd.print(">");
   }
 }
}
int getTemp() {
 int sensorValue = analogRead(pinTemp);
 float resistance = (float)(1023-sensorValue)*10000/sensorValue;
 int temperature = 1/(log(resistance/10000)/B+1/298.15)-273.15;
 return temperature;
}
void printTemp() {
 lcd.print("Temp:");
 lcd.print(getTemp());
 lcd.print("F");
}
int getPot() {
 return analogRead(pinPot);
}
void printPot() {
 lcd.print("Pot:");
 lcd.print(getPot());
}
int getVibe() {
 return digitalRead(pinVibe);
}
void printVibe() {
 lcd.print("Vibe:");
 lcd.print(getVibe());
}
void nightMode() {
 bool warm = false;
 bool dark = false;
 bool quiet = false;
 if (getTemp() >= 50) {
   lcd.print("Warm ");
   warm = true;
 }
 else {
   lcd.print("Cold ");
 }
 if (getLight() == 0) {
   lcd.print("Dark ");
   dark = true;
 }
 else {
   lcd.print("Light ");
 }
 if (getSound() < 100) {
   lcd.print("Quiet ");
   quiet = true;
 }
 else {
   lcd.print("Loud ");
 }
 if (warm && dark && quiet) {
   playSong();
 }
}
void playSong() {
 for (int i = 0; i < length; i++) {
   if (notes[i] == ' ') {
     delay(beats[i] * tempo); // rest
   }
   else {
     playNote(notes[i], beats[i] * tempo);
   }
   // pause between notes
   delay(tempo / 2);
 }
}
void playTone(int tone, int duration) {
 for (long i = 0; i < duration * 1000L; i += tone * 2) {
   digitalWrite(pinBuzzer, HIGH);
   delayMicroseconds(tone);
   digitalWrite(pinBuzzer, LOW);
   delayMicroseconds(tone);
 }
}
void playNote(char note, int duration) {
 char names[] = { 'c', 'd', 'e', 'f', 'g', 'a', 'b', 'C' };
 int tones[] = { 1915, 1700, 1519, 1432, 1275, 1136, 1014, 956 };
 // play the tone corresponding to the note name
 for (int i = 0; i < 8; i++) {
   if (names[i] == note) {
     playTone(tones[i], duration);
   }
 }
}
void breath(unsigned char color)
{
   for(int i=0; i<255; i++)
   {
       lcd.setPWM(color, i);
       delay(5);
   }
   delay(500);
   for(int i=254; i>=0; i--)
   {
       lcd.setPWM(color, i);
       delay(5);
   }
   delay(500);
}
确保config.h在同一目录中
/*
* config.h
* @author : Justin Revelstoke
* @date : 3/25/2017
* @description : Configuration
*/
// You're device will appear in bluetooth connection lists under this name
#define bleServiceName "Tedduino"
#define serviceUUID "180D"
#define characteristicUUID "2A37"
单击 Arduino IDE 中的上传按钮,控制台应显示:
开始下载脚本...
SUCCESS:草图将在大约 5 秒内执行。
如果它工作正常,您现在应该看到 LCD 呈红色、绿色和蓝色闪烁。
此时 Arduino 正在宣传 BLE 连接,但具有许多“离线”功能。按下按钮或触摸传感器将在 LCD 上的各种显示中旋转,显示连接传感器的读数。还有一个示例“游戏”,要求您将 Arduino 放置在明亮|黑暗、温暖|寒冷或安静|响亮的地方。成功后会播放一首歌:)
进化论
现在设置 BLE 配套应用程序。如果您有兴趣了解有关低功耗蓝牙的更多信息,我强烈推荐Adafruit的这本入门书。此外,如果您想使用 BLE 连接而不需要发出 Web 请求,Blynk是快速连接到 Arduino 的好方法。它只是不支持我在 BLE 上需要的功能。
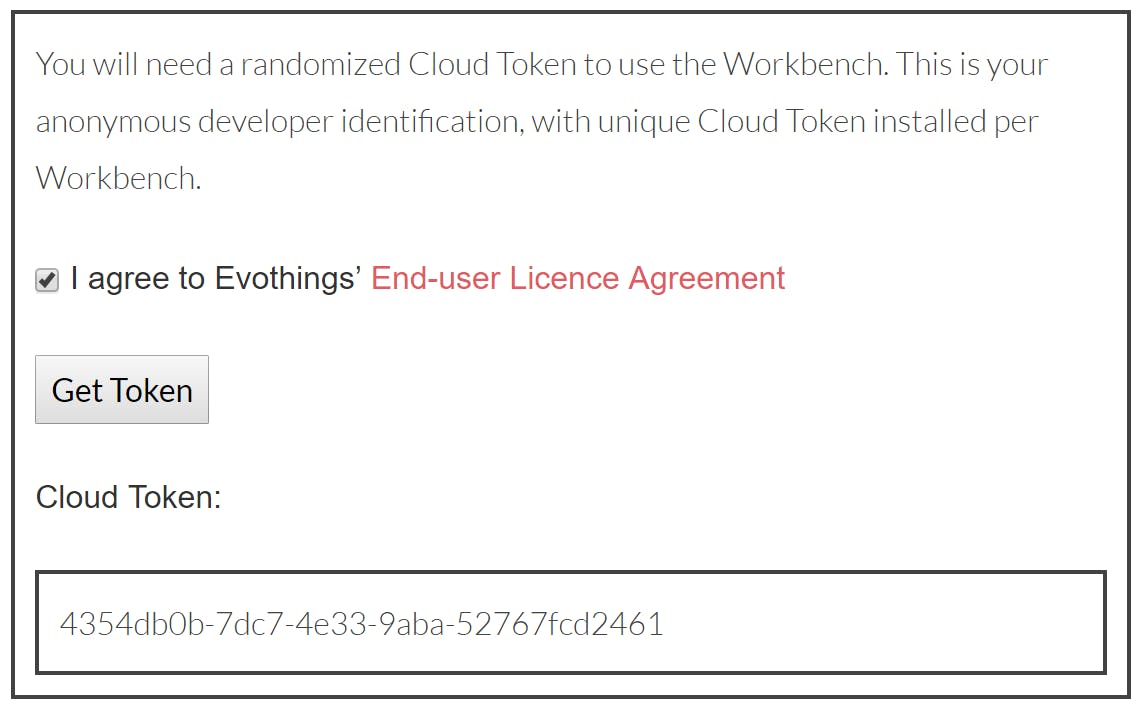
因此,我们需要做的第一件事是下载并安装Evothings Studio (撰写本文时版本为 2.2.0)。请务必从下载页面获取云令牌。
接下来,从应用商店下载 Evothings Viewer 。
将 Studio 中的连接密钥输入到查看器中以链接它们。

现在,从您之前克隆的同一个存储库中打开cordova文件夹并找到evothings.json文件。单击该文件并将其拖入 Evothings Studio 以创建项目。你现在应该看到...

如果您单击“运行”,该应用程序应在您的手机上启动
IFTTT 集成
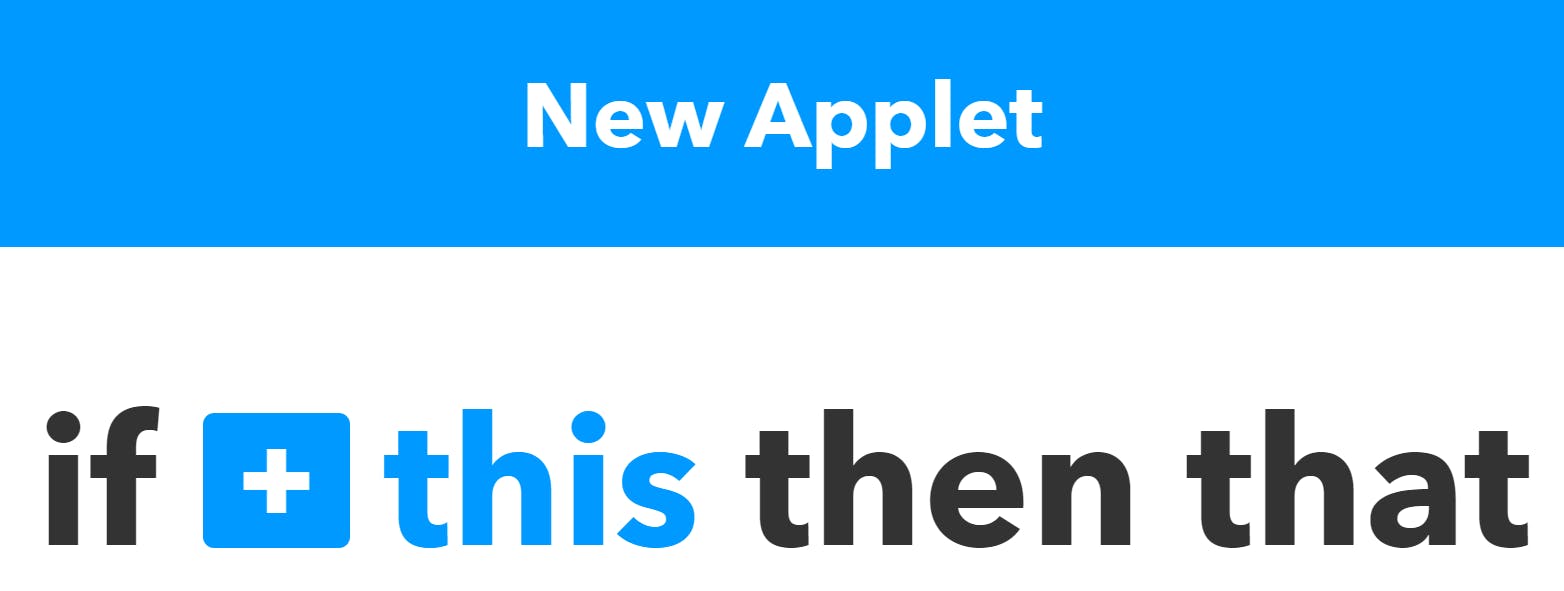
为了完成 Evothings 代码,我们需要在 IFTTT 中设置一个 Maker 频道。为此,请访问IFTTT 。如果您还没有帐户,请登录或创建一个帐户。然后在“我的小程序”下单击“新建小程序”。按照下面的一系列图片设置您的 Maker 频道。请务必在设置您的网址后复制 Maker 为您生成的密钥。科尔多瓦需要它。创建两个通道,一个使用“tedduino_on”作为触发器,另一个使用“tedduino_off”。相应地为 WeMo 操作选择“打开”和“关闭”。
如果一切顺利,我们现在应该有两个通道和一个 Maker 密钥。您可以在浏览器中测试 URL(它们应该类似于)。
把它们放在一起
从GitHub打开app文件夹中的index.html回到 cordova 代码。找到这一行:
var makerKey = '/with/key/INSERT YOUR KEY HERE';
并用您的制造商频道密钥替换“在此处插入您的密钥”。保存并将您的 Evothings 工作室重新连接到查看器。
恭喜!此时您应该能够运行 Evothings 应用程序并单击“连接”。如果它成功连接到 Arduino,您可以按“测试”,LCD 应该停止改变颜色。您还应该能够按下 Grove 按钮来打开和关闭灯。
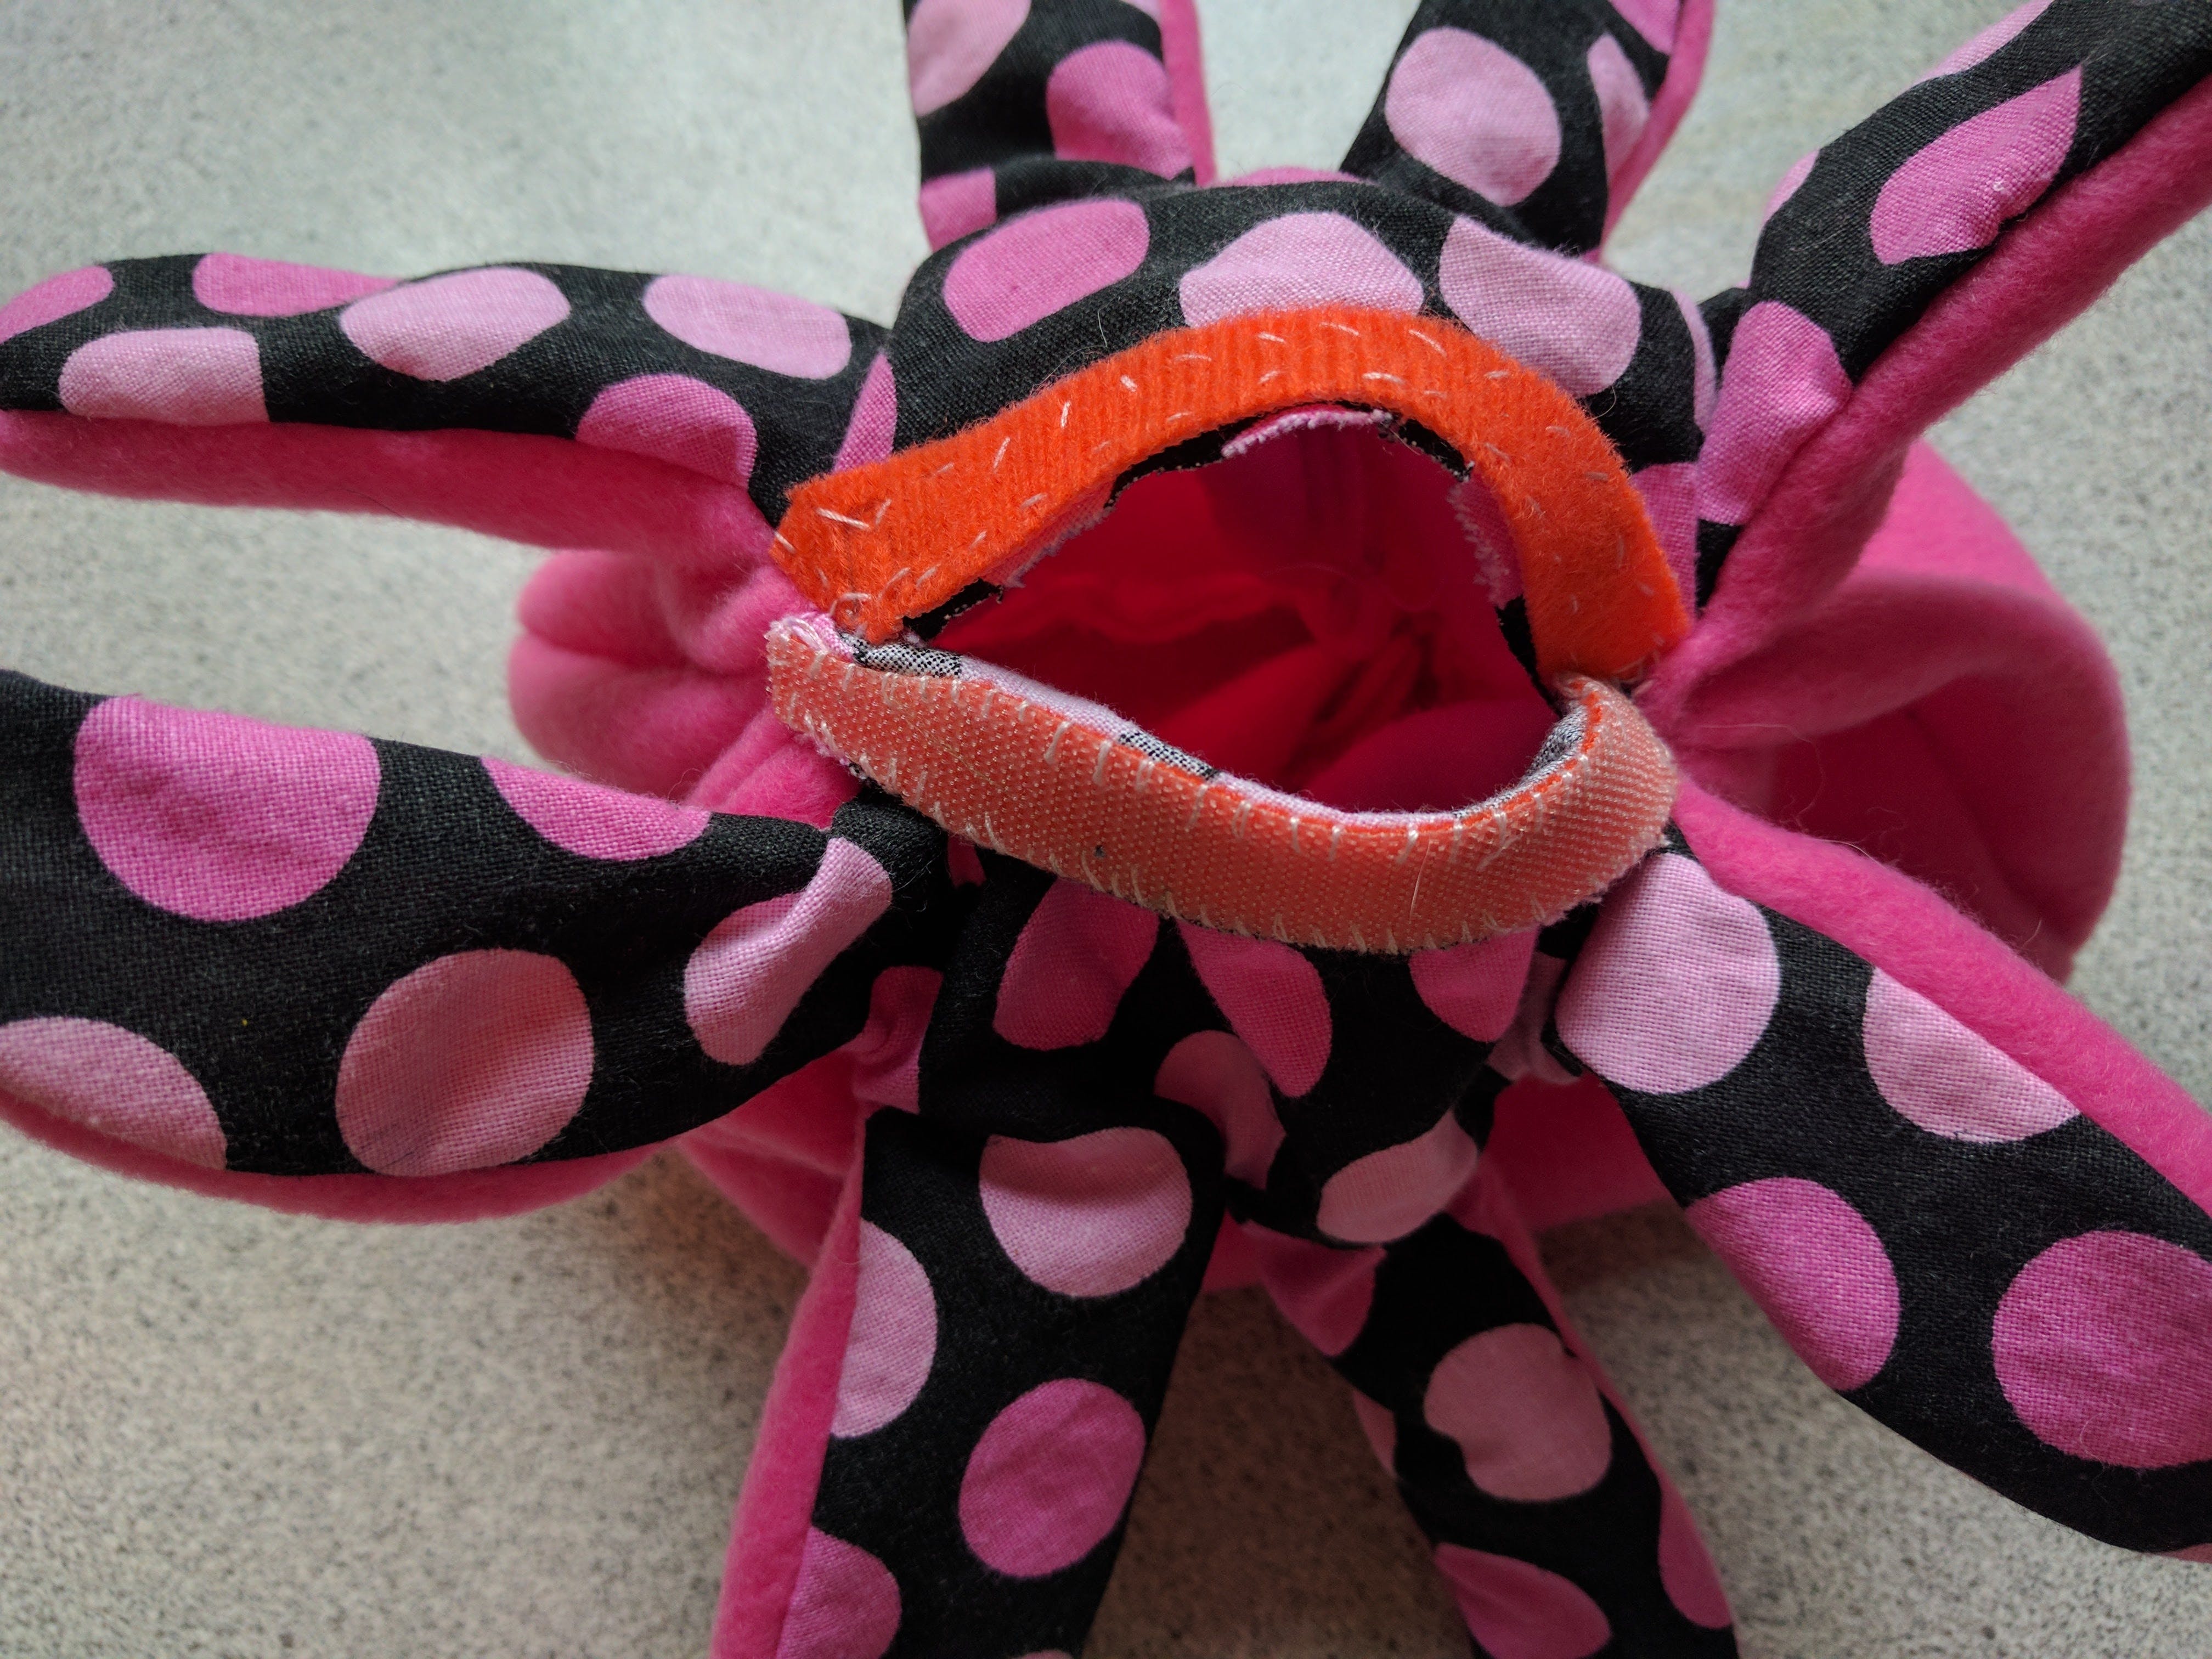
如果您对缝纫机很方便,我建议您设计自己的娃娃。否则,您可以轻松地将这些部件改装成现有的部件。只需用 Arduino 电池组替换 USB 电缆即可。热胶是保持部件到位的好方法。玩得开心!
随着时间的推移,我们家的更多方面变得自动化,我希望制造更多这样的设备,让我们的孩子更加独立。
声明:本文内容及配图由入驻作者撰写或者入驻合作网站授权转载。文章观点仅代表作者本人,不代表电子发烧友网立场。文章及其配图仅供工程师学习之用,如有内容侵权或者其他违规问题,请联系本站处理。 举报投诉
- 相关下载
- 相关文章


