
资料下载


×
通过谷歌助手监测室温
消耗积分:0 |
格式:zip |
大小:0.03 MB |
2022-11-23
王杰
分享资料个
描述
该项目帮助用户了解当前的室温。
首先说“嘿谷歌,室温是多少”。
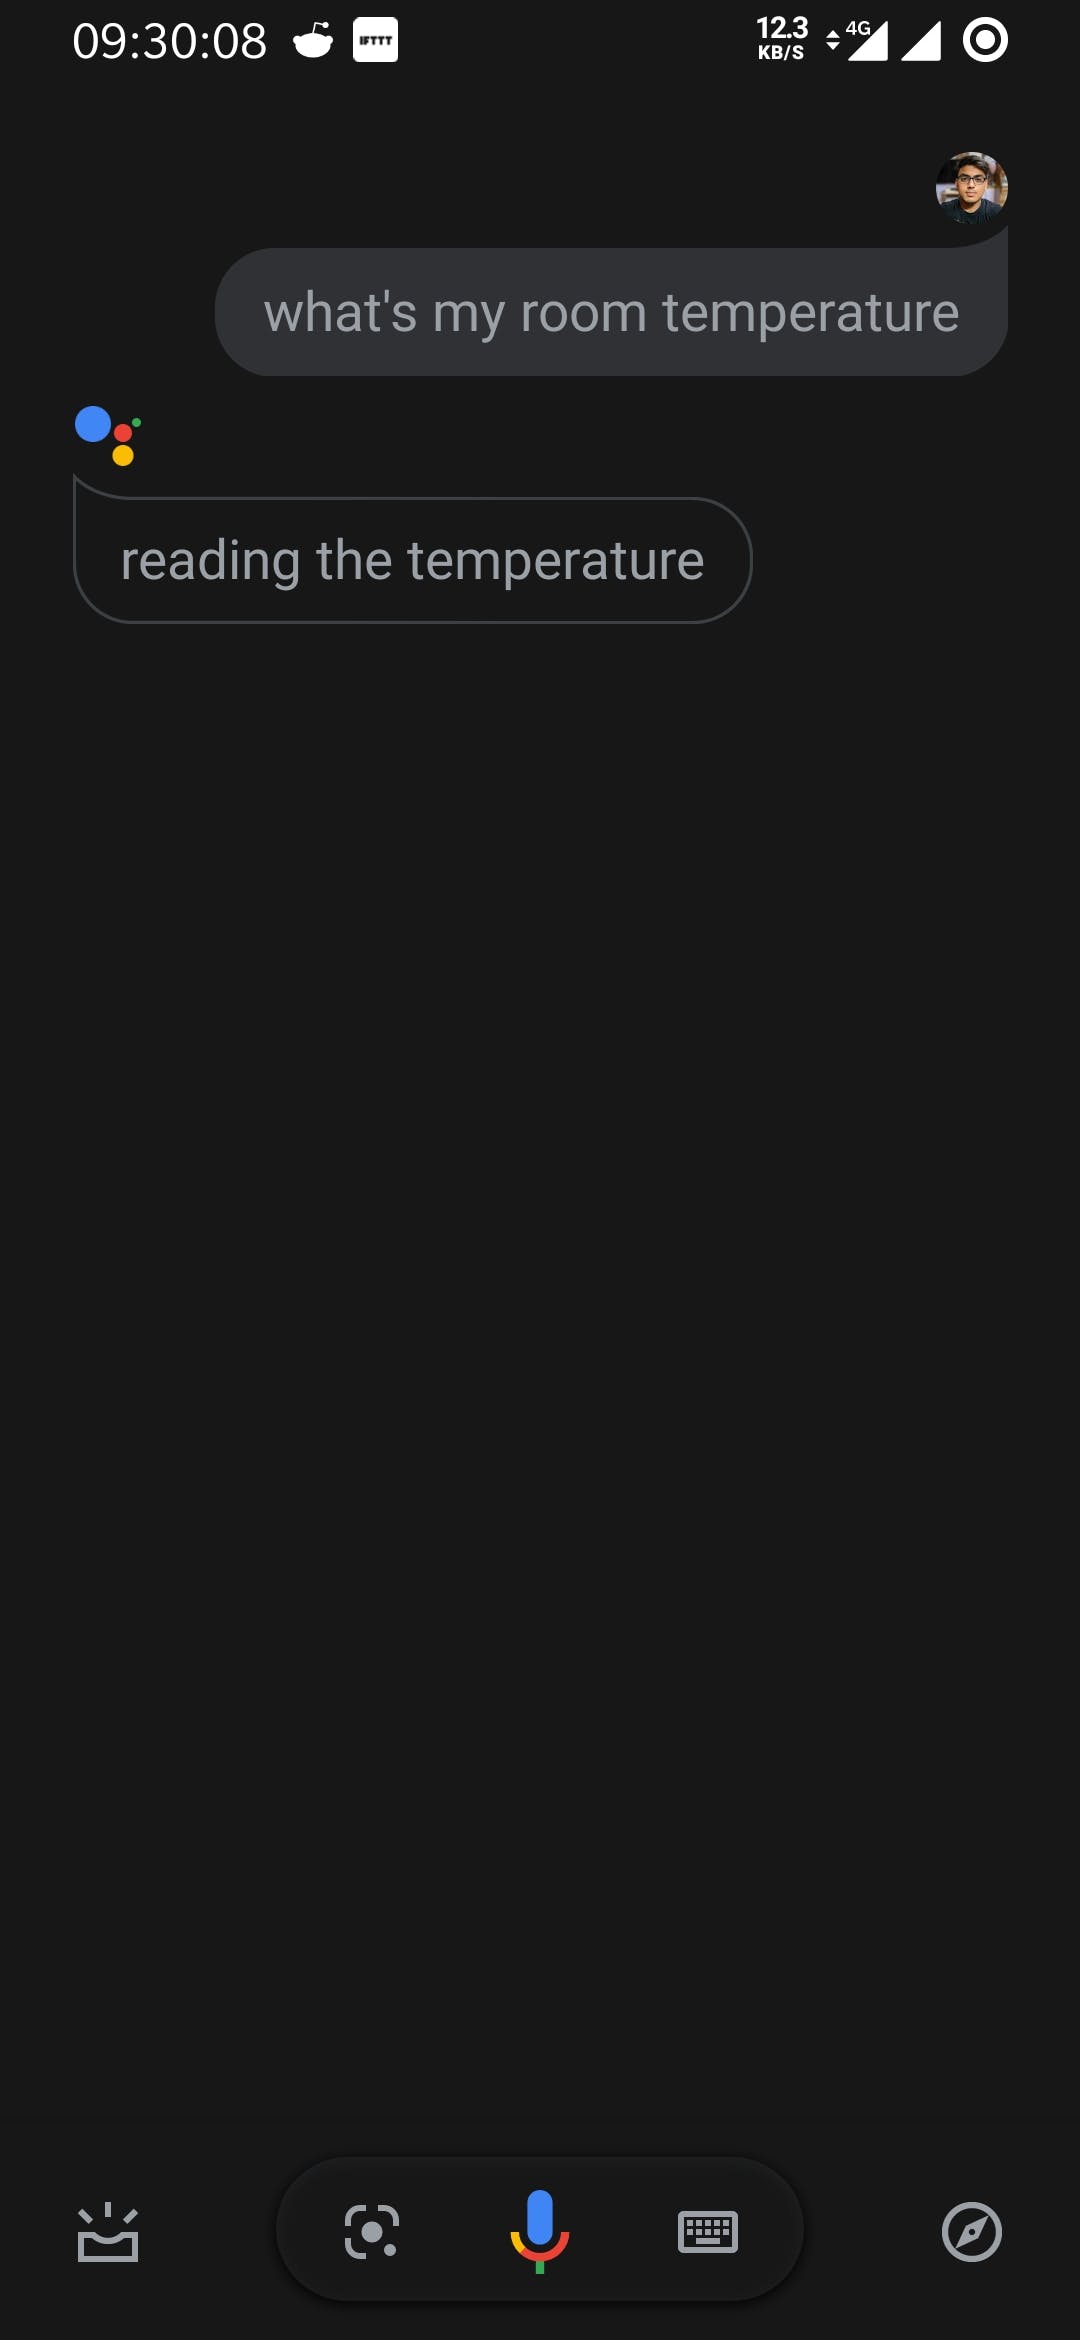
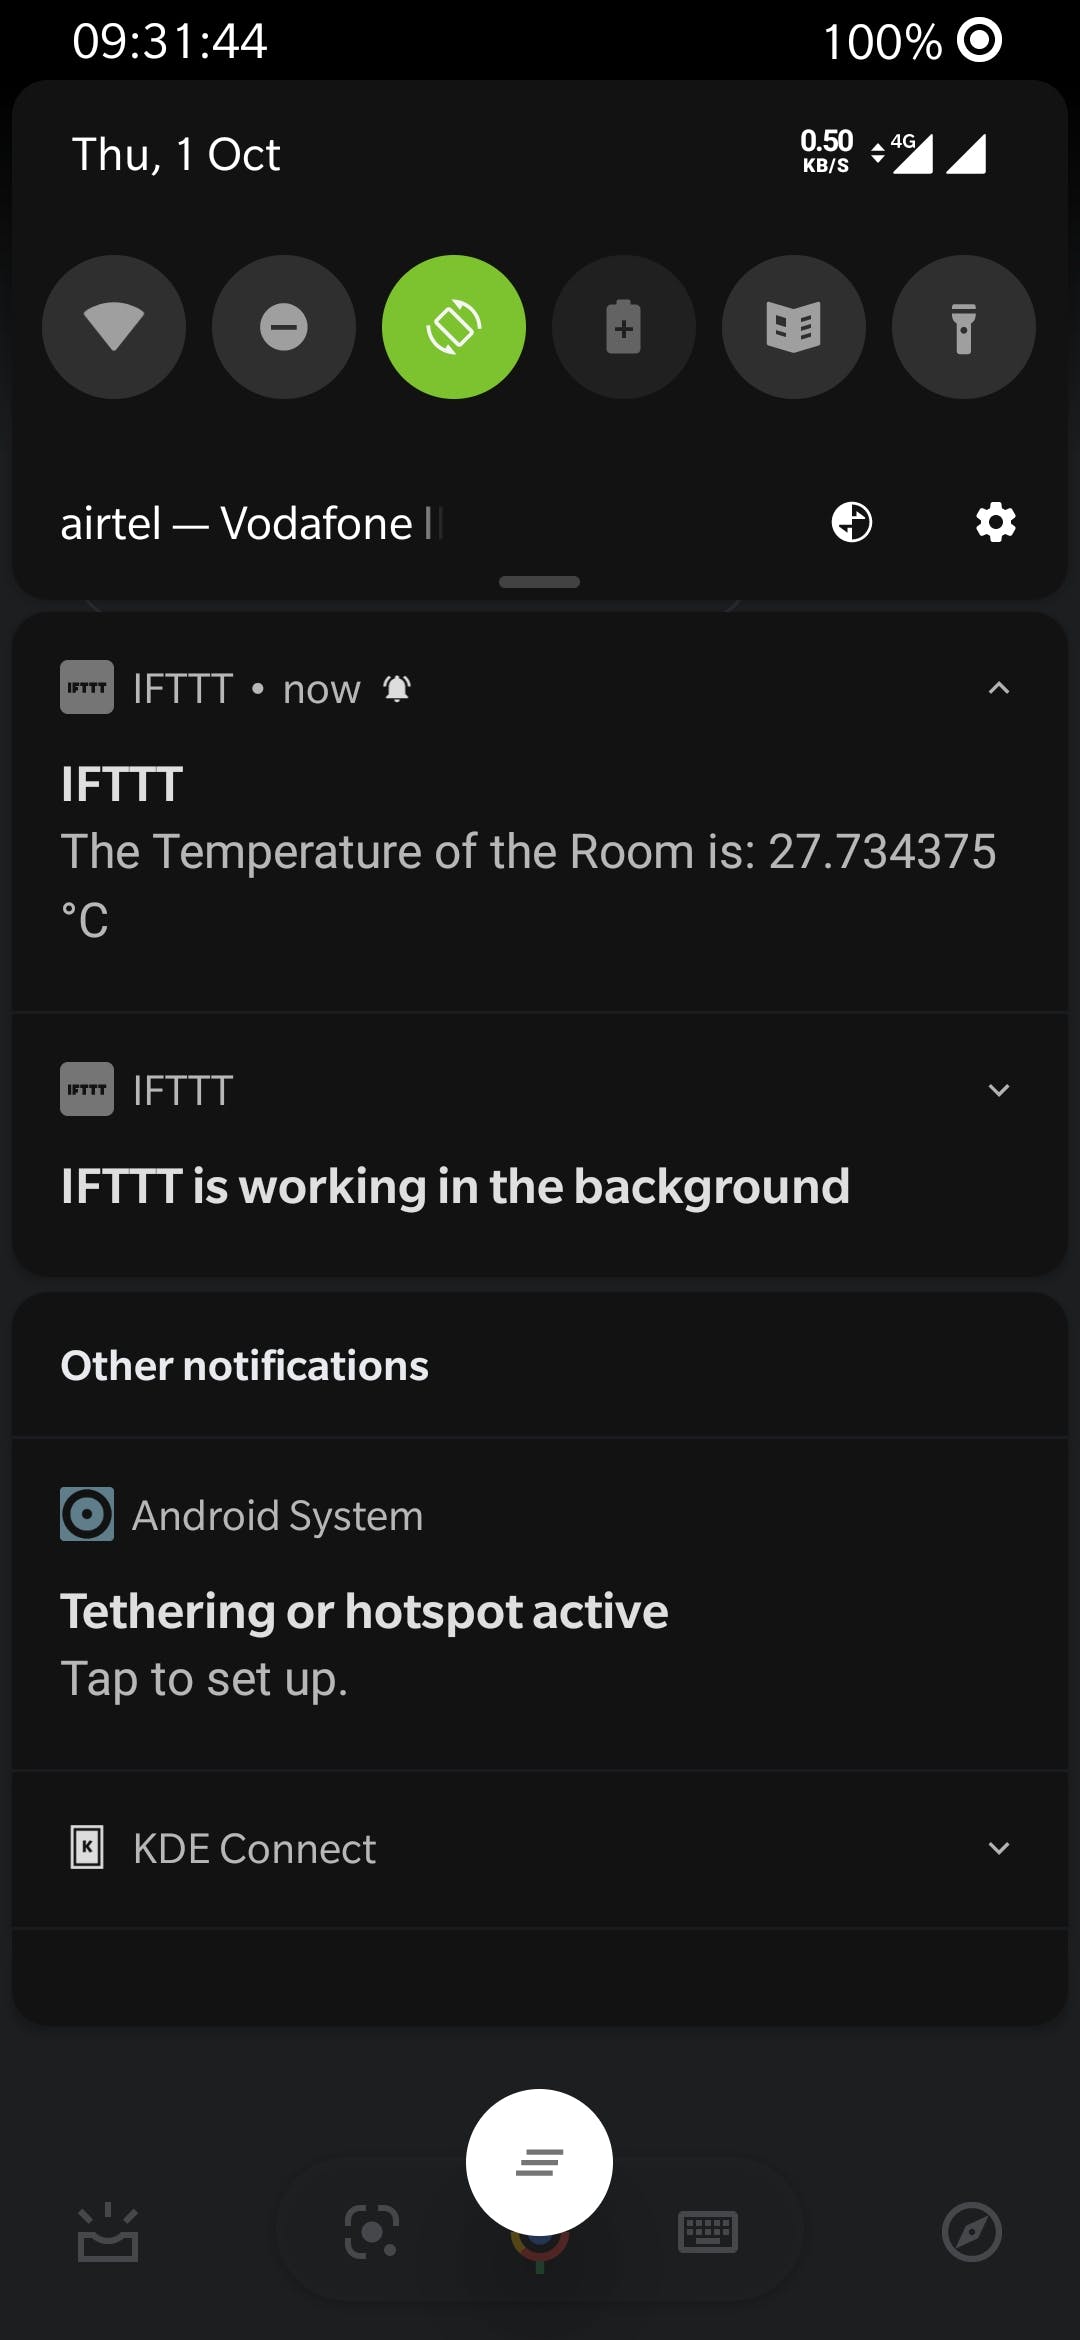
IFTTT 将通过您设置温度传感器的当前室温通知来通知您。
程序
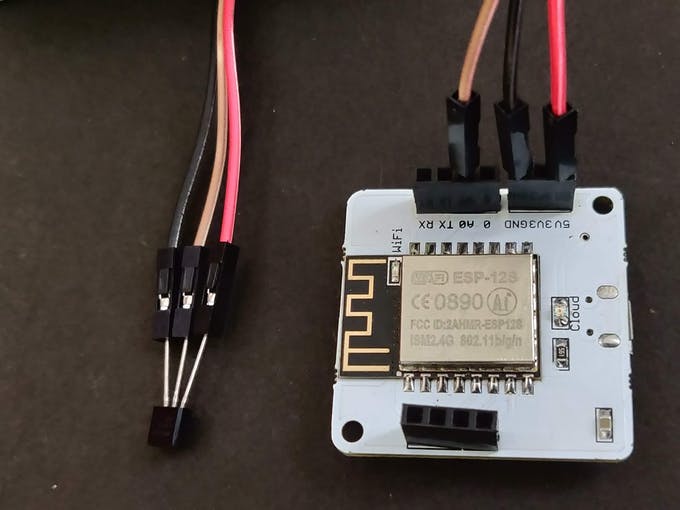
第 1 步:硬件设置
1. 将 LM-35 传感器的 VCC 引脚连接到 Bolt 设备的 5V 引脚。
2. 将 LM-35 传感器的 GND 引脚连接到 Bolt 设备的 GND 引脚。
3. 将 LM-35 传感器的模拟输出引脚连接到 Bolt 设备的模拟输入 (A0) 引脚。
- 使用公对母跳线将温度传感器连接到螺栓模块
第 2 步:获取 Bolt Cloud API 和设备 ID
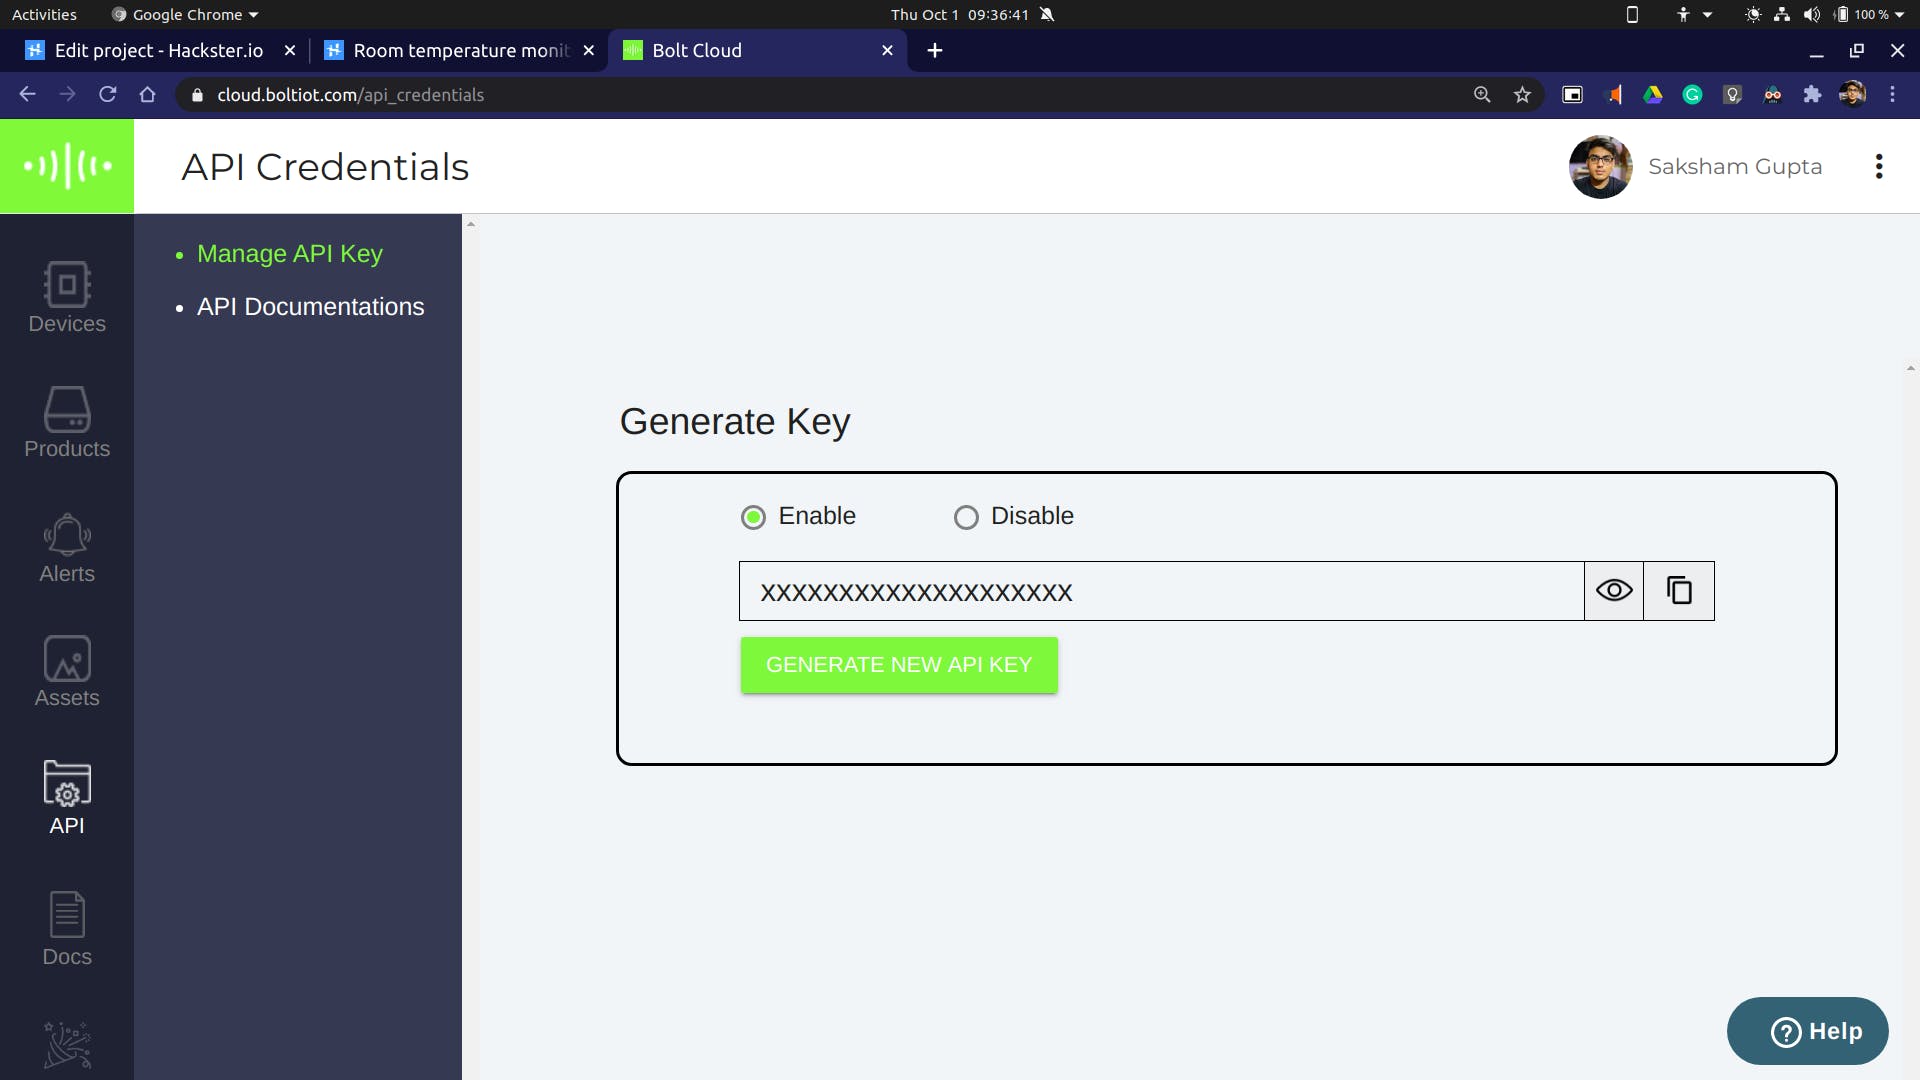
API
第 3 步:设置本地主机 URL
键入以下命令为 localhost 生成公共 URL
- ssh -R 80:localhost:PORT_NUMBER ssh.localhost.run
- 替换您要用于获取 POST 请求的 [PORT_NUMBER]
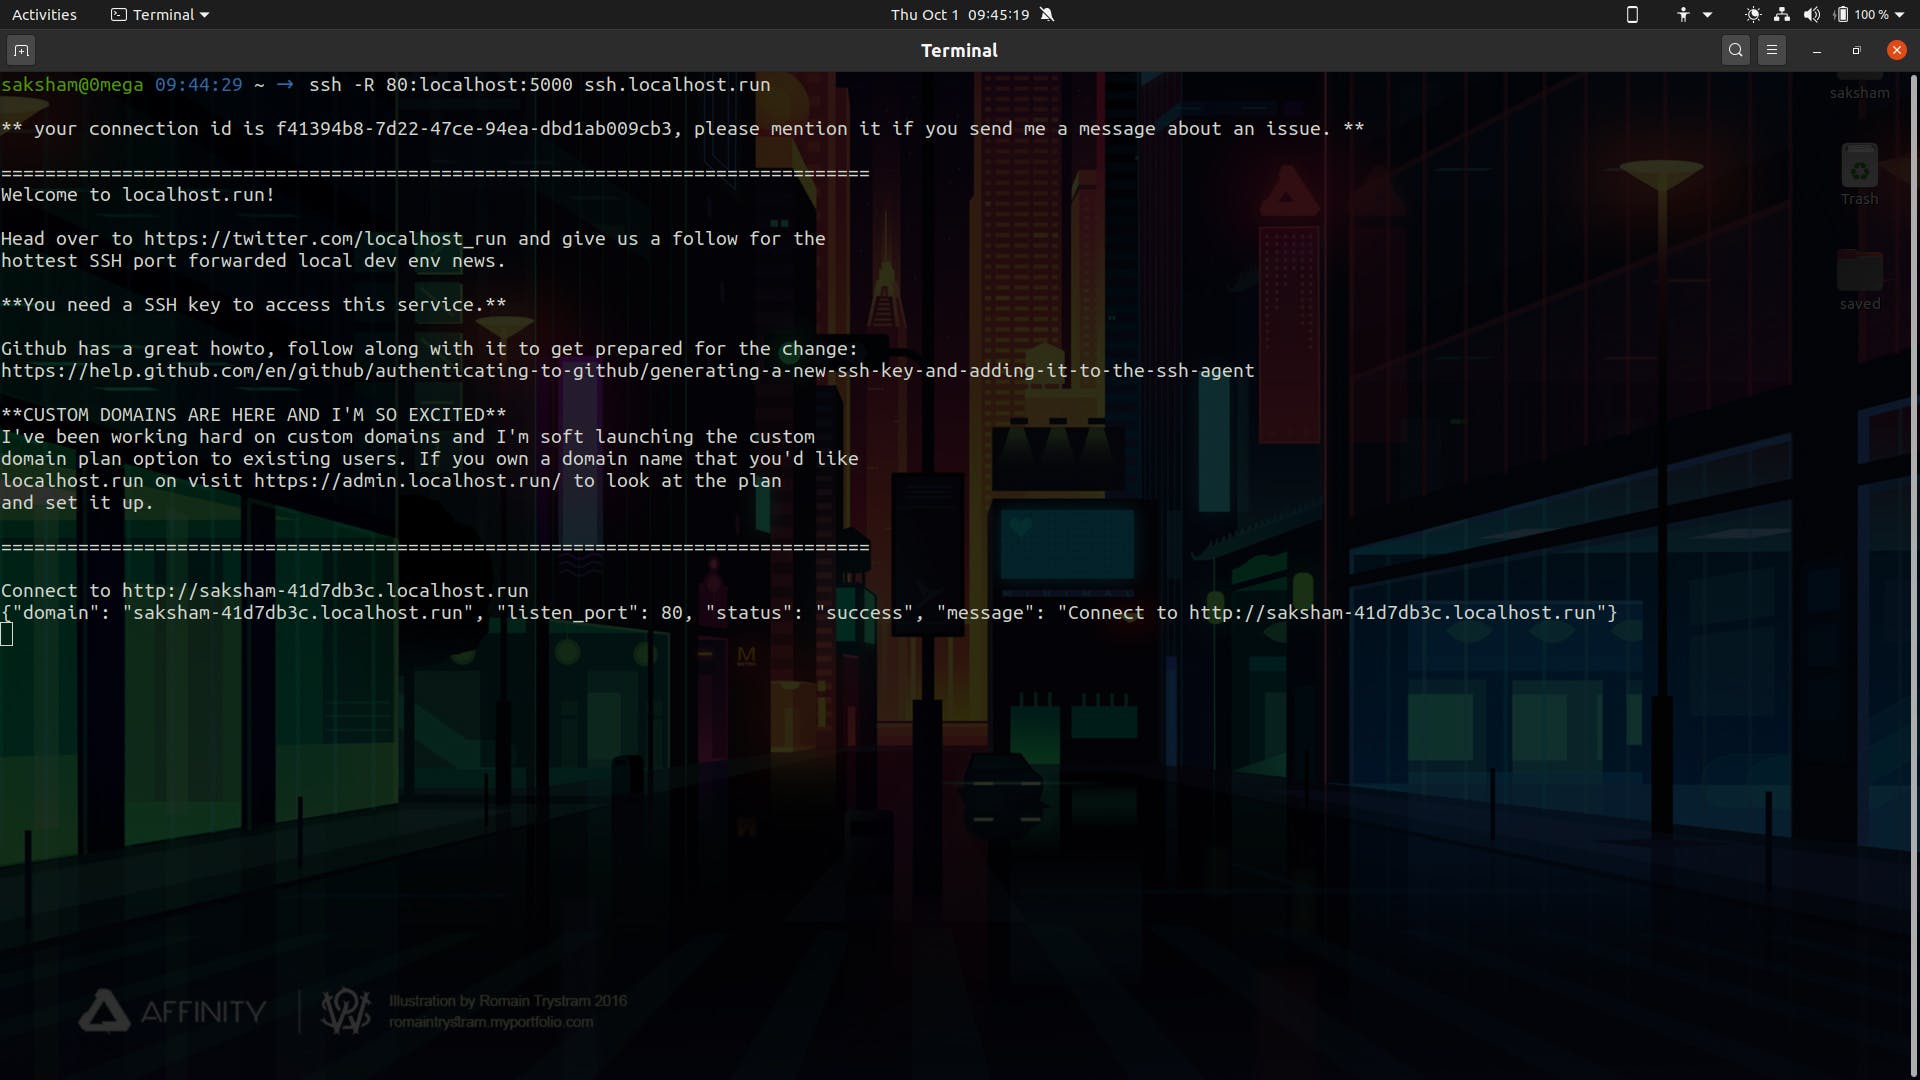
已生成链接:http ://saksham-41d7db3c.localhost.run
第 4 步:设置 IFTTT 模块
- 打开 IFTTT 应用程序
- 点击创建

- 现在,我们必须设置两件事:(If This, Then That)
- 单击“如果此”并搜索 Google Assistant 并填写所需的表格
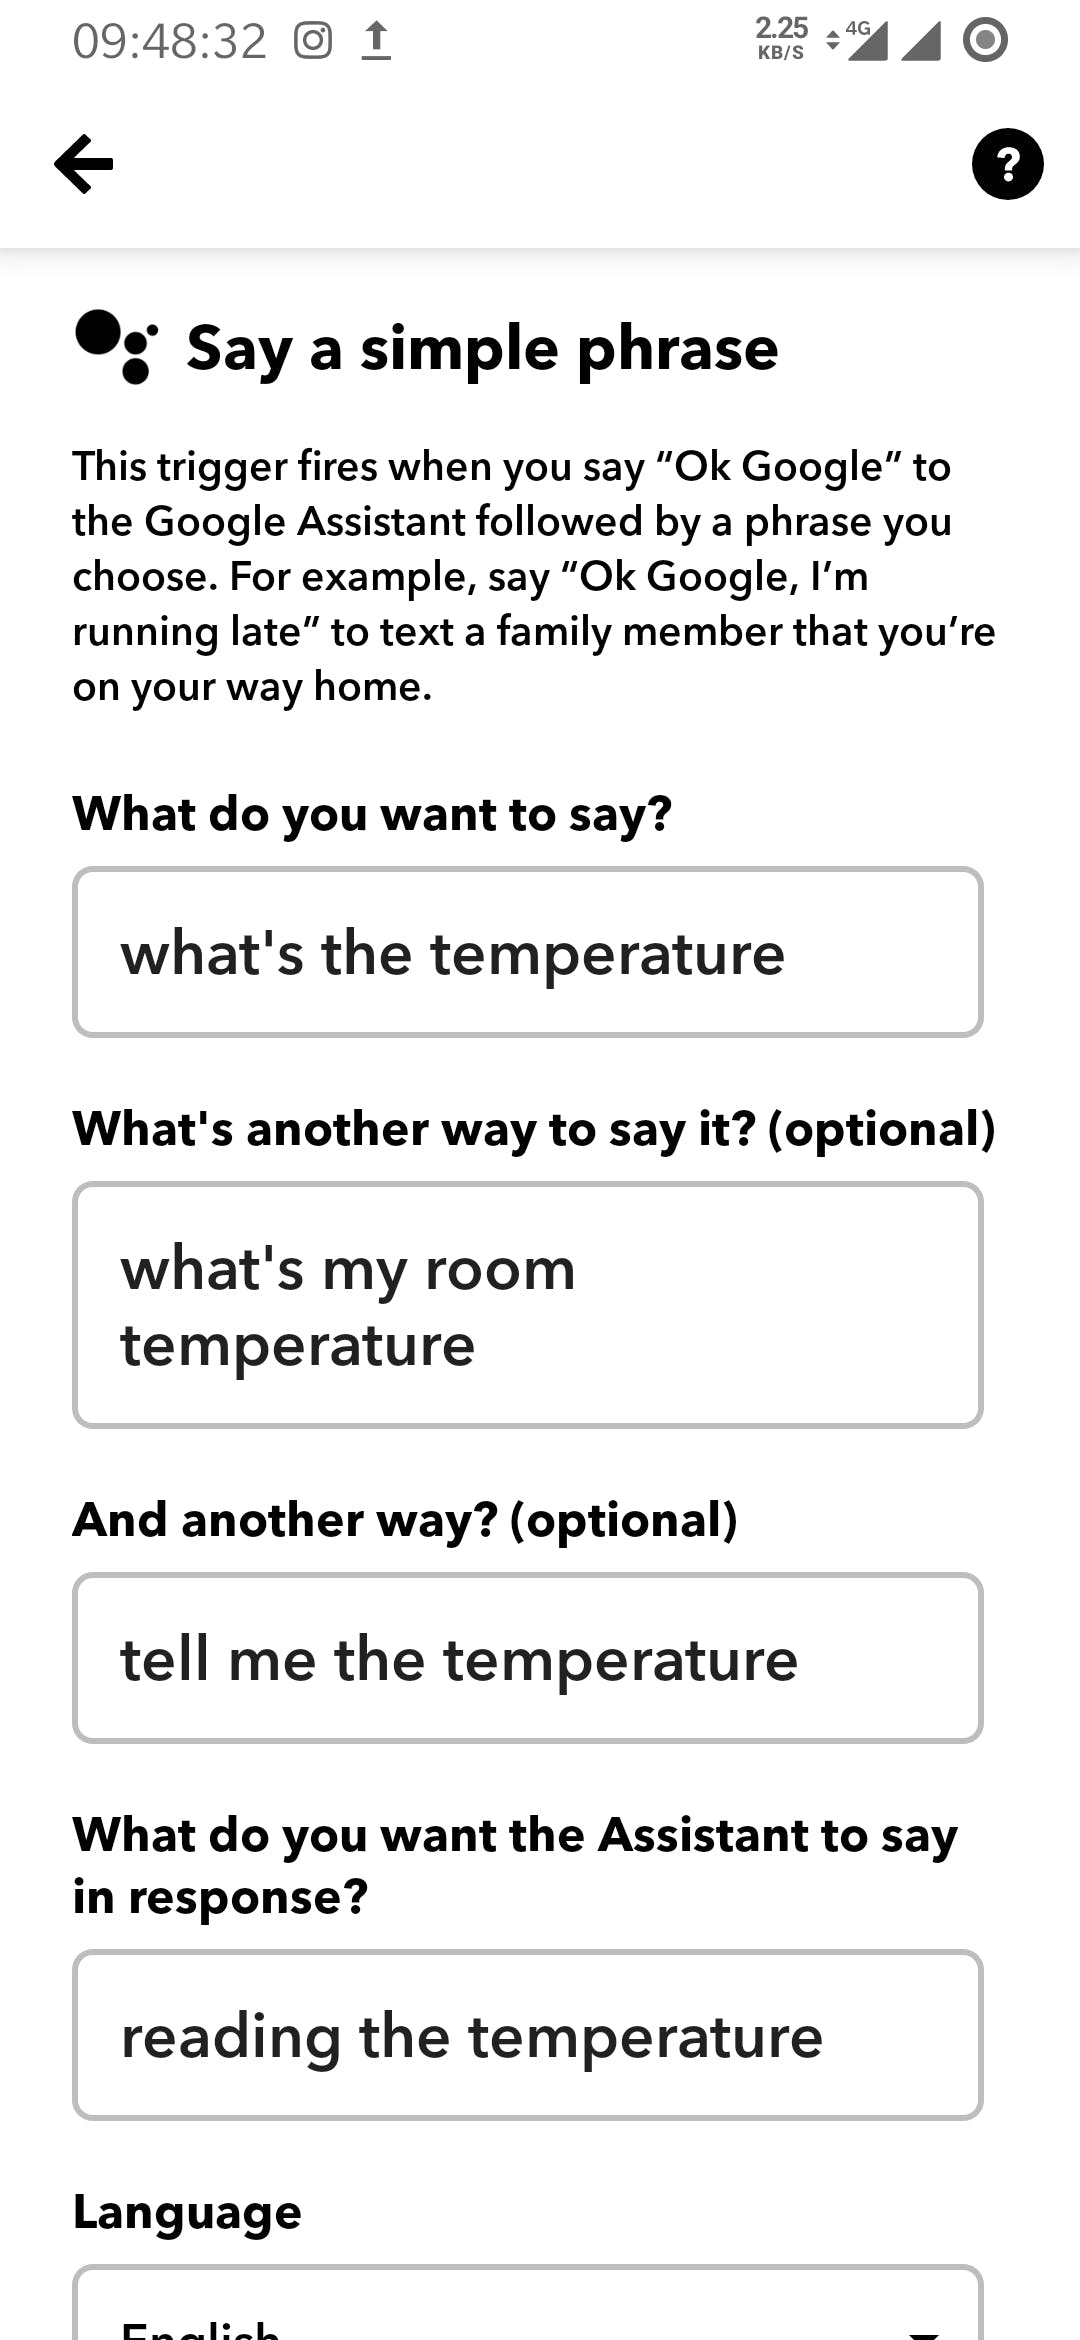
谷歌助理触发器
- 保存。
- 现在,点击 Then That
- 然后搜索 webhook(并通过填写所需数据进行设置)
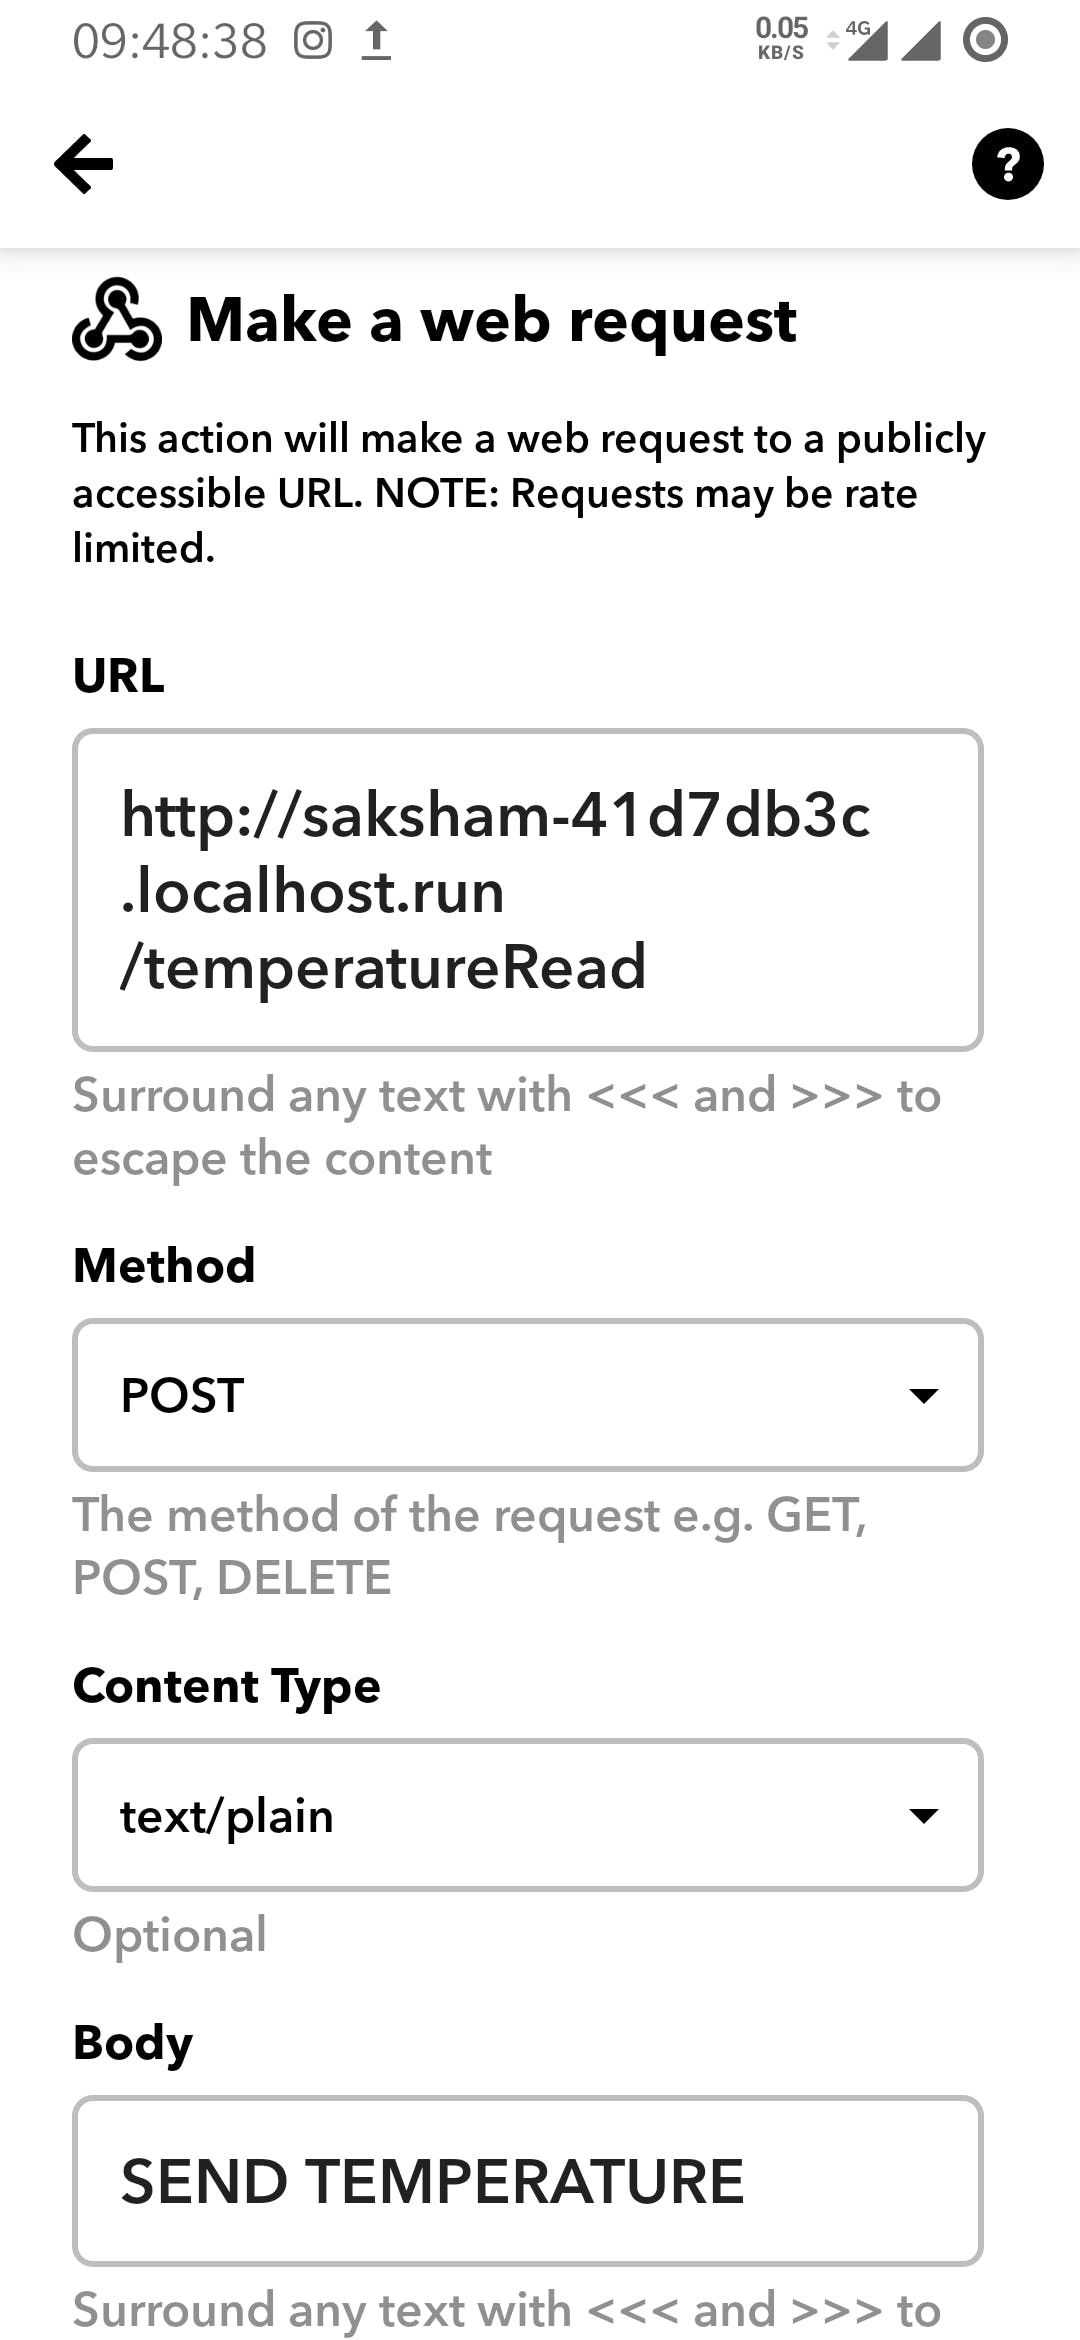
网络钩子
请注意,我已将 /temperatureRead 放在我生成的 URL 之后。这是我稍后会谈到的 python 装饰器。
- 保存当前模块。
- 现在,去创建另一个模块来接收通知
- 同上,GoTo 创建
- 设置如果这个使用 webhook 然后那个作为通知
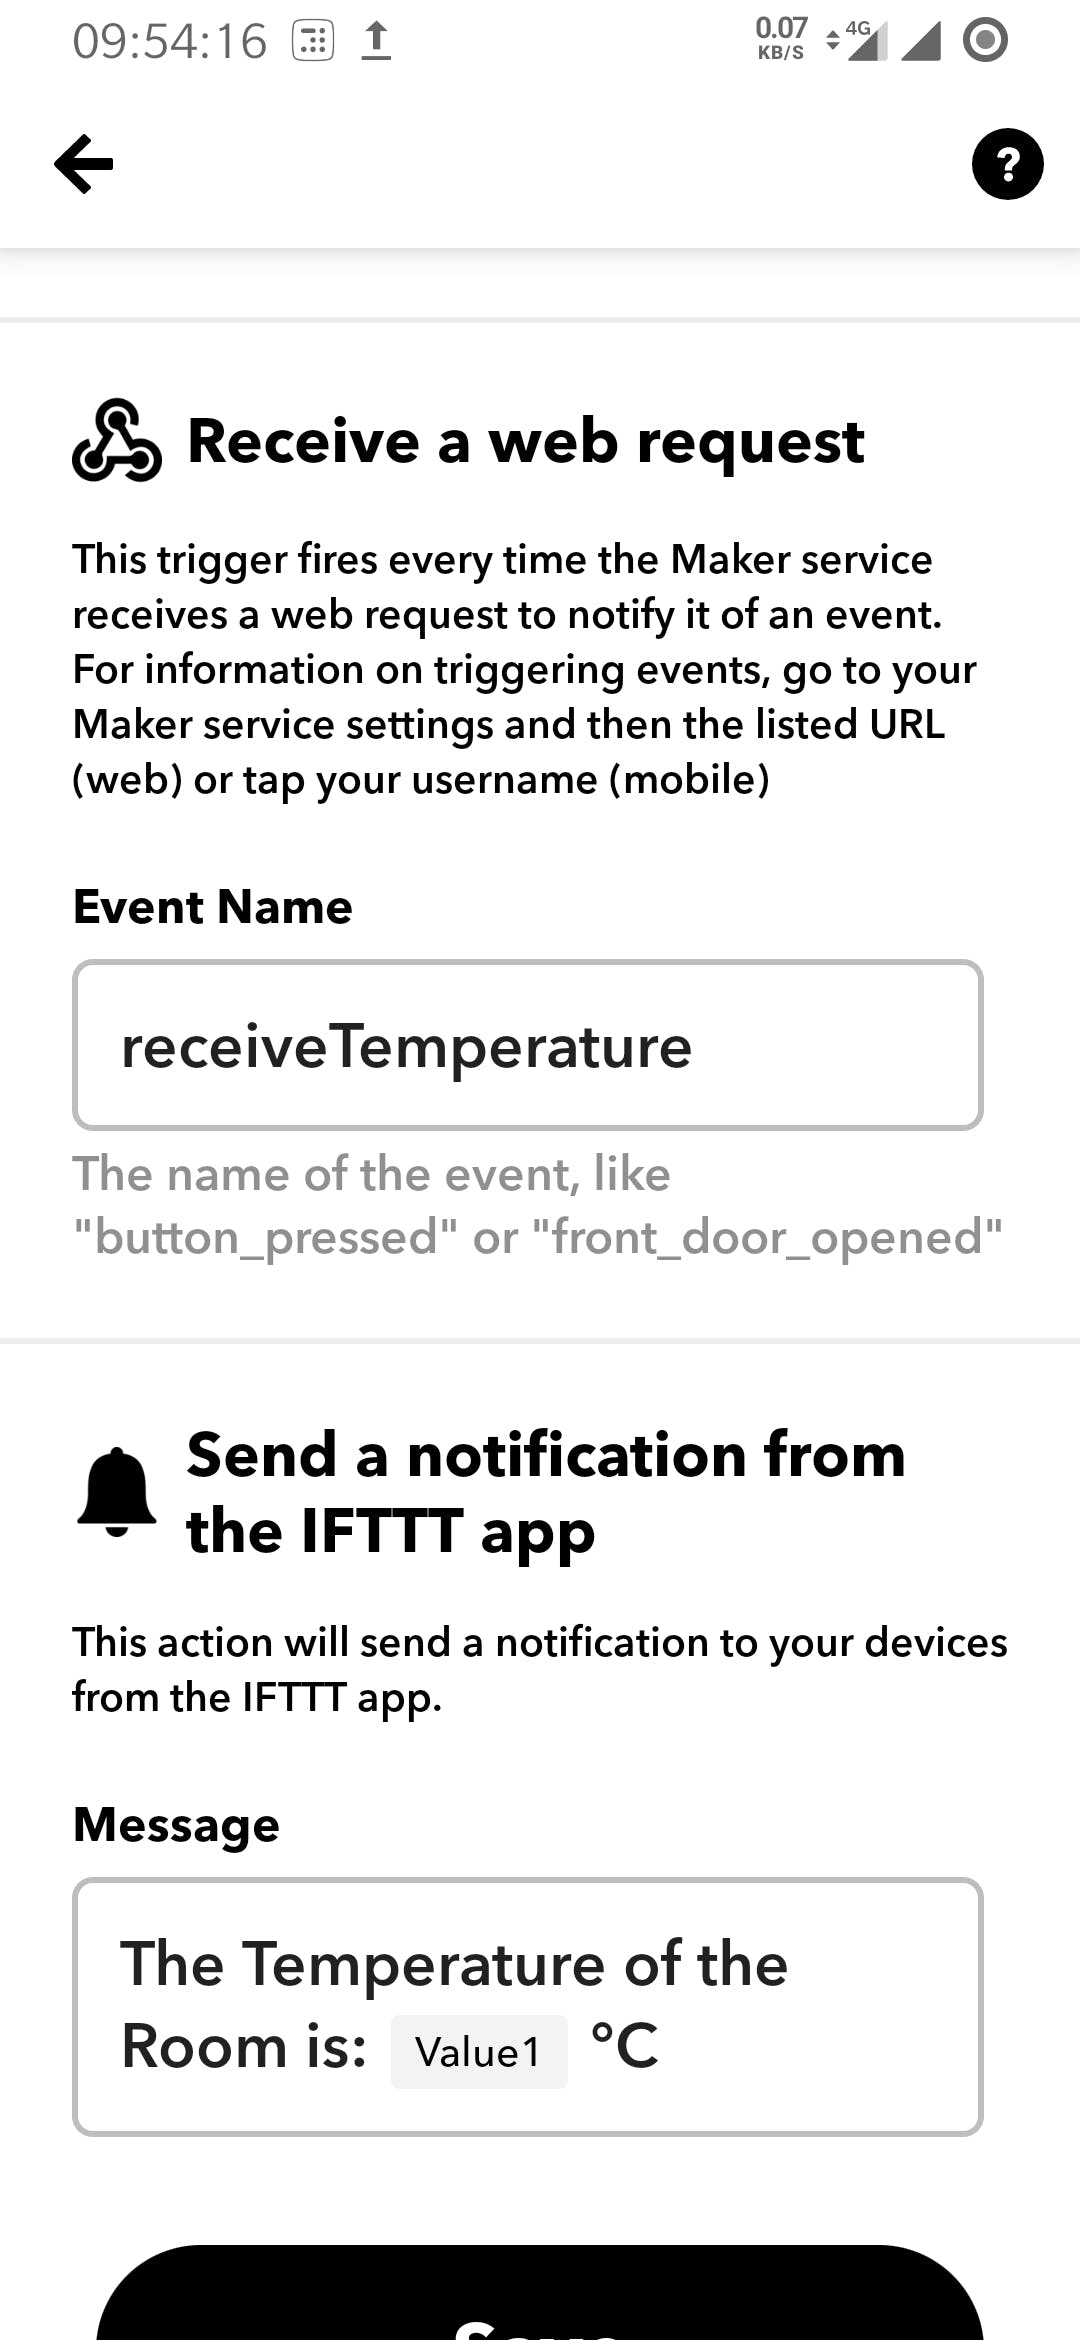
- 在消息中,我选择了 value1。
- 现在,IFTTT 设置完成。
从此链接获取 IFTTT API 密钥
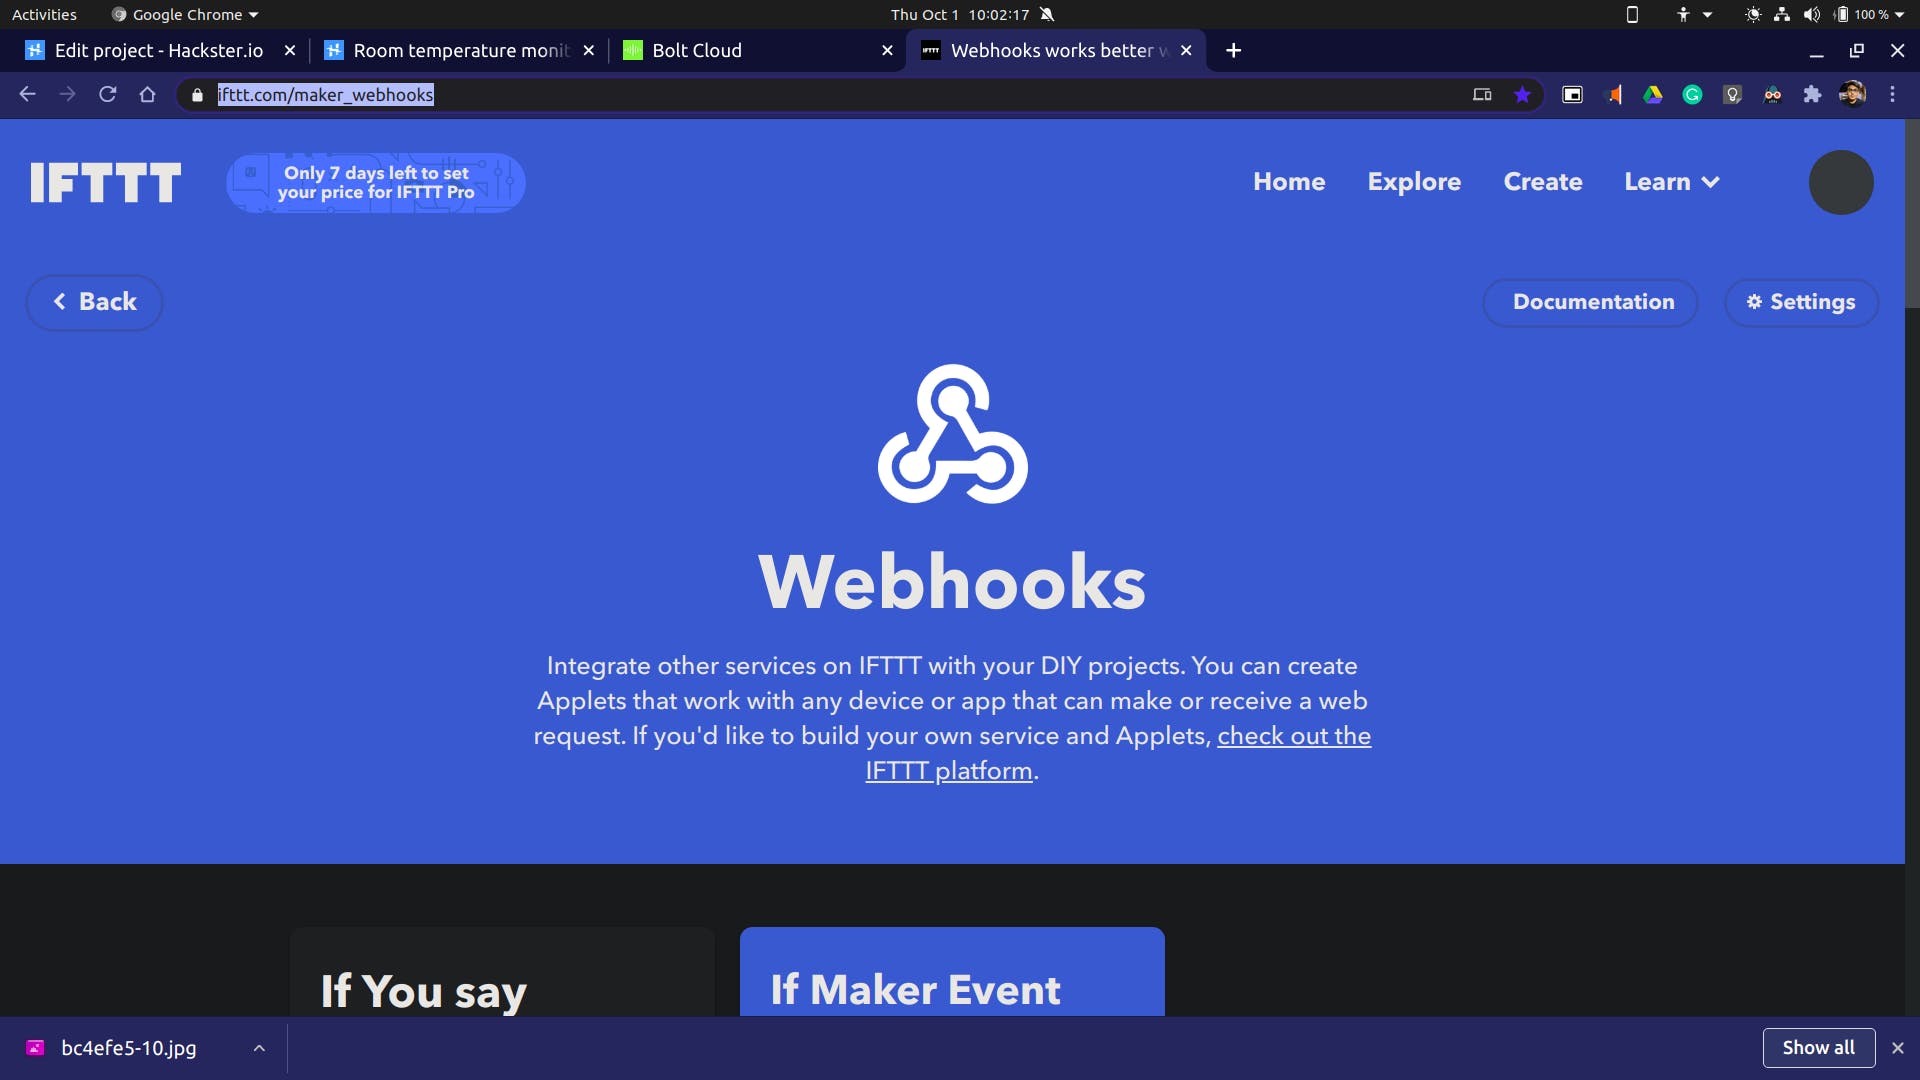
单击文档以获取 API_KEY
LM35 温度传感器设置
Installation(s):

---------------------------------------------------------
Python Installation
sudo apt-get update
sudo apt-get install python3.6

check if the Installation was successful
python3 --version
If correctly installed it will show the python version

---------------------------------------------------------

Flask Installation
pip3 install Flask

To check the Installation
flask --version
It correctly installed it will show Python and Flask version

---------------------------------------------------------

Type the below command to setup an URL for your localhost

ssh -R 80:localhost:PORT_NUMBER ssh.localhost.run
Replace the [PORT_NUMBER] which you want to use for getting the POST request

That's it! We now have an app that listens for a webhook with python and flask.
Once deployed, POST requests made to the endpoint will trigger the respond function.
For example: https://exampledomain.com/webhook.
This is also the URL that you will provide the service that sends the webhook.

---------------------------------------------------------

Running:

---------------------------------------------------------

Perform the necessary Installation(s)

---------------------------------------------------------

Place the main.py and conf.py file in same directory
make an environment variable FLASK_APP which has the value main.py by:-

export FLASK_APP=main.py (Don't put a space)

Then run the app by

flask run

---------------------------------------------------------

setup an URL to listen for requests by:

ssh -R 80:localhost:PORT_NUMBER ssh.localhost.run
Replace the [PORT_NUMBER] which you want to use for getting the POST request

---------------------------------------------------------
声明:本文内容及配图由入驻作者撰写或者入驻合作网站授权转载。文章观点仅代表作者本人,不代表电子发烧友网立场。文章及其配图仅供工程师学习之用,如有内容侵权或者其他违规问题,请联系本站处理。 举报投诉
评论(0)
发评论
- 相关下载
- 相关文章


