
资料下载


Walabot睡眠质量追踪器开源
分享资料个
描述
Walabot 睡眠质量追踪器
亚历克斯技能
该技能发布在 alexa 技能版块,请随意按照指南并监控自己的睡眠
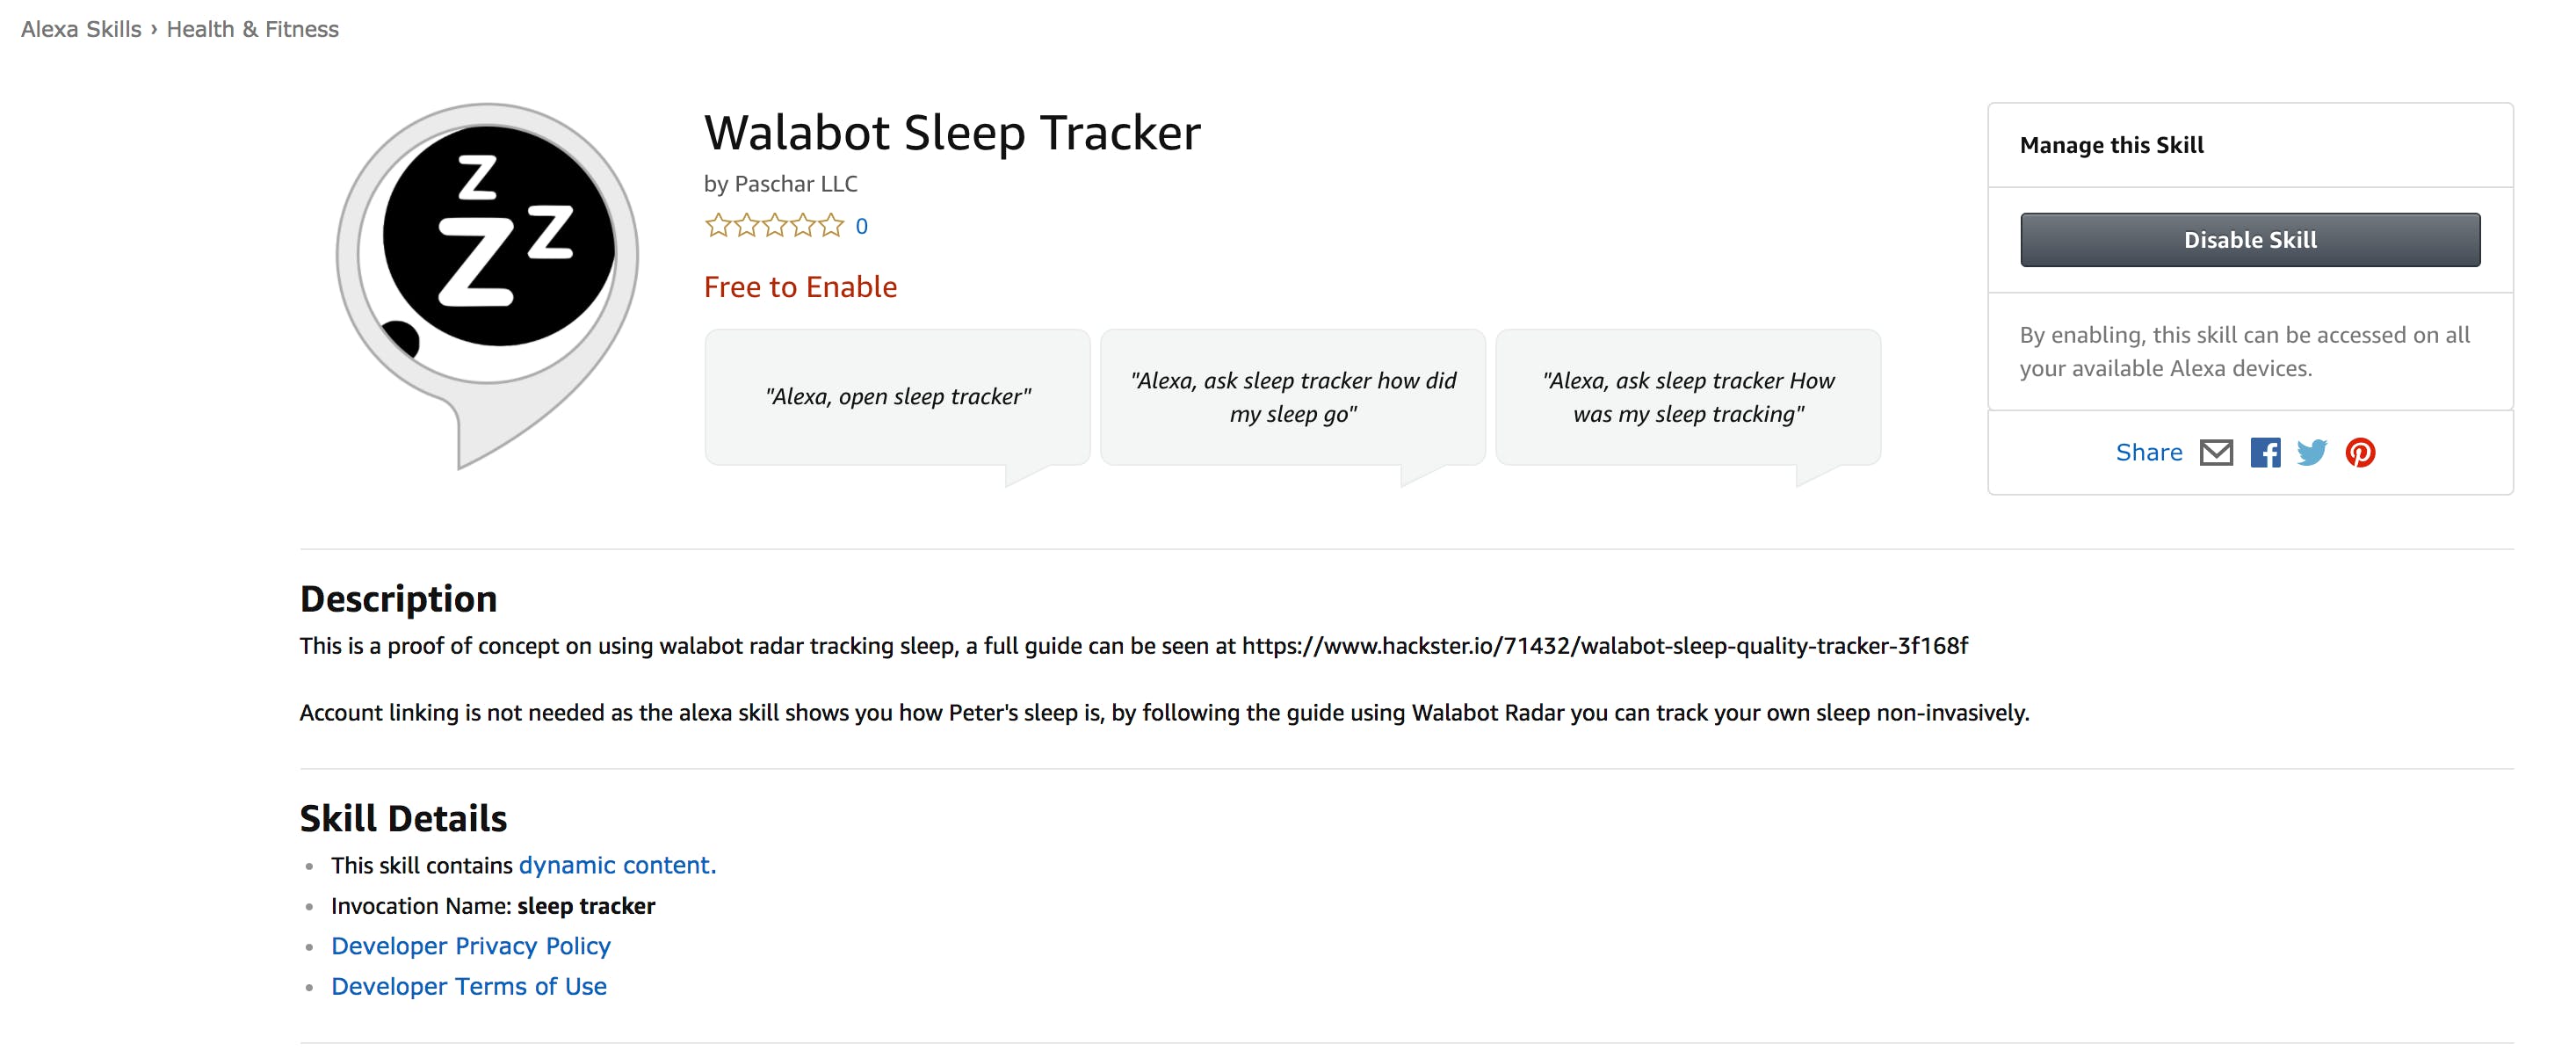
您可以按照系统指南中的用户链接 alexa 来使用您的指南设置多个用户。
问题
CDC最近将睡眠不足列为公共卫生问题。嗜睡是增加事故和其他职业错误风险的根本原因。它还可能引起健康问题,如糖尿病、抑郁症和高血压。
根据美国国家睡眠基金会和消费电子协会最近的一项调查,超过 60% 的睡眠追踪技术拥有者在睡眠追踪后更加了解自己的睡眠模式。51% 的睡眠追踪技术拥有者表示,他们知道这项技术正在帮助他们睡得更好,而 49% 的人表示,自从开始使用这项技术后,他们感觉更健康了。
尽管大多数睡眠跟踪技术是手表和手环等非侵入性设备,但它们仍然需要大量日常维护以保持卫生和持续充电。使用可穿戴设备的频繁充电和卫生维护的纪律已经让很多人不再使用它们。
我们的解决方案
使用 Walabot,我们可以构建一个始终开启的非侵入式睡眠跟踪系统。通过这种方式,用户不必担心为可穿戴设备充电、清洗卫生,并且仍然能够跟踪良好的睡眠。
解决方案分为三个部分:
- Walabot部分
- Walabot 服务器部分
- Alexa部分
Walabot 可以在任何 Linux 或 IoT 机器上使用;在这种情况下,我们将使用笔记本电脑作为基础。我们还将在本地实施人工智能,以向用户识别模式。
Walabot服务器将用于存储信息;这可用于显示移动设备、物联网显示设备以及 Alexa 的额外信息。
Alexa 是我们可以使用的众多输出选项之一;在这种情况下,它是最容易实现的,并且可以快速了解您的夜间睡眠情况。
第 1 步:使用 Ubuntu 设置 Walabot
我们首先必须设置 Walabot。在这种情况下,我们正在检测睡眠时使用的能量。我们以呼吸的例子为基础,因为看起来 Walabot 不仅在检测运动方面非常有效,而且在检测运动中使用了多少能量方面非常有效,因此非常适合跟踪睡眠。
我们可以使用任何运行 Ubuntu 和 Python 的物联网设备(例如 Raspberry Pi)来构建它,但对于这个原型的案例,我们将使用便宜的笔记本电脑,因为我们有一个可以监控正在发生的事情的屏幕。
#!/usr/bin/env python3
from __future__ import print_function # WalabotAPI works on both Python 2 an 3.
from sys import platform
from os import system
from imp import load_source
from os.path import join
import time, random
import math
from collections import deque
import urllib.request
modulePath = join('/usr', 'share', 'walabot', 'python', 'WalabotAPI.py')
wlbt = load_source('WalabotAPI', modulePath)
wlbt.Init()
start = time.time()
class RealtimePlot:
   def __init__(self, axes, max_entries =100):
       self.axis_x = deque(maxlen=max_entries)
       self.axis_y = deque(maxlen=max_entries)
       self.axes = axes
       self.max_entries = max_entries
       self.lineplot, = axes.plot([], [], "ro-")
       self.axes.set_autoscaley_on(True)
   def add(self, x, y):
       self.axis_x.append(x)
       self.axis_y.append(y)
       self.lineplot.set_data(self.axis_x, self.axis_y)
       self.axes.set_xlim(self.axis_x[0], self.axis_x[-1] + 1e-15)
       self.axes.set_ylim(0, 0.2)
       self.axes.relim(); self.axes.autoscale_view() # rescale the y-axis
   def animate(self, figure, callback, interval = 50):
       import matplotlib.animation as animation
       def wrapper(frame_index):
           self.add(*callback(frame_index))
           self.axes.relim(); self.axes.autoscale_view() # rescale the y-axis
           return self.lineplot
       animation.FuncAnimation(figure, wrapper, interval=interval)
def main():
   from matplotlib import pyplot as plt
   # Walabot_SetArenaR - input parameters
   minInCm, maxInCm, resInCm = 30, 150, 1
   # Walabot_SetArenaTheta - input parameters
   minIndegrees, maxIndegrees, resIndegrees = -4, 4, 2
   # Walabot_SetArenaPhi - input parameters
   minPhiInDegrees, maxPhiInDegrees, resPhiInDegrees = -4, 4, 2
   # Configure Walabot database install location (for windows)
   wlbt.SetSettingsFolder()
   # 1) Connect : Establish communication with walabot.
   wlbt.ConnectAny()
   # 2) Configure: Set scan profile and arena
   # Set Profile - to Sensor-Narrow.
   wlbt.SetProfile(wlbt.PROF_SENSOR_NARROW)
   # Setup arena - specify it by Cartesian coordinates.
   wlbt.SetArenaR(minInCm, maxInCm, resInCm)
   # Sets polar range and resolution of arena (parameters in degrees).
   wlbt.SetArenaTheta(minIndegrees, maxIndegrees, resIndegrees)
   # Sets azimuth range and resolution of arena.(parameters in degrees).
   wlbt.SetArenaPhi(minPhiInDegrees, maxPhiInDegrees, resPhiInDegrees)
   # Dynamic-imaging filter for the specific frequencies typical of breathing
   wlbt.SetDynamicImageFilter(wlbt.FILTER_TYPE_DERIVATIVE)
   # 3) Start: Start the system in preparation for scanning.
   wlbt.Start()
   fig, axes = plt.subplots()
   display = RealtimePlot(axes)
   display.animate(fig, lambda frame_index: (time.time() - start, random.random() * 100))
   #plt.show()
   #fig, axes = plt.subplots()
   #display = RealtimePlot(axes)
   while True:
       appStatus, calibrationProcess = wlbt.GetStatus()
       # 5) Trigger: Scan(sense) according to profile and record signals
       # to be available for processing and retrieval.
       wlbt.Trigger()
       # 6) Get action: retrieve the last completed triggered recording
       energy = wlbt.GetImageEnergy()
       display.add(time.time() - start, energy * 100)
       #This is just for prototype purposes, we will gather the data in bulk and send them to the server in the future
       if energy * 100 > 0.05 and  energy * 100 <= 0.15:
       	urllib.request.urlopen("http://{your_server_link}/input?medium=1&high=0").read()
       elif energy * 100 > 0.15:
       	urllib.request.urlopen("http://{your_server_link}/medium=0&high=1").read()
       plt.pause(0.001)
if __name__ == "__main__": main()
第二步:Walabot Server 数据存储
为了随着时间的推移跟踪睡眠,我们将数据存储在云中是一个好主意。在这个例子中,我们在一个文件中设置了一个简单的文件存储,但将来我们可以将它存储到 mongodb 中。
对于这个例子,我们将使用node.js并通过heroku托管。
设置服务器后,使用附加的以下代码作为您的基础。您可以选择托管在其他地方,例如 Amazon、Azure 或 IBM Bluemix;这只是启动服务器的一个简单示例。
var fs = require('fs');
var app = express()
// respond with "hello world" when a GET request is made to the homepage
app.get('/', function (req, res) {
	fs.readFile('data.txt', 'utf8', function readFileCallback(err, data){
	    if (err){
	        console.log(err);
	    } else {
	    obj = JSON.parse(data); //now it an object
	    res.send(JSON.stringify(obj));
	}});
})
app.get('/input', function (req, res)
{	var fs = require('fs');
	var high = req.query.high;
	var medium = req.query.medium;
	fs.readFile('data.txt', 'utf8', function readFileCallback(err, data){
	    if (err){
	        console.log(err);
	    } else {
	    obj = JSON.parse(data); //now it an object
	    obj.high += parseInt(high);
	    obj.medium += parseInt(medium); //add some data
	    json = JSON.stringify(obj); //convert it back to json
	    fs.writeFile('data.txt', json, 'utf8', null); // write it back
	    res.send('success')
	}});
})
一旦达到阈值,让 Walabot 更新服务器。
if energy * 100 > 0.05 and  energy * 100 <= 0.15:
    urllib.request.urlopen("http://{your_server_link}/input?medium=1&high=0").read()
elif energy * 100 > 0.15:
    urllib.request.urlopen("http://{your_server_link}/medium=0&high=1").read()
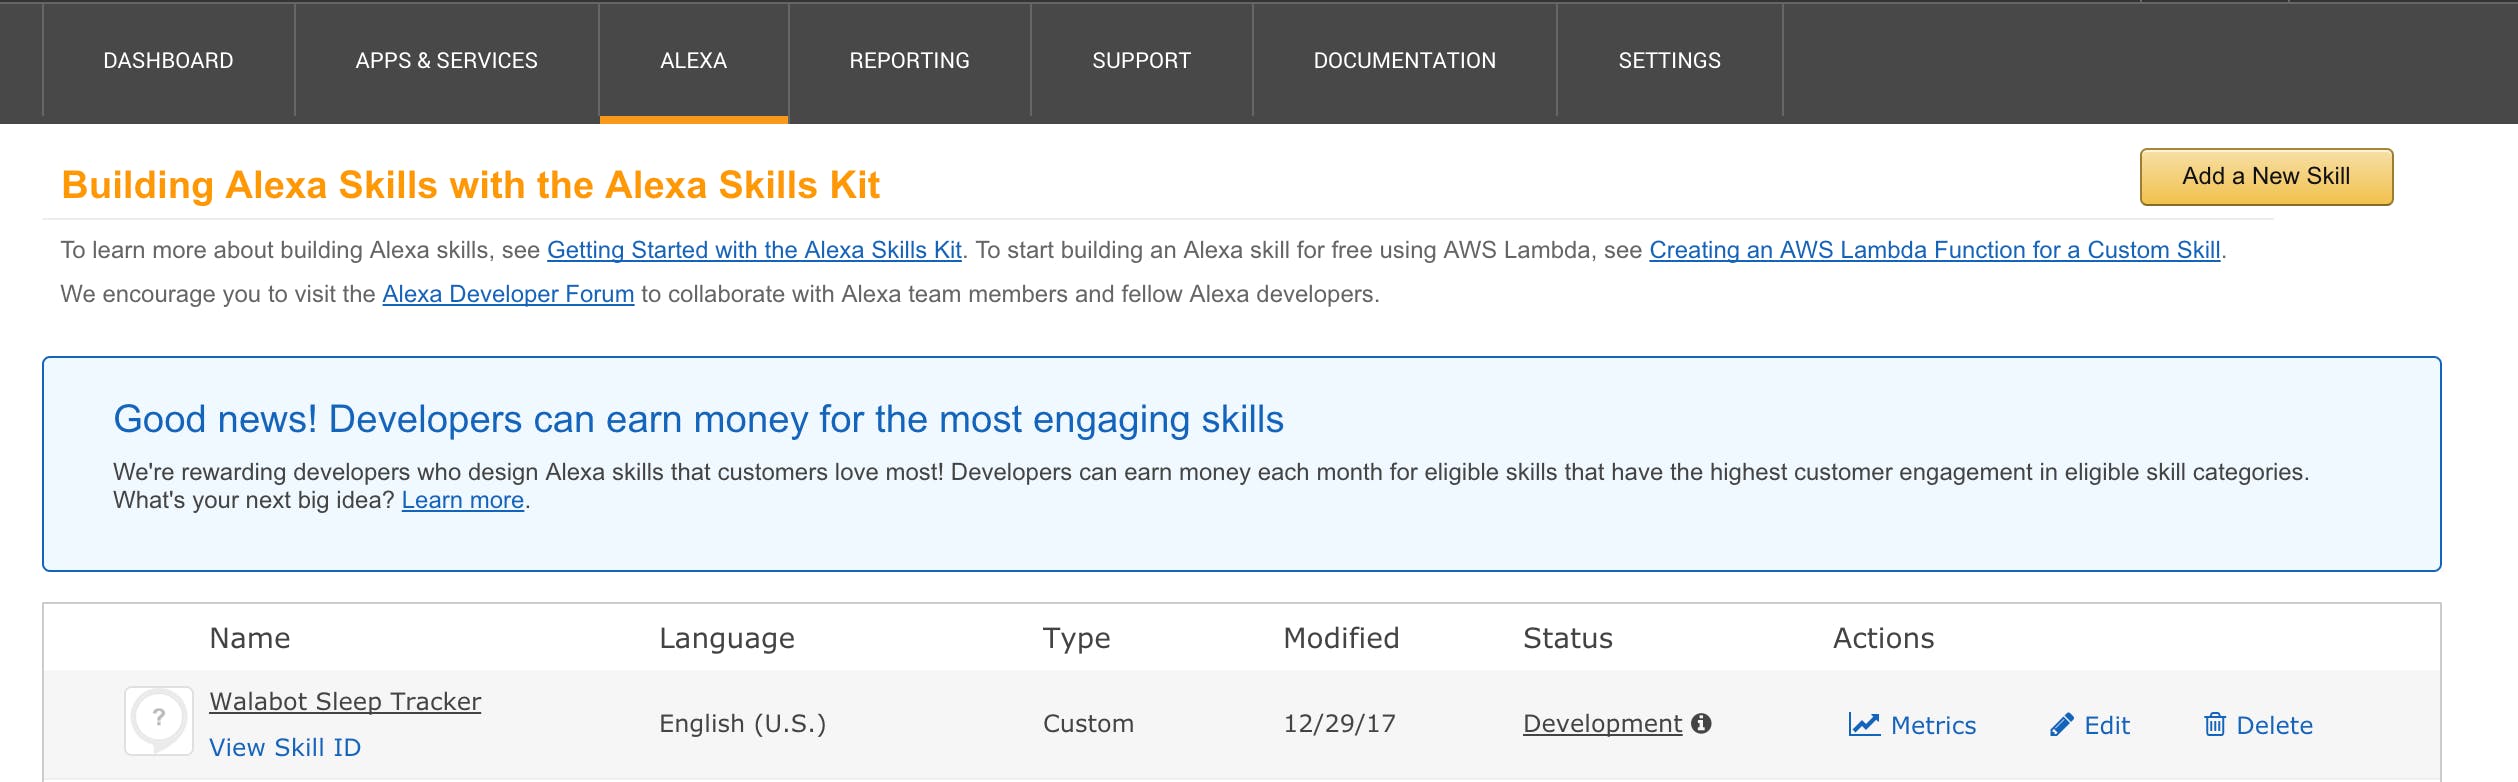
第 3 步:亚历克斯
用户现在可以使用 Alexa 来了解您的睡眠质量。我们将按照本指南使用 Alexa 快速技能套件
该指南将教您:
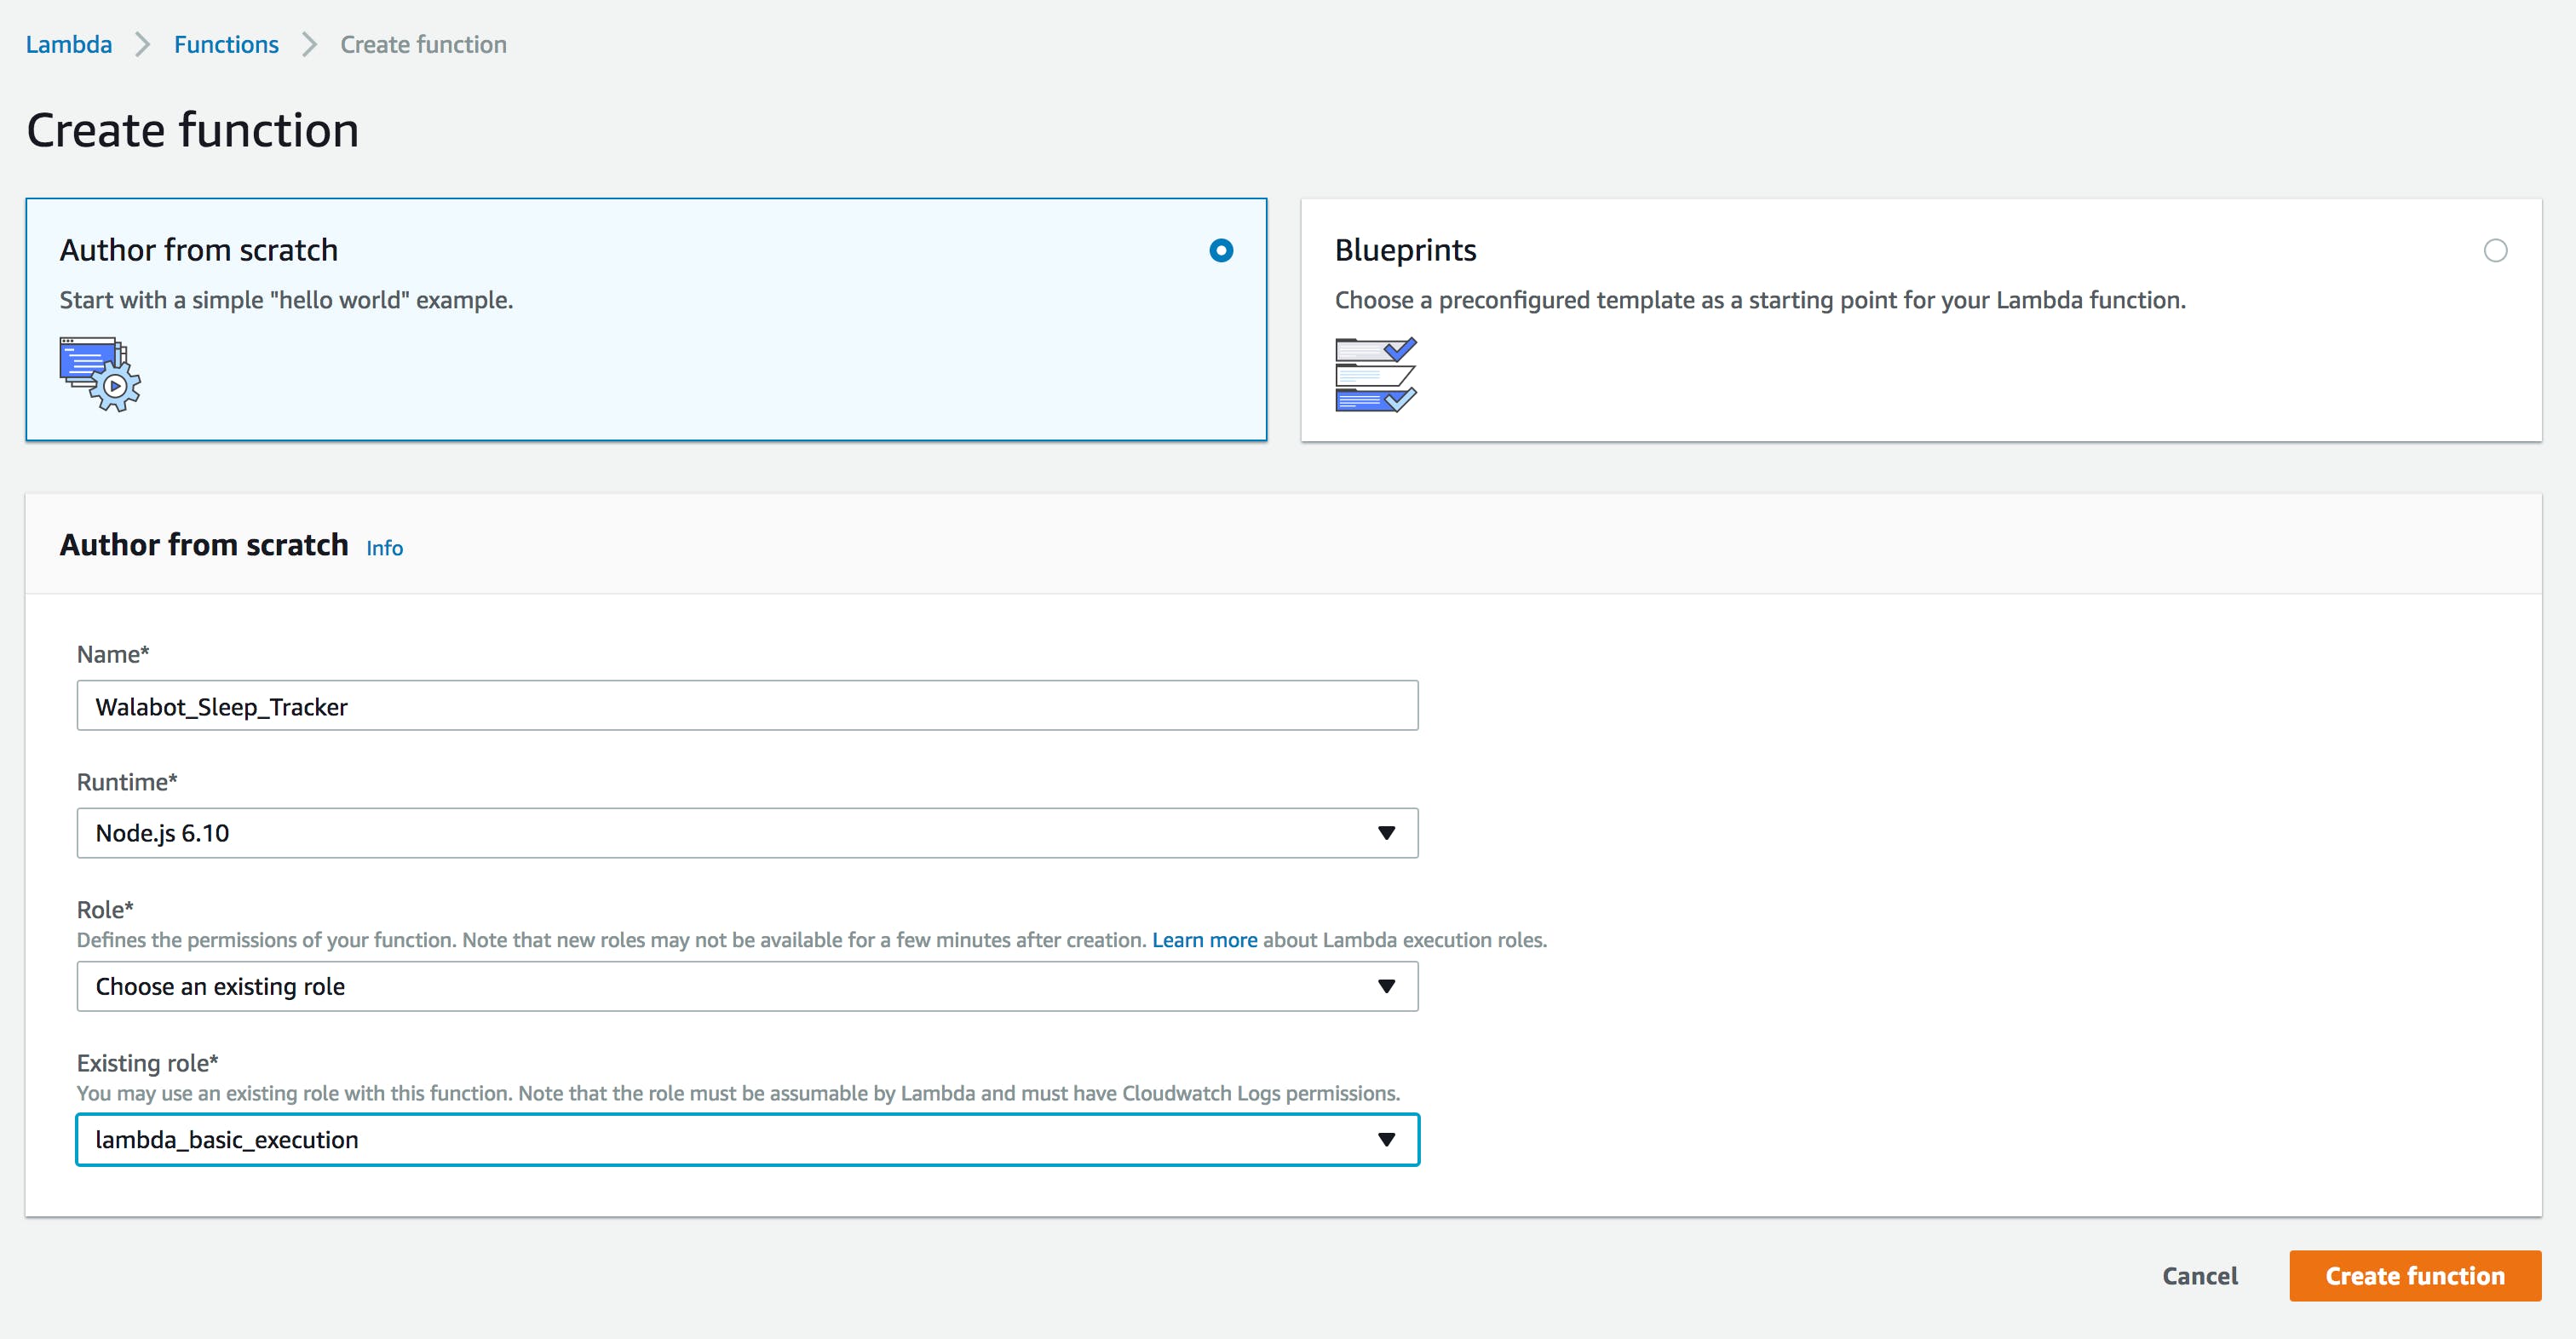
- 在 AWS 上创建 Lambda 函数
- 在 Alexa 技能上创建 Alexa 技能
Lambda 托管 Alexa 可以与之交互的无服务器函数。使用 node.js 而不是按照指南创建一个空的。我们可以从下面复制/粘贴 Alexa node.js 代码。
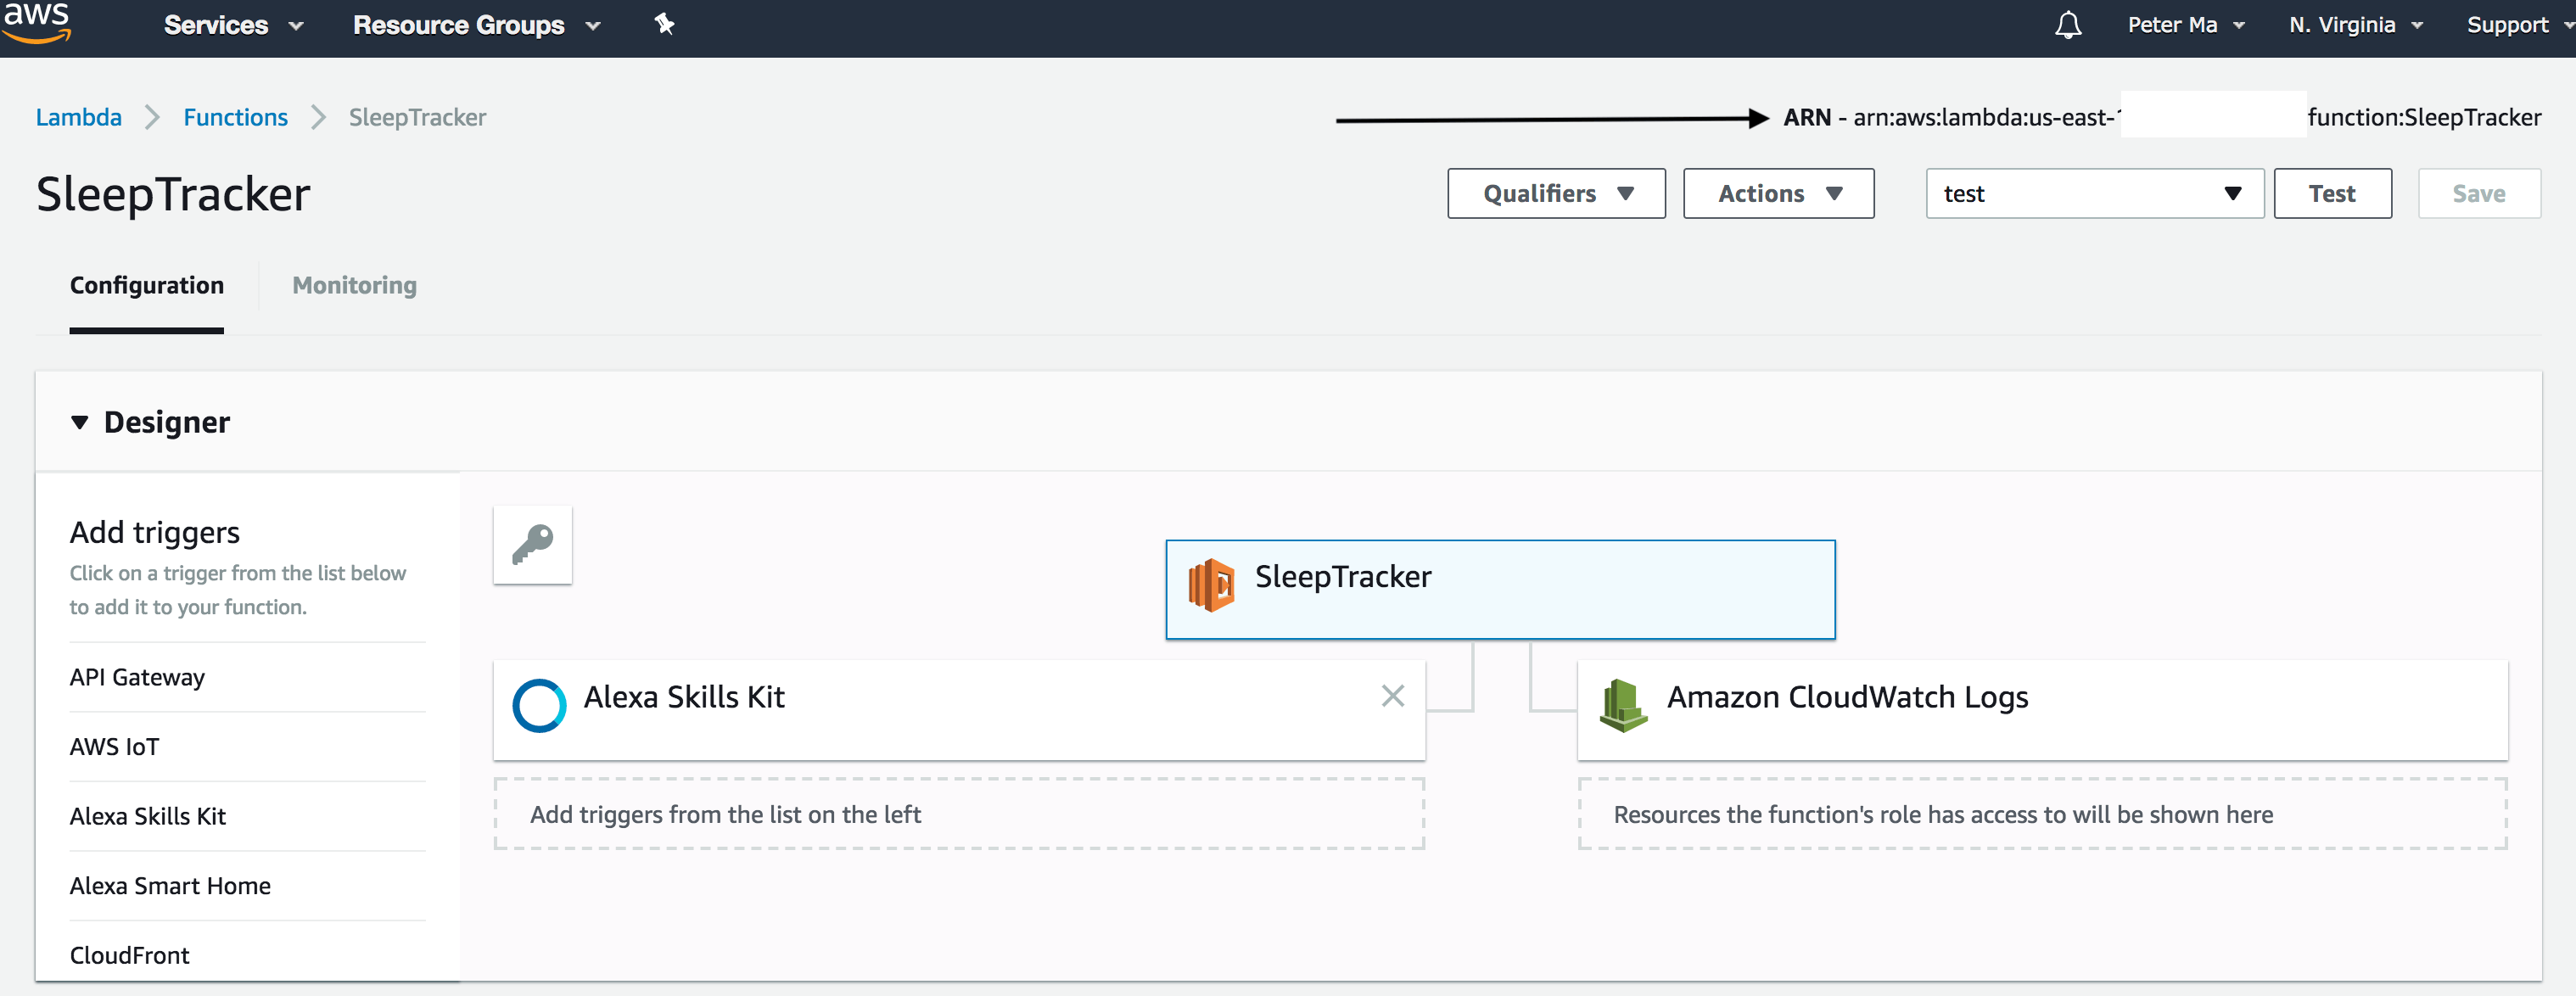
创建函数后,我们将获得 ARN 编号。把它写下来,这样我们就可以在 Alexa Skill 工具包的配置中使用它。我们还必须将 Alexa Skill 工具包添加到睡眠跟踪器中 - 复制并粘贴整个 node.js 代码。
目前的情报托管在 Alexa 中,它会检查是否四处走动和是否经常移动,例如起床。这样我们就可以减轻服务器的负担。
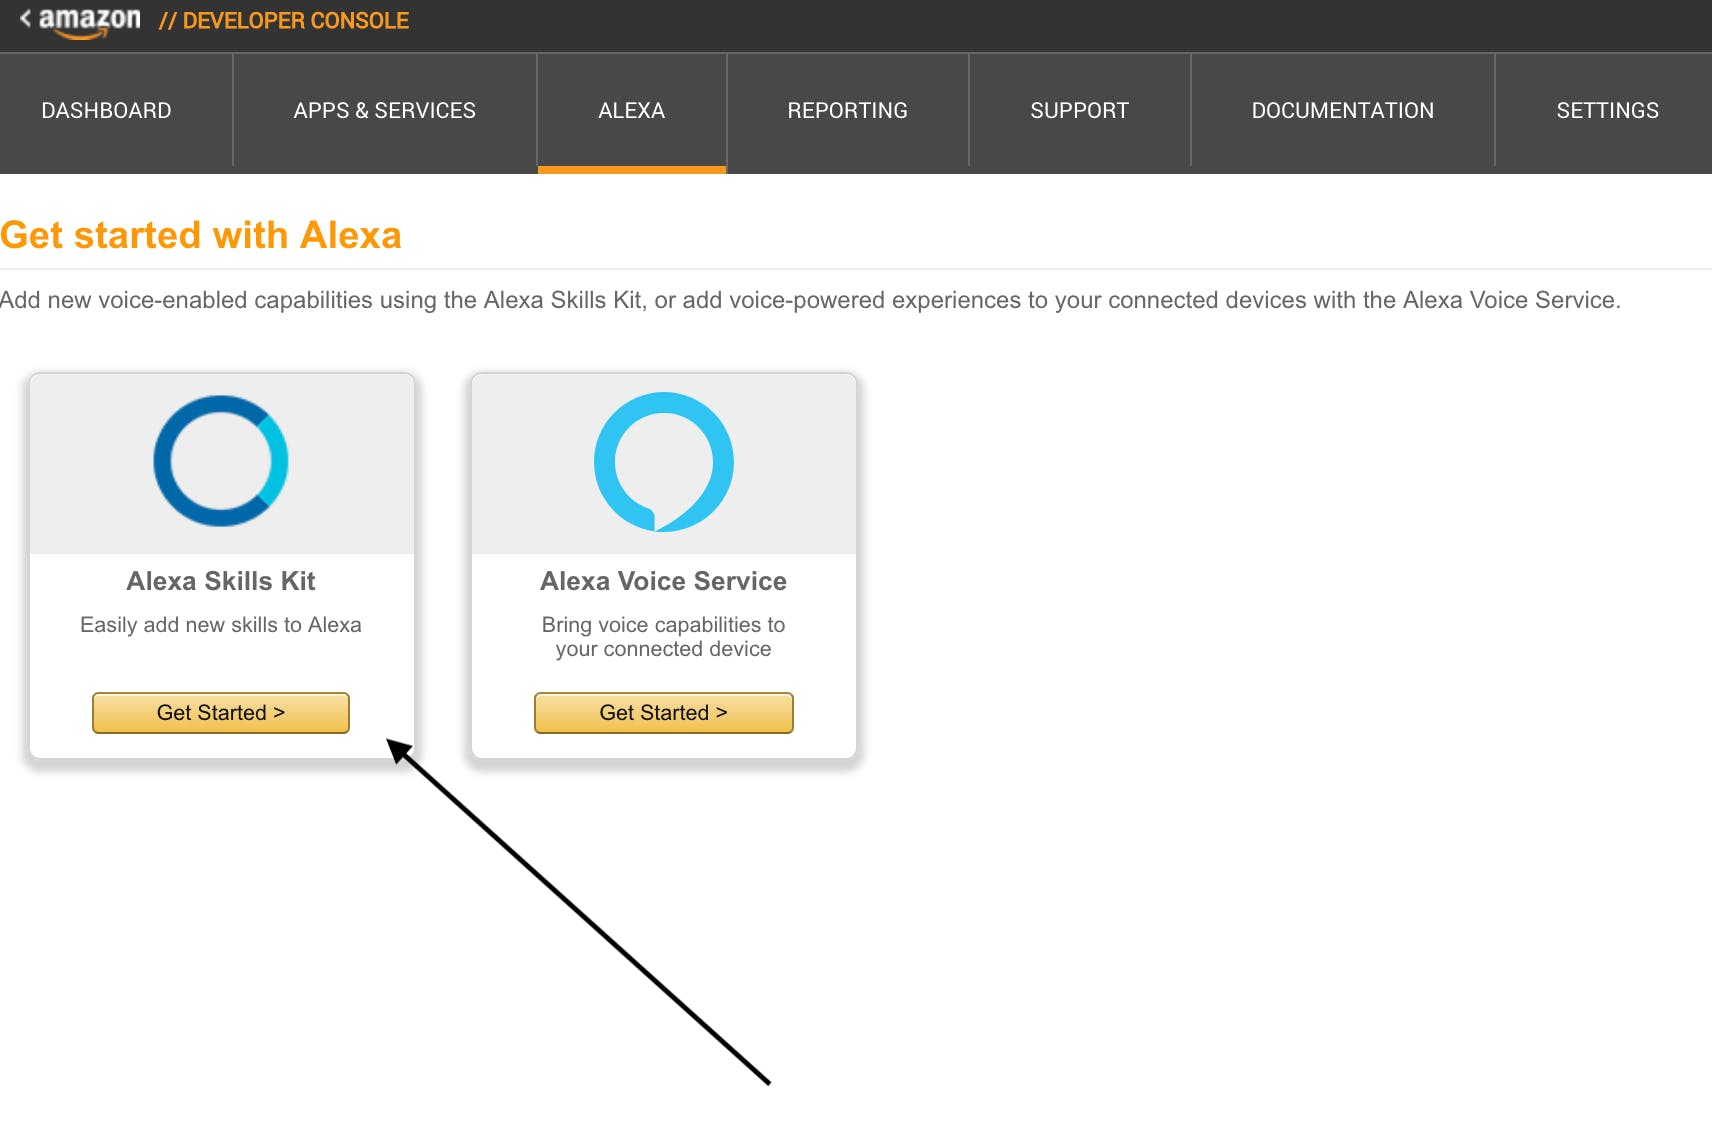
现在我们正在转向 Alexa 技能套件:
在交互模型中,将以下睡眠跟踪意图模式放在那里:
Intent Schema:
{
 "intents": [
   {
     "intent": "SleepTrackIntent"
   },
   {
     "intent": "AMAZON.HelpIntent"
   }
 ]
}
Sample Utterances:
SleepTrackIntent How was my sleep
SleepTrackIntent How was my sleep tracking
之后,在配置中,我们可以把我们之前使用的 ARN:
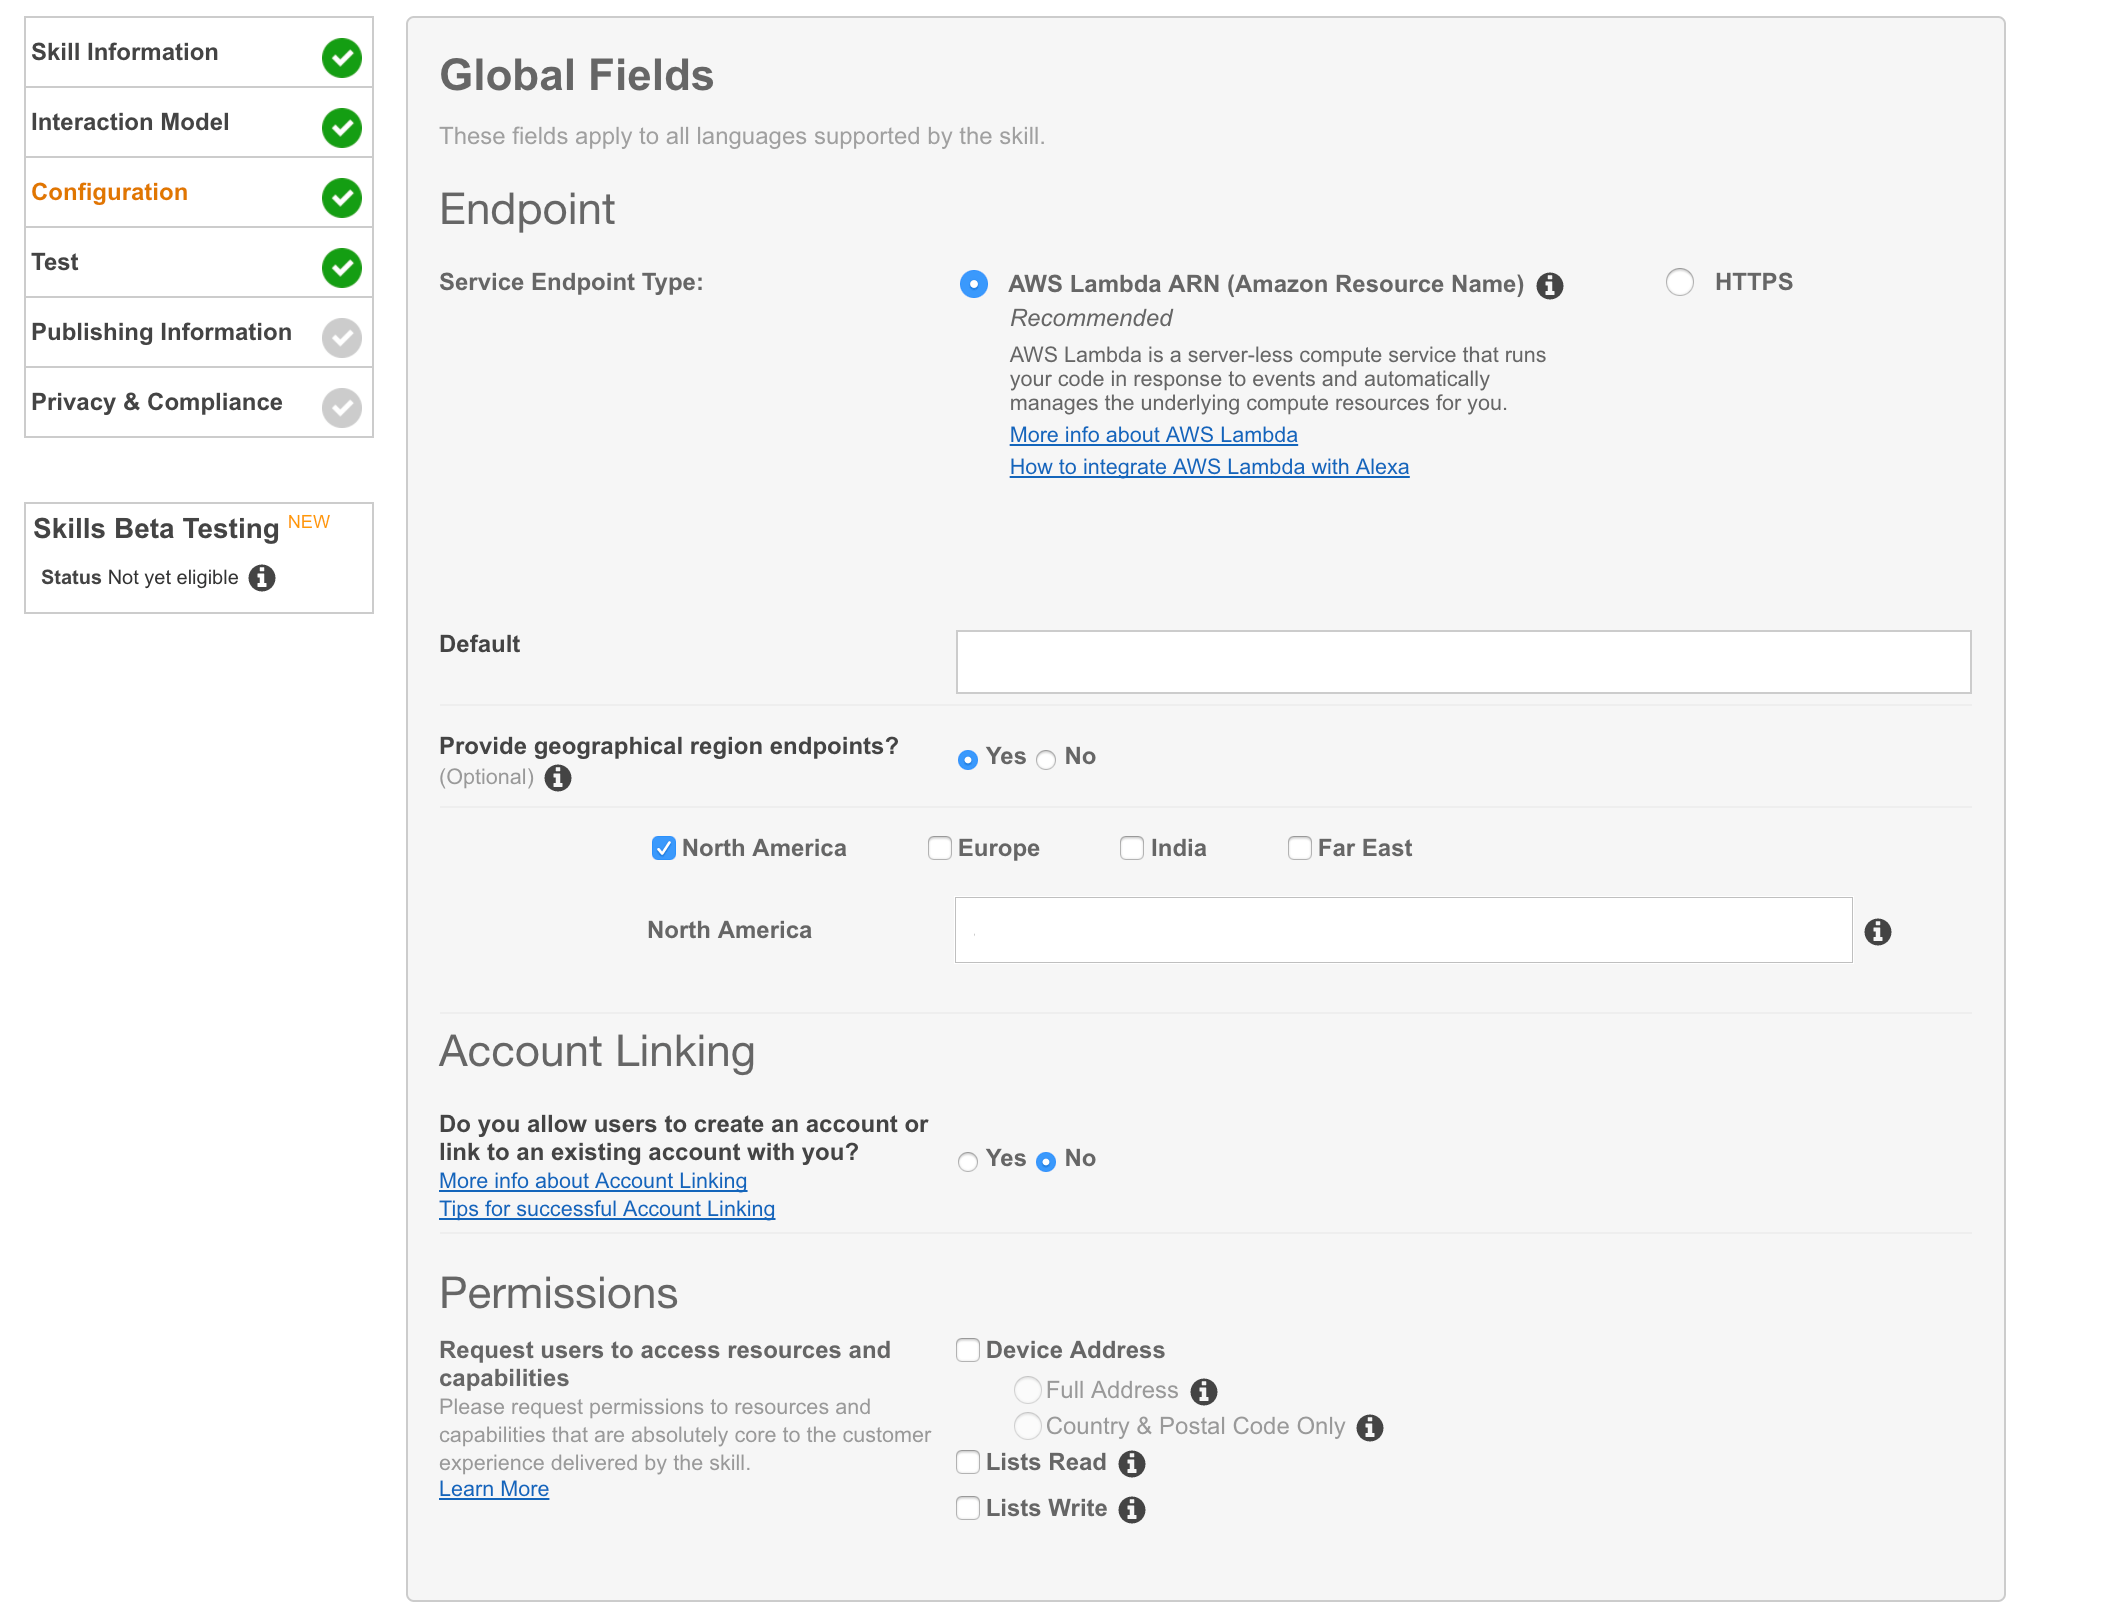
第 4 步:一切准备就绪,开始测试
现在您可以通过询问“Alexa,问 Sleep Tracker 我的睡眠如何?”来测试您的 Alexa 技能。
下一步是什么?
我们可以对睡眠质量进行机器学习,而不是编写自己的算法。将来会这样做。

声明:本文内容及配图由入驻作者撰写或者入驻合作网站授权转载。文章观点仅代表作者本人,不代表电子发烧友网立场。文章及其配图仅供工程师学习之用,如有内容侵权或者其他违规问题,请联系本站处理。 举报投诉
- 相关下载
- 相关文章


