
资料下载


使用Wio终端读取OBD2
王玉兰
分享资料个
描述
根据研究公司IHS Markit的数据,“今年美国轻型车辆的平均运行车龄 (VIO) 已上升至 12.1 年,比 2020 年增加了近 2 个月”。如果您关注我的项目,您就会知道我开的是一辆旧卡车(可能是弯道的那辆)。
你最近看到车价了吗?现在比以往任何时候都更需要让这辆卡车继续运转。我需要为我的检查引擎灯亮起做好准备。正如 Andreas Spiess 所说,“它也可能发生在你身上”。唯一的问题是OBD-II CAN-BUS 开发套件缺货。
经过进一步研究,我们发现了具有蓝牙连接功能的ELM 327 V1.5。这里的想法是将 Wio Terminal 无线连接到 ELM 327,这将允许我们连接到发动机控制单元 (ECU)。我们对五个参数感兴趣:
- 电池电压
- 发动机每分钟转数 (RPM)
- 车辆速度
- 进气温度
- 发动机冷却液温度
第一个可以通过仅连接到 ELM 327 来获得,但其余参数需要连接到 ECU,这只能在我的卡车上发生,当点火开关打开时。
这个项目将比其他类似项目更侧重于解释代码。开始前要注意两句话:
- 在您了解汽车的反应之前,请勿在驾驶时使用此项目。我的卡车不介意在 OBD2 端口插入一些东西,但其他汽车可能会。
- 我不得不通过替换 'm_semaphoreRegForNotifyEvt.wait("registerForNotify");' 来修改 BLERemoteCharacteristic.cpp 使用 'm_semaphoreRegForNotifyEvt.timedWait("registerForNotify", 1000);'。可能有更好的方法来避免卡在图书馆的这一行。
因此,请确保您首先访问该页面。
我们通过准备好按钮来开始设置。
pinMode(WIO_KEY_A, INPUT_PULLUP);
pinMode(WIO_KEY_B, INPUT_PULLUP);
pinMode(WIO_KEY_C, INPUT_PULLUP);
接下来,我们设置显示。
tft.init();
tft.setTextWrap(false);
tft.setTextSize(7);
tft.fillScreen(TFT_BLACK);
tft.setTextColor(TFT_BLUE);
tft.setCursor(40, 100);
tft.print("OBD2");
然后在开始时播放音调。
for (int i = 1000; i <= 3000; i += 500)
{
tone(WIO_BUZZER, i);
delay(50);
noTone(WIO_BUZZER);
delay(50);
}
在这里,我们开始扫描蓝牙设备。我们引用一个回调函数来接收来自所选设备的数据。所选设备必须具有此处定义的通用唯一标识符 (UUID) 的服务、读取特性和写入特性。
BLEDevice::init("");
BLEScan *ThisBLEScan = BLEDevice::getScan();
ThisBLEScan->setAdvertisedDeviceCallbacks(new AdvertisedDeviceCB());
ThisBLEScan->setActiveScan(true);
ThisBLEScan->start(20);
BLEClient *ThisClient = BLEDevice::createClient();
ThisClient->connect(OBD2Device);
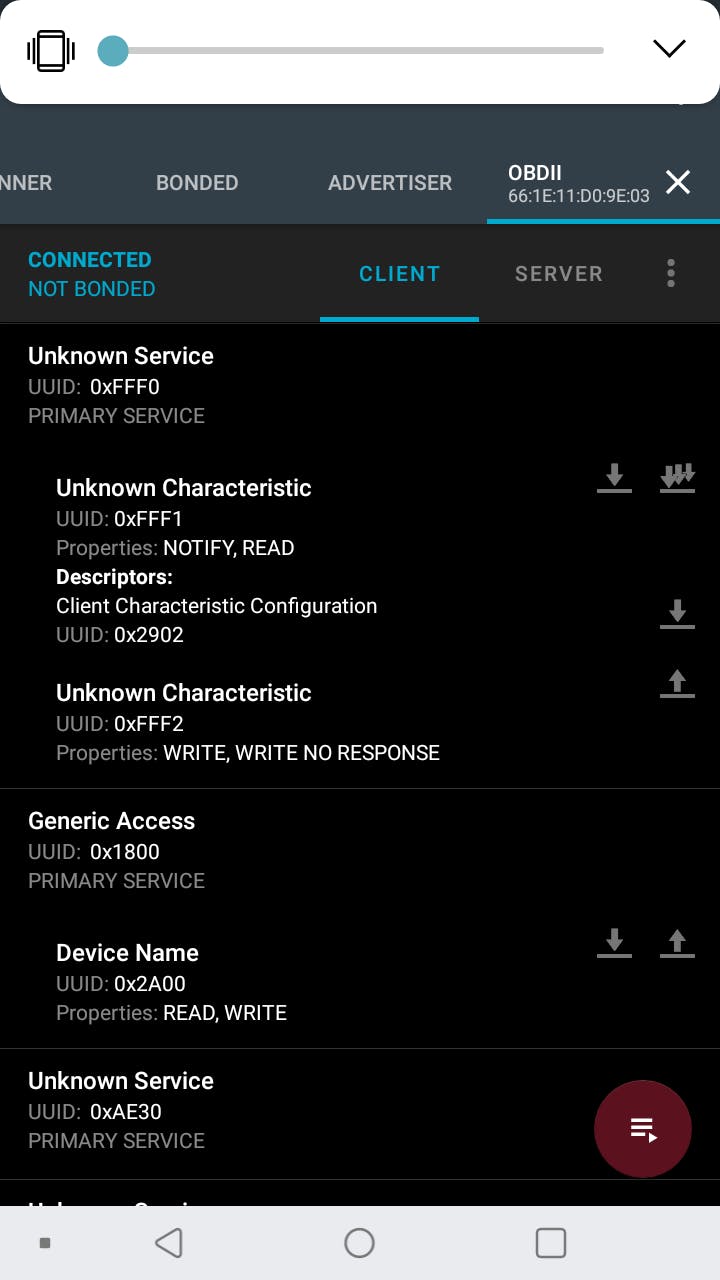
ThisService = ThisClient->getService((BLEUUID)0xfff0);
NotifyCharacteristic = ThisService->getCharacteristic((BLEUUID)0xfff1);
NotifyCharacteristic->registerForNotify(NotifyCB);
WriteCharacteristic = ThisService->getCharacteristic((BLEUUID)0xfff2);
现在我们连接到 ELM 327。我们使用AT 命令重置设备、关闭回声和自动选择协议。接下来,我们发送参数 ID (PID)以确保我们已连接到 ECU。
WriteCharacteristic->writeValue("AT Z\r");
WriteCharacteristic->writeValue("AT E0\r");
WriteCharacteristic->writeValue("AT SP 0\r");
WriteCharacteristic->writeValue("01 00\r");
while (NewString.substring(0, 12) != "SEARCHING...")
yield();
while (NewString.length() > 0)
{
if (NewString.substring(0, 17) == "UNABLE TO CONNECT")
{
ItemsInArray = 1;
NewString = "";
}
tft.fillScreen(TFT_BLACK);
tft.setCursor(40, 100);
tft.print("OBD2");
delay(10);
}
NewScreen = ItemsInArray;
WriteCharacteristic->writeValue("AT I\r");
while (NewString == "")
yield();
tft.fillScreen(TFT_BLACK);
在设置中我们需要做的最后一件事是将中断附加到按钮上。
attachInterrupt(digitalPinToInterrupt(WIO_KEY_A), ScreenUp, FALLING);
attachInterrupt(digitalPinToInterrupt(WIO_KEY_B), ScreenHome, FALLING);
attachInterrupt(digitalPinToInterrupt(WIO_KEY_C), ScreenDown, FALLING);
我们必须在循环中确定是显示所有参数还是仅显示一个。
tft.setCursor(10, -30);
for (I = 0; I < ItemsInArray; I++)
{
if (OldScreen != NewScreen)
{
tft.fillScreen(TFT_BLACK);
OldScreen = NewScreen;
break;
}
if (NewScreen != ItemsInArray && NewScreen != I)
continue;
NewString = "";
WriteCharacteristic->writeValue(CommandArray[I]);
while (NewString == "")
yield();
}
在每个屏幕的底部,我们将以秒为单位显示自开始以来的时间。
tft.setTextSize(3);
tft.fillRect(0, 280, 240, 40, TFT_BLACK);
tft.setCursor(10, 280);
tft.setTextColor(TFT_BLUE);
tft.printf("%d", int(millis() / 1000));
为了使这段代码正常工作,我们需要为每个按钮定义一个函数。
void ScreenUp(void)
{
NewScreen--;
NewScreen = constrain(NewScreen, 0, ItemsInArray);
tone(WIO_BUZZER, 2500, 100);
}
void ScreenHome(void)
{
NewScreen = ItemsInArray;
tone(WIO_BUZZER, 2500, 100);
}
void ScreenDown(void)
{
NewScreen++;
NewScreen = constrain(NewScreen, 0, ItemsInArray);
tone(WIO_BUZZER, 2500, 100);
}
之前我们扫描了蓝牙设备。类似的项目使用设备 MAC 地址来选择一个特定的 ELM 327,但我们希望我们的 Wio 终端无需硬编码任何设备特定值即可工作。由于获取设备名称并不容易,我们使用了所有 ELM 327 应该通用的其他设备属性。
class AdvertisedDeviceCB : public BLEAdvertisedDeviceCallbacks
{
void onResult(BLEAdvertisedDevice advertisedDevice)
{
if (advertisedDevice.haveServiceUUID() && !advertisedDevice.getAddressType() && advertisedDevice.getAppearance() == 576 && advertisedDevice.getServiceUUID().length() == 2)
{
BLEDevice::getScan()->stop();
OBD2Device = new BLEAdvertisedDevice(advertisedDevice);
}
}
};
最后但并非最不重要的一点是,在收到响应时显示值的函数。
static void NotifyCB(BLERemoteCharacteristic *pBLERemoteCharacteristic, uint8_t *pData, size_t length, bool isNotify)
{
NewString = (char *)pData;
NewString = NewString.substring(0, max(NewString.indexOf(">"), 0));
NewString.trim();
if (!NewString.length() || I == ItemsInArray)
return;
else
{
if (NewString.substring(0, 2) == "41")
{
unsigned long UnsignedLong = strtoul(NewString.substring(3, 5).c_str(), NULL, 16);
NewString = NewString.substring(6, NewString.length());
NewString.replace(" ", "");
switch (UnsignedLong)
{
case 0x0C:
UnsignedLong = strtoul(NewString.c_str(), NULL, 16) / 4;
break;
case 0x0D:
UnsignedLong = strtoul(NewString.c_str(), NULL, 16) * 0.621371;
break;
case 0x05:
case 0x0F:
UnsignedLong = (strtoul(NewString.c_str(), NULL, 16) - 40) * 9 / 5 + 32;
break;
default:
UnsignedLong = strtoul(NewString.c_str(), NULL, 16);
break;
}
NewString = String(UnsignedLong);
}
if (NewScreen == ItemsInArray)
{
tft.setTextSize(3);
tft.fillRect(0, tft.getCursorY() + 40, 240, 40, TFT_BLACK);
tft.setCursor(10, tft.getCursorY() + 40);
tft.setTextColor(TFT_GREEN);
tft.print(LabelArray[I]);
tft.setTextColor(TFT_RED);
tft.printf(" %s", NewString.c_str());
}
else
{
tft.setTextSize(7);
tft.setCursor(10, 10);
tft.setTextColor(TFT_GREEN);
tft.print(LabelArray[I]);
tft.fillRect(0, 100, 240, 50, TFT_BLACK);
tft.setCursor(10, 100);
tft.setTextColor(TFT_RED);
tft.printf("%s", NewString.c_str());
OldString = NewString;
}
delay(10);
}
}
声明:本文内容及配图由入驻作者撰写或者入驻合作网站授权转载。文章观点仅代表作者本人,不代表电子发烧友网立场。文章及其配图仅供工程师学习之用,如有内容侵权或者其他违规问题,请联系本站处理。 举报投诉
- 相关下载
- 相关文章


